Shopping Cart
*continental US addresses only


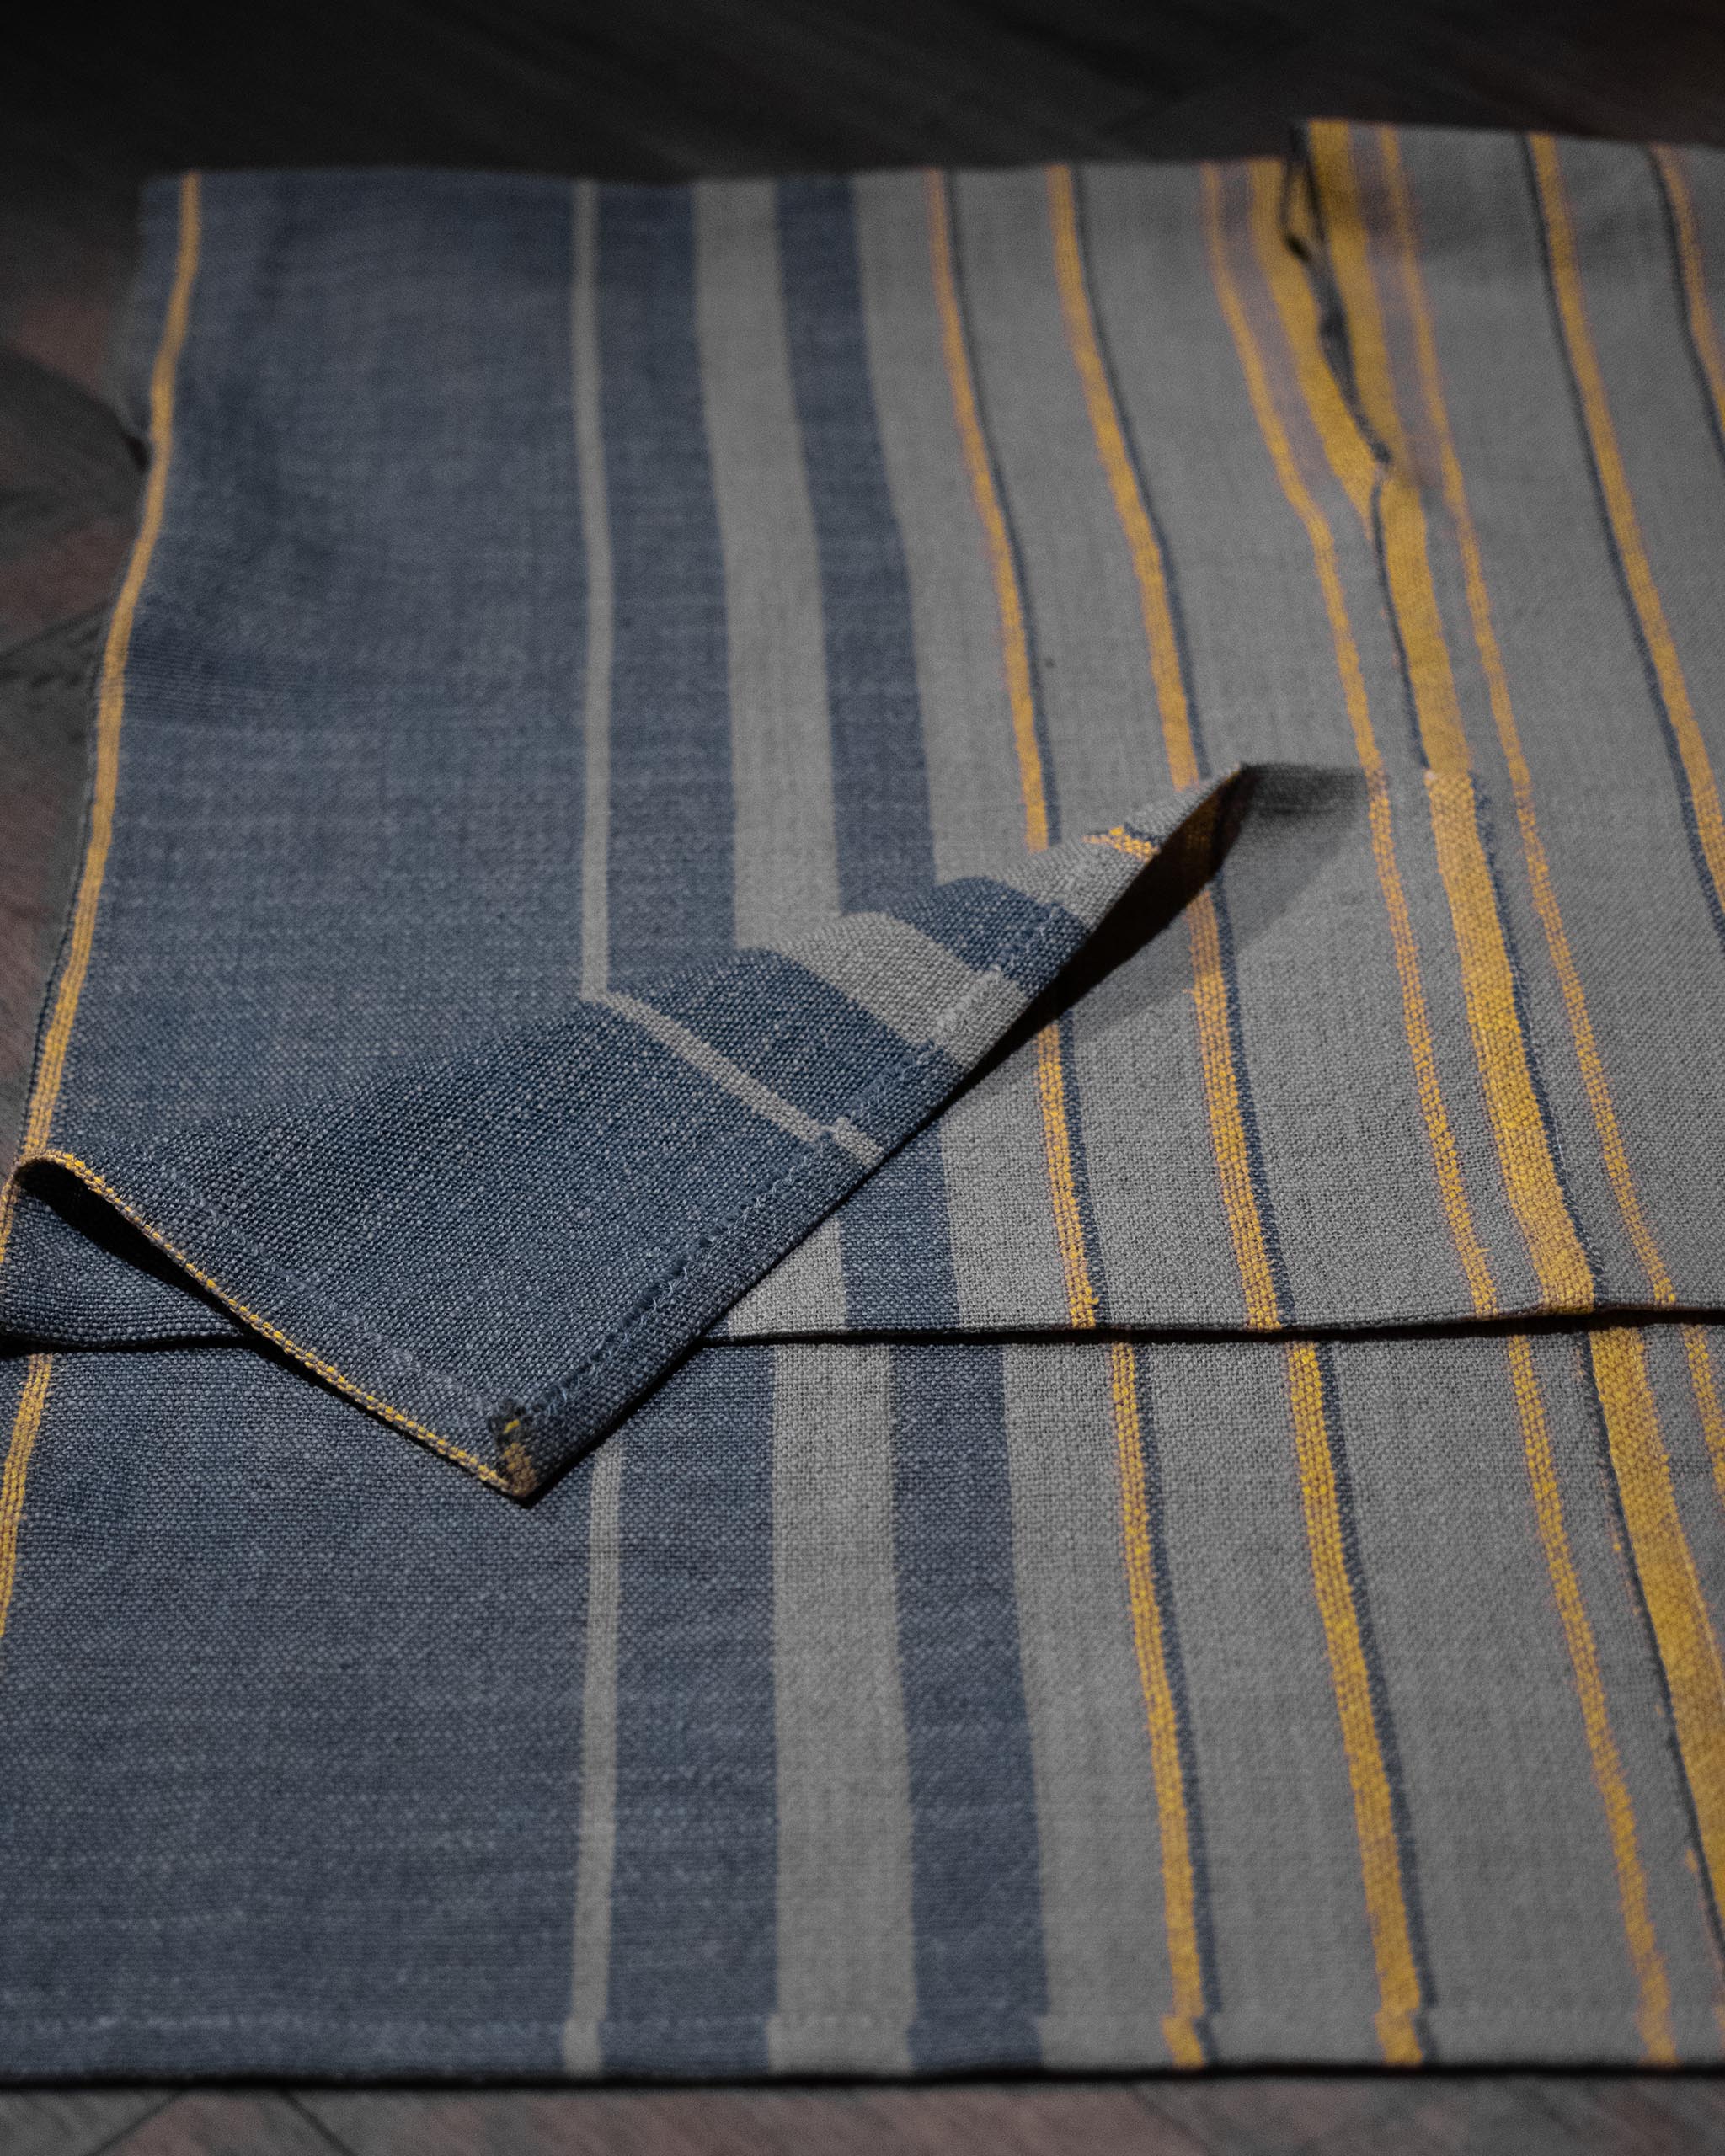
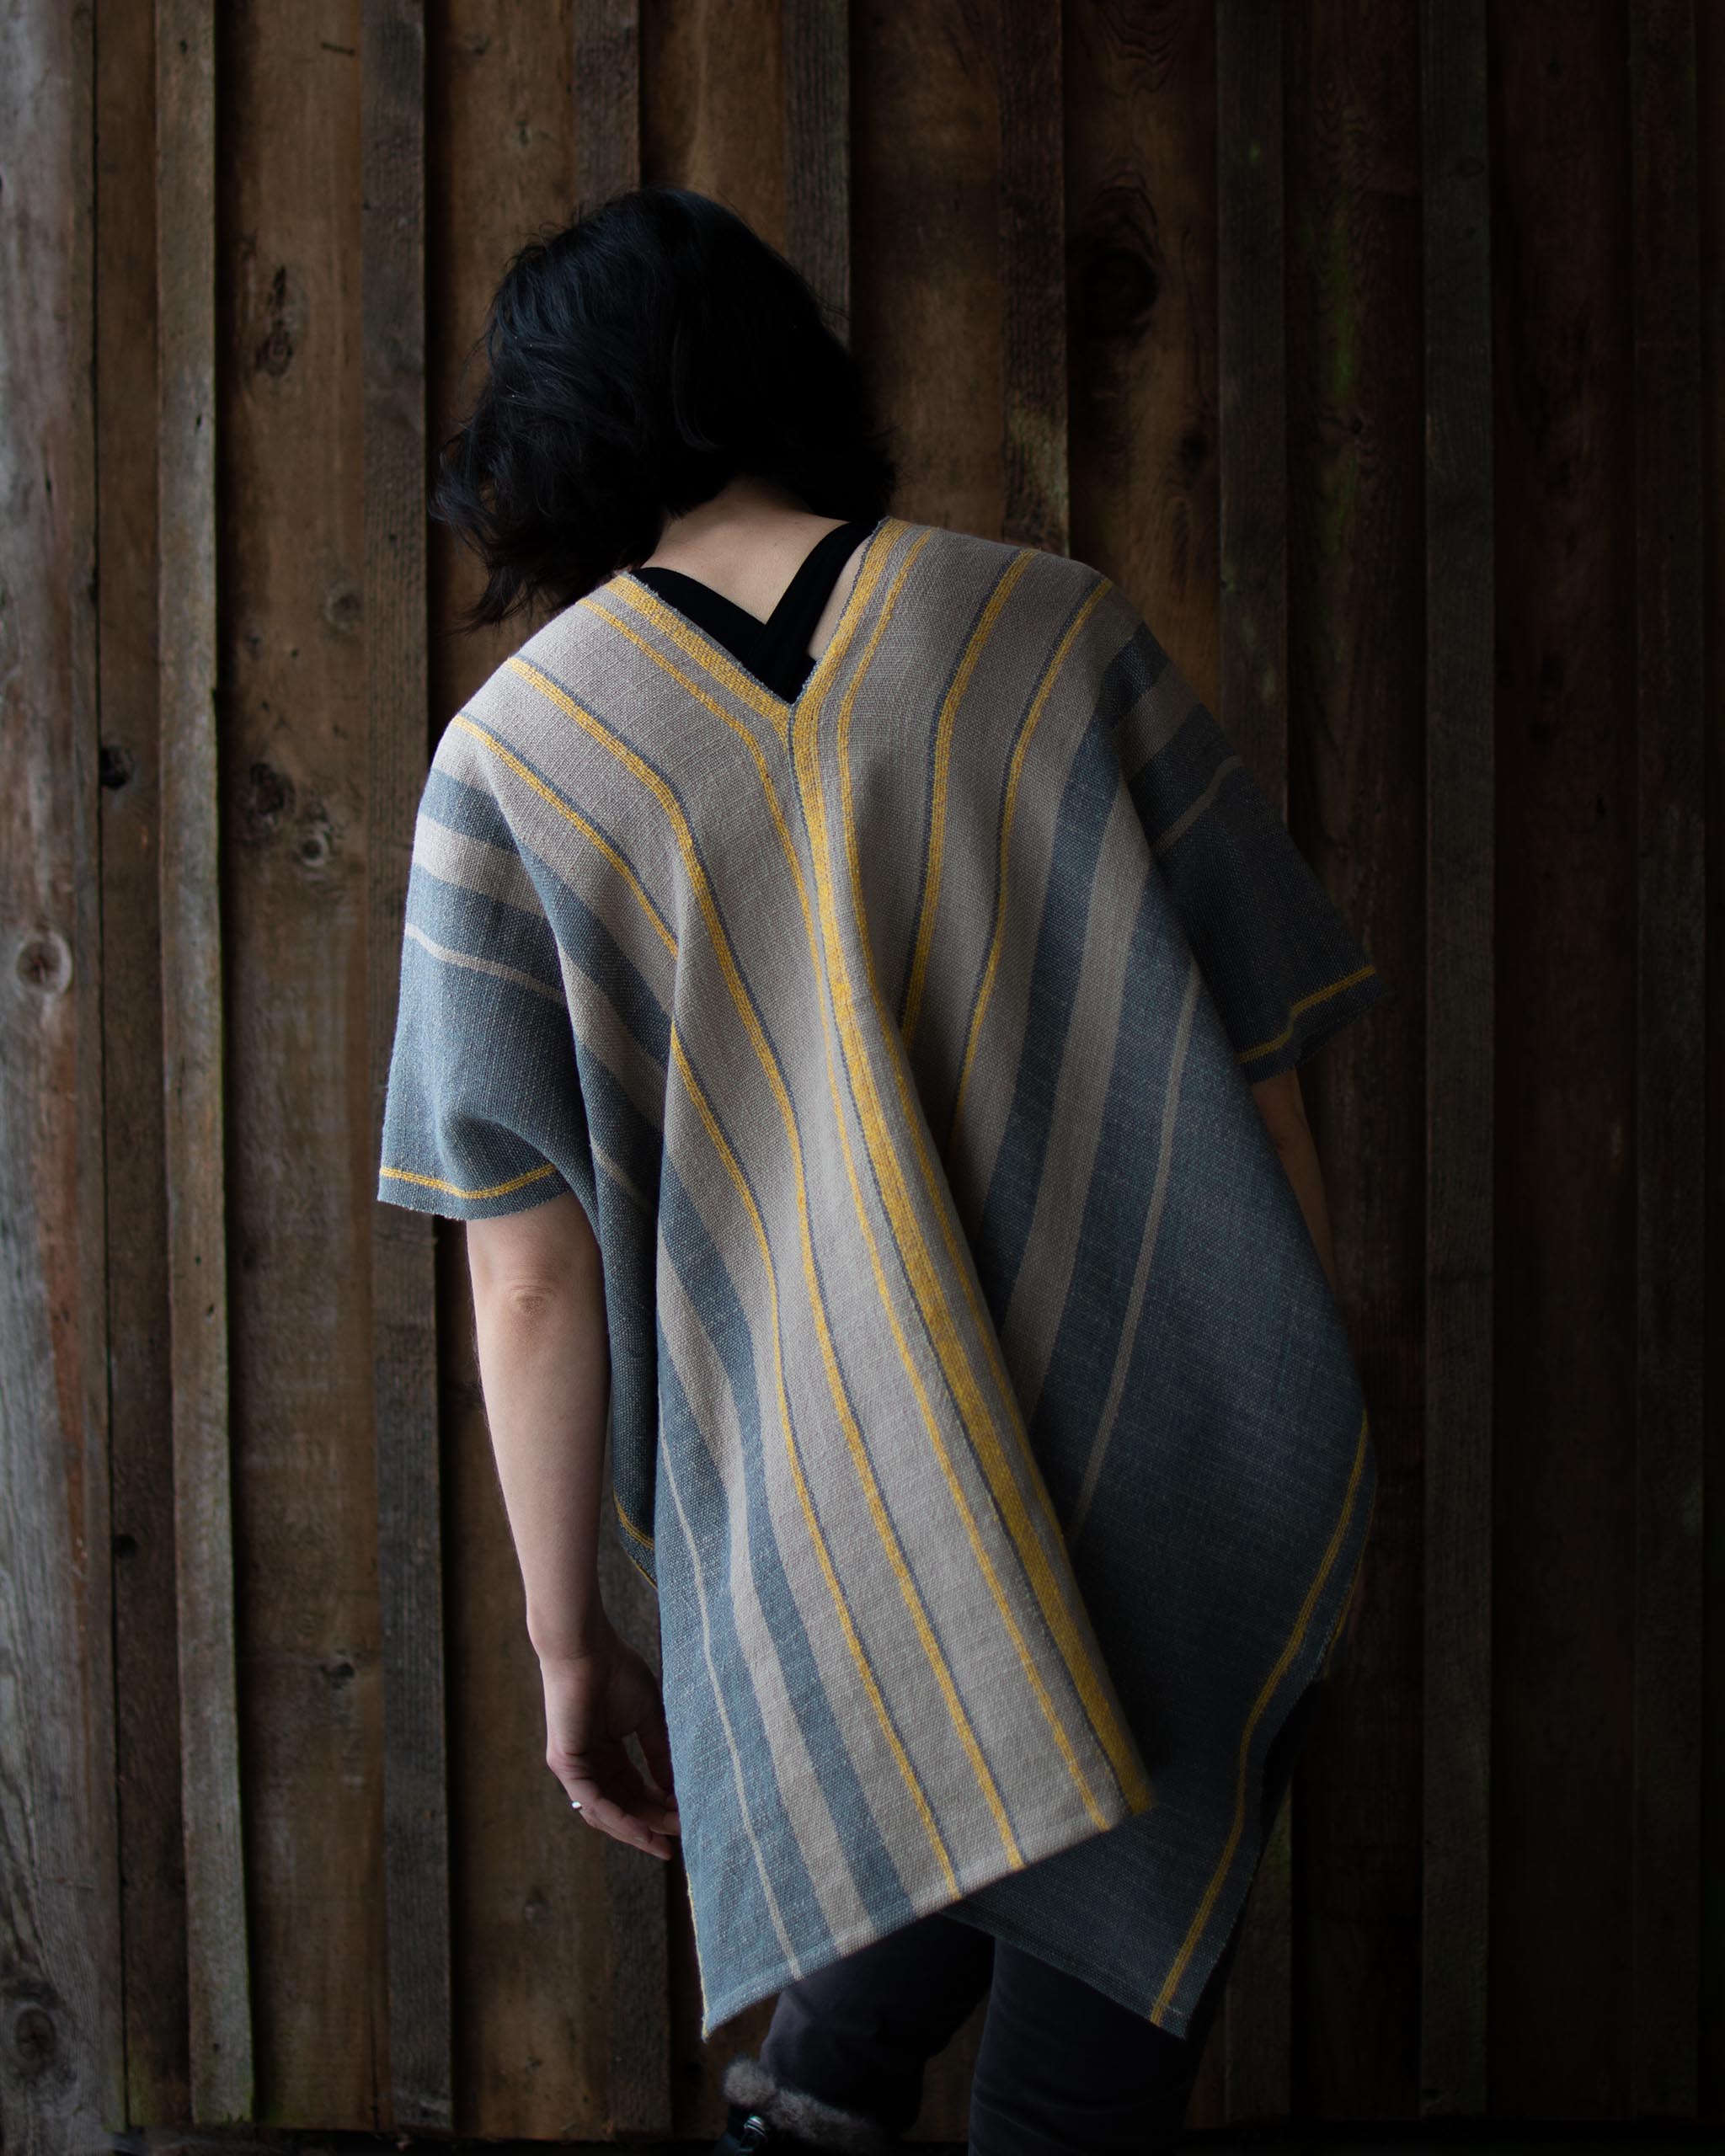
This elegant tunic top designed by Maria Magdalena Ma of Black Birch Textiles is woven with three skeins of our favorite Italian Cotton/Linen Weaving Yarn. The light and airy fabric lends itself to the warm spring and summer days. Our favorite part about this design -- the pockets! Weave and sew your own with the help of Maria's straightforward weaving and sewing instructions.
Designed by Maria Magdalena Ma for GIST: Yarn & Fiber.
Need some help getting started? Check out Resources for Beginner and Intermediate Weavers.
Warp & Weft: 3 cones of Italian Cotton/Linen Weaving Yarn


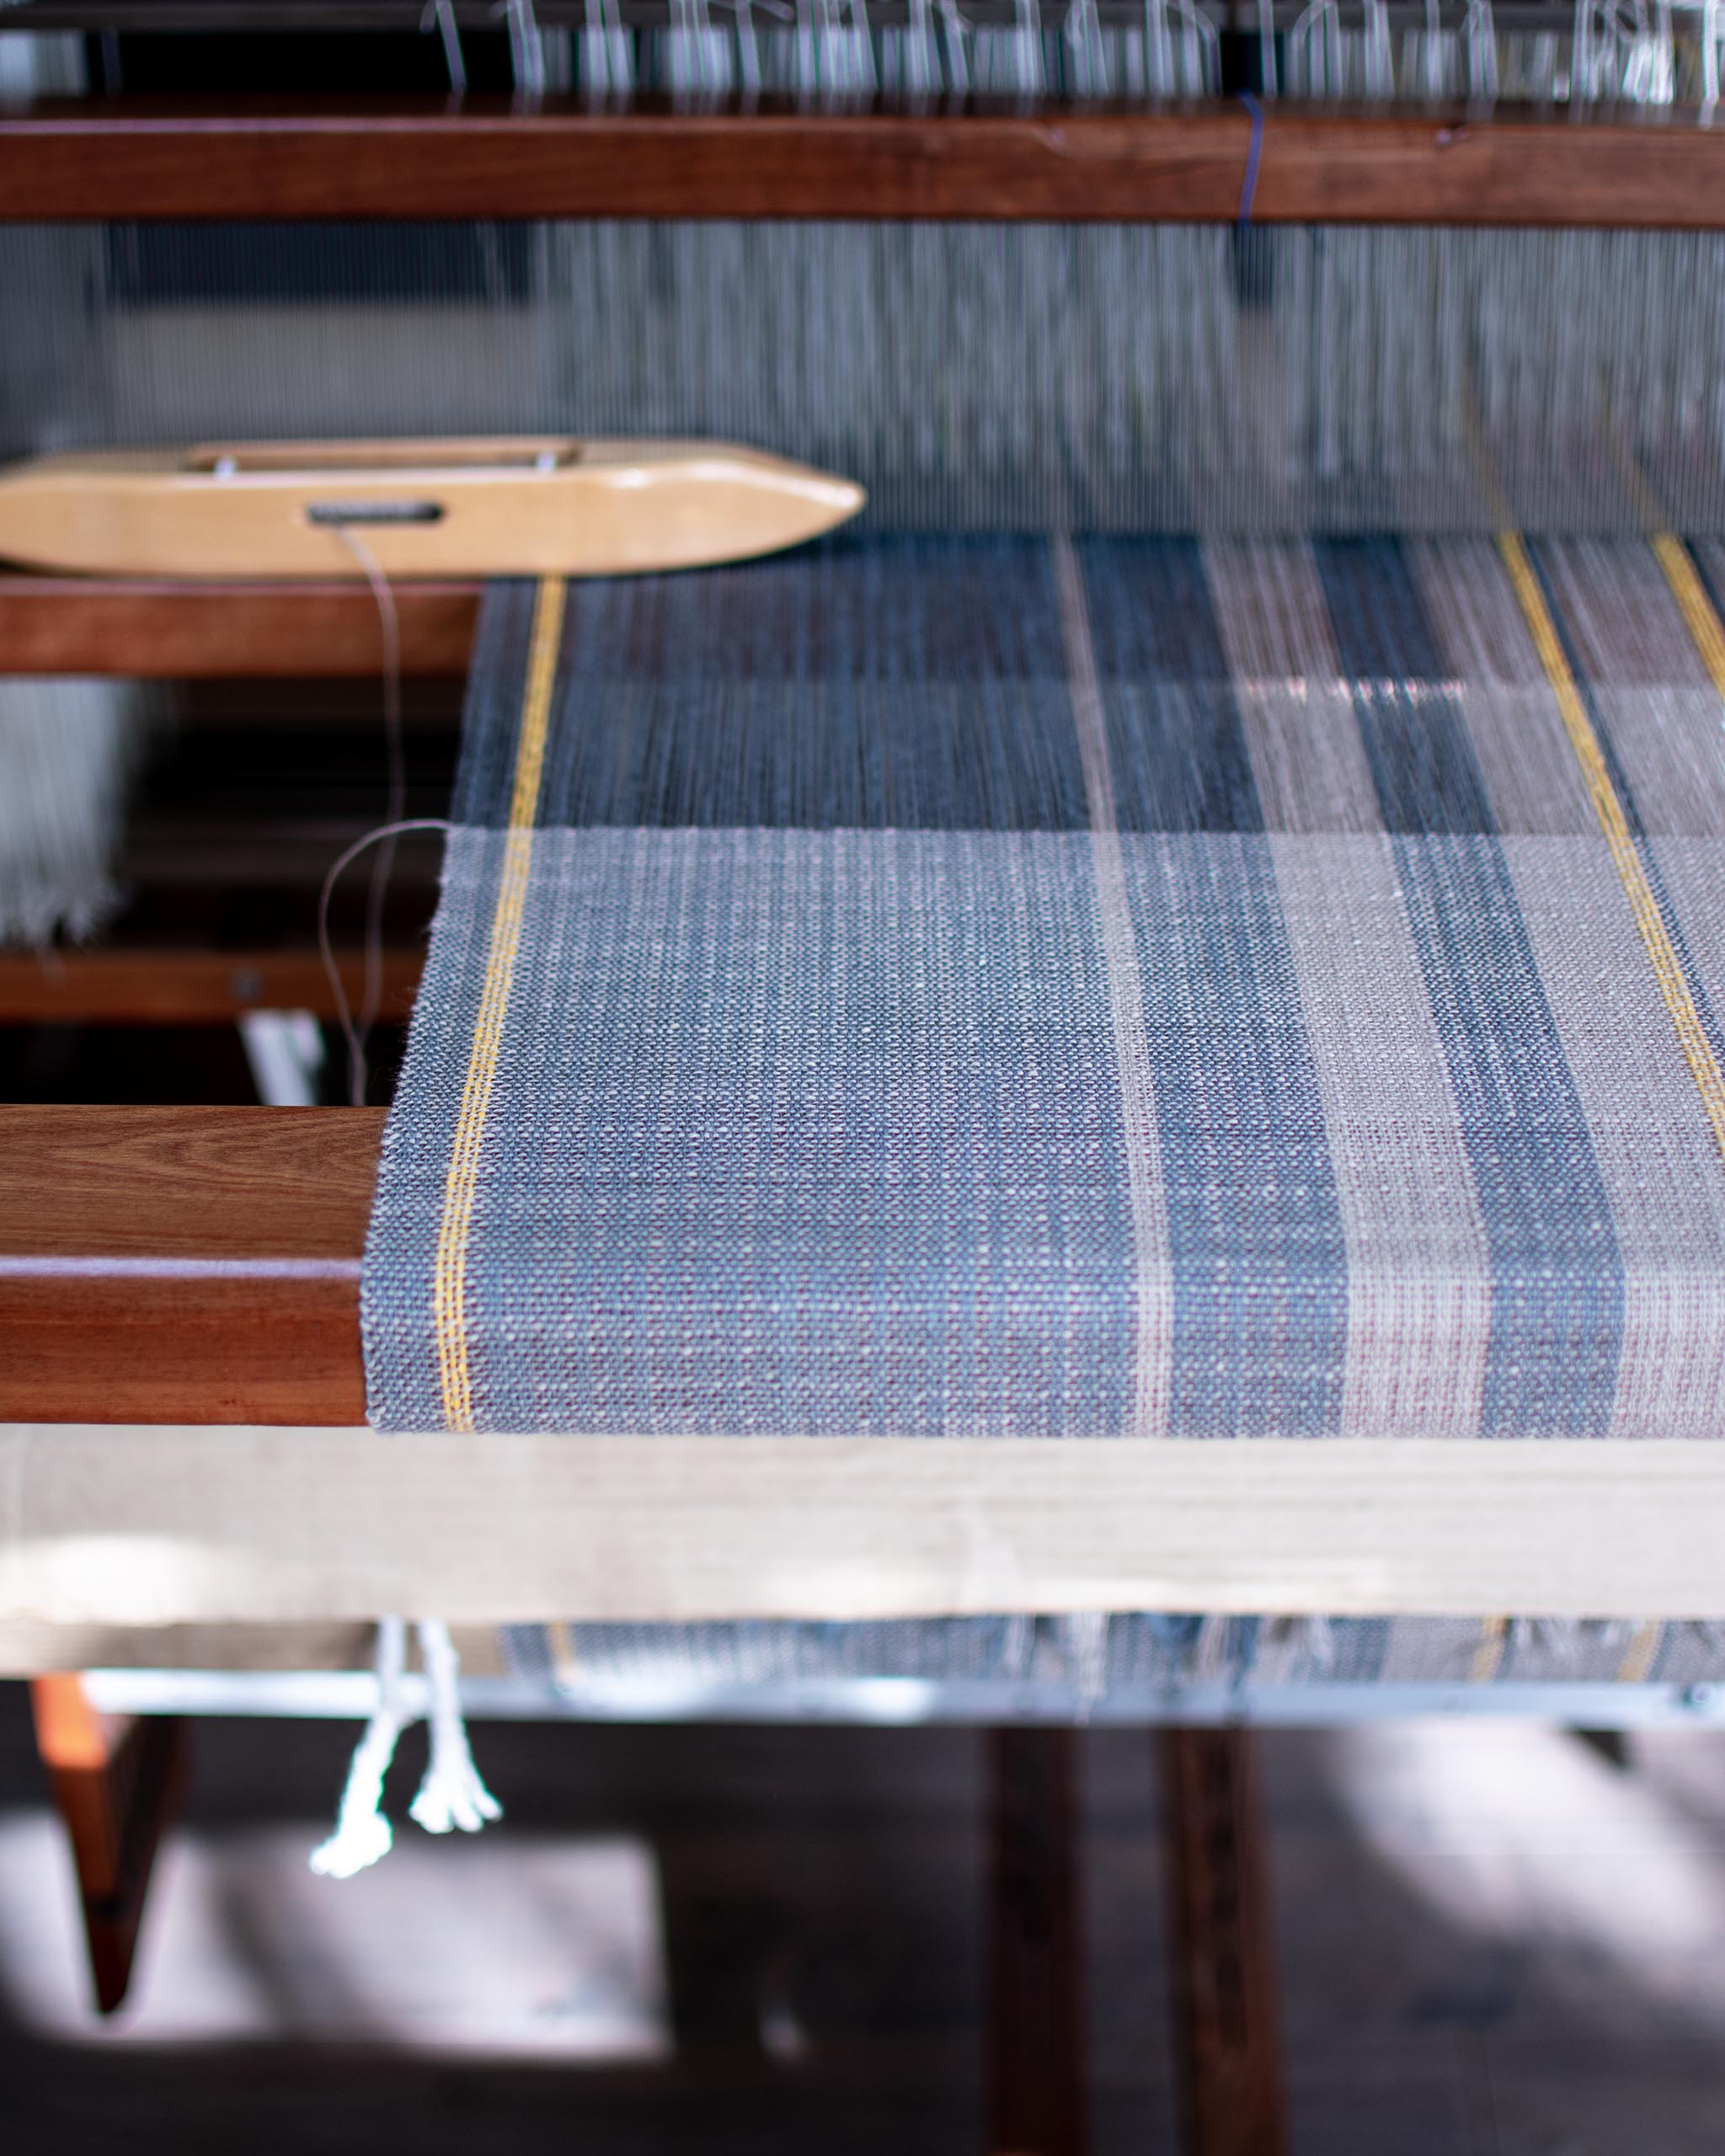


Color A = Slate, Color B = Sand, Color C = Goldenrod
Warp Color Order: Wind your warp in the following order for a total of 350 warp ends.
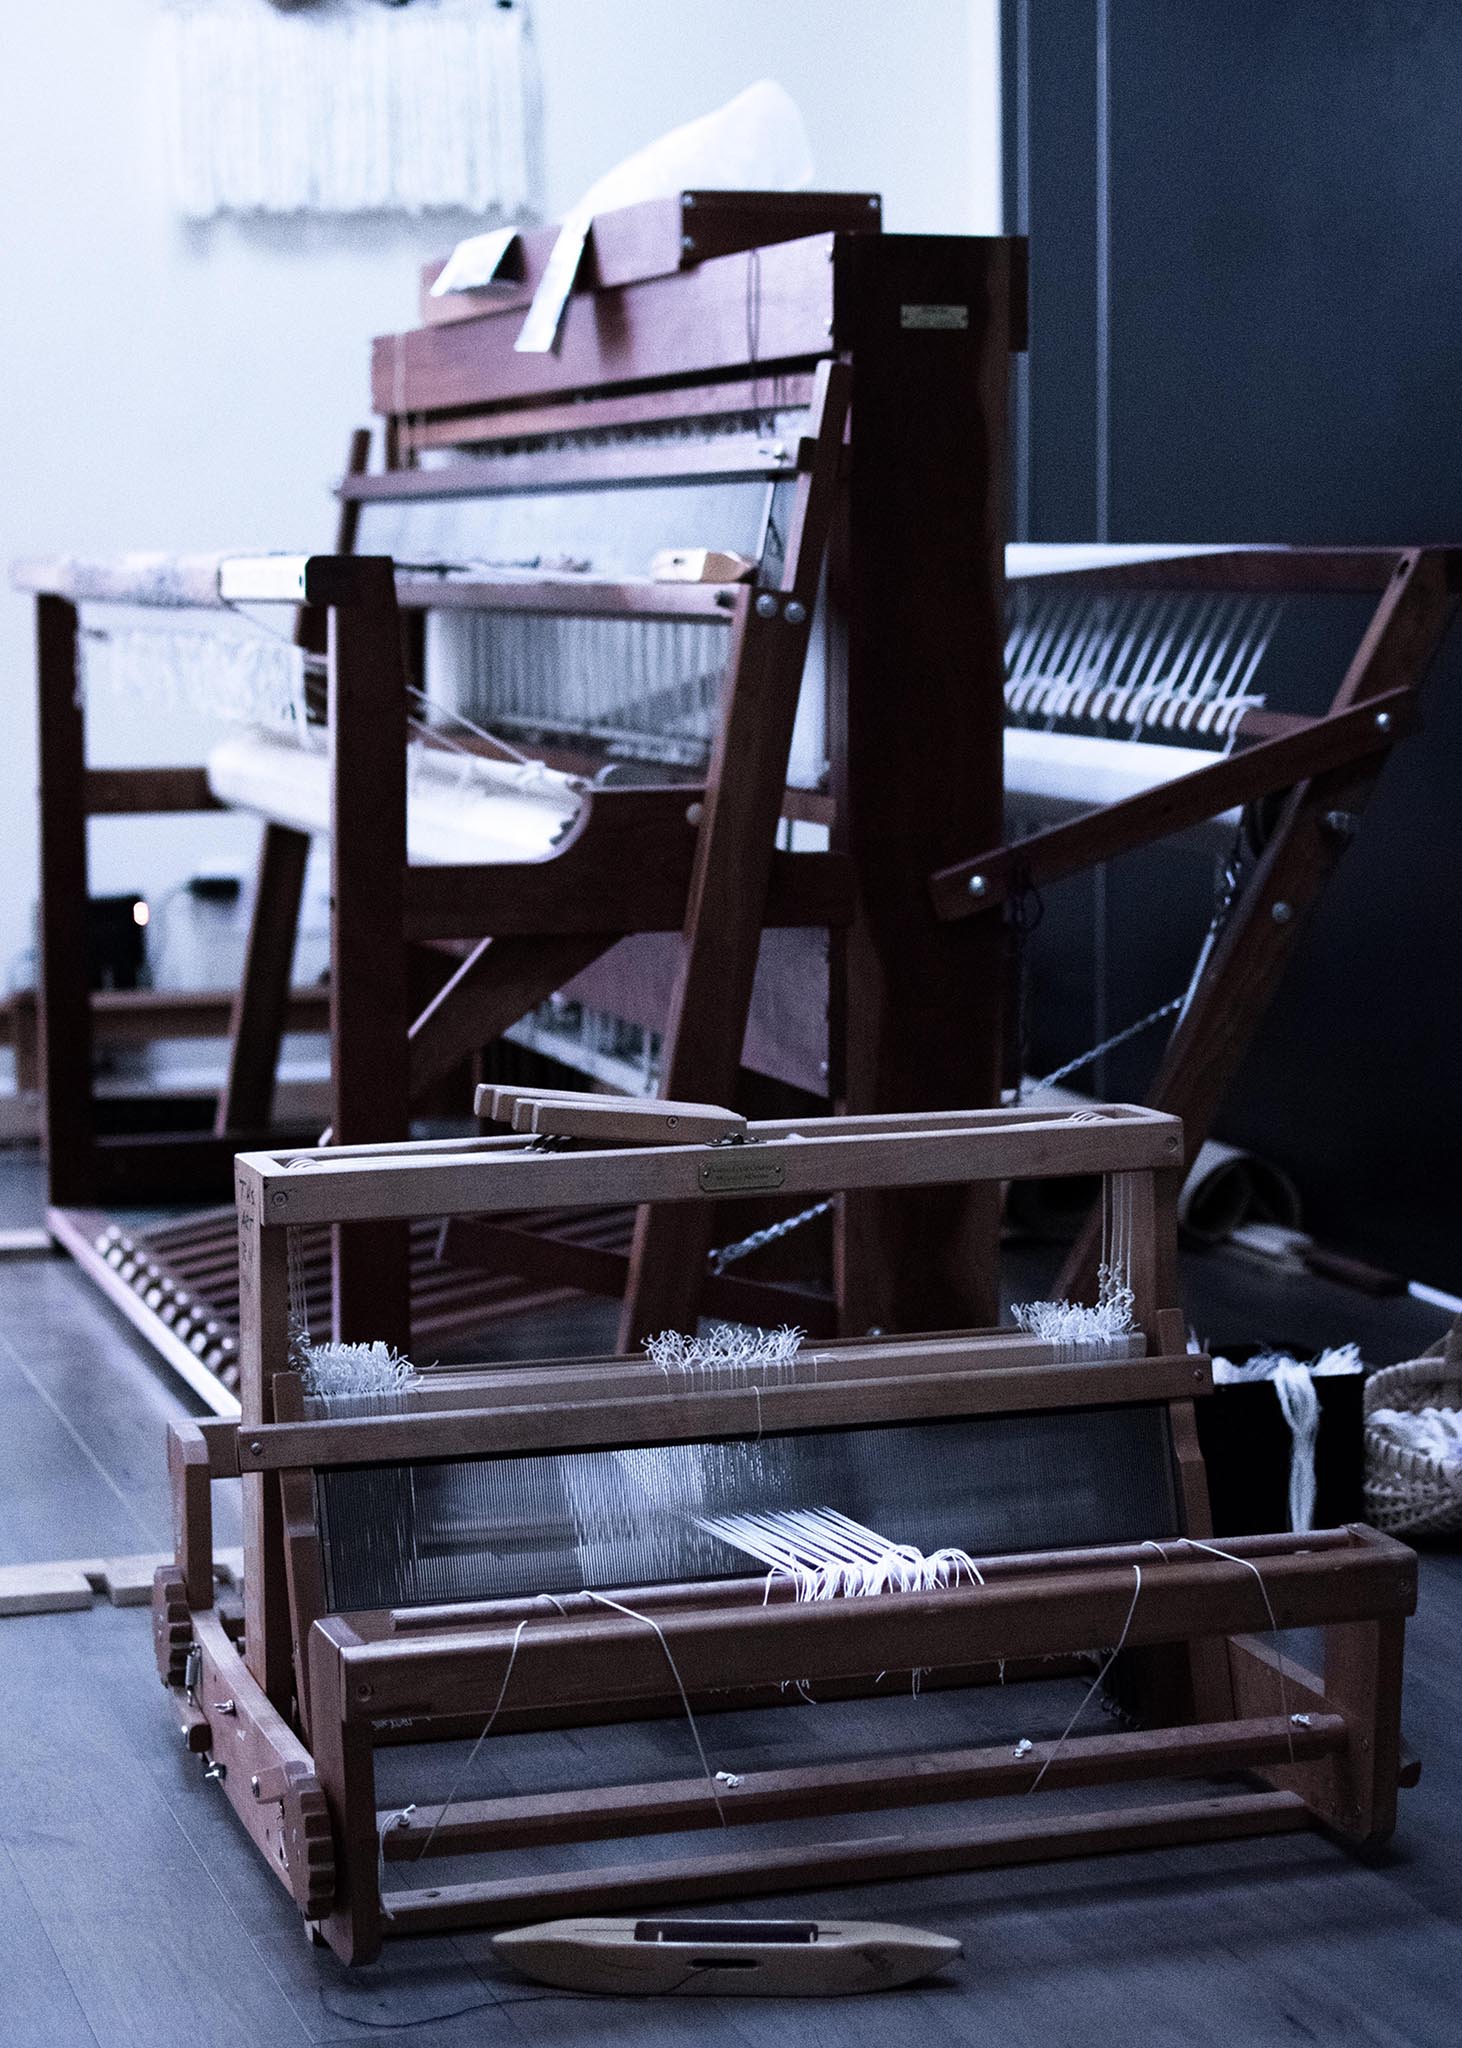
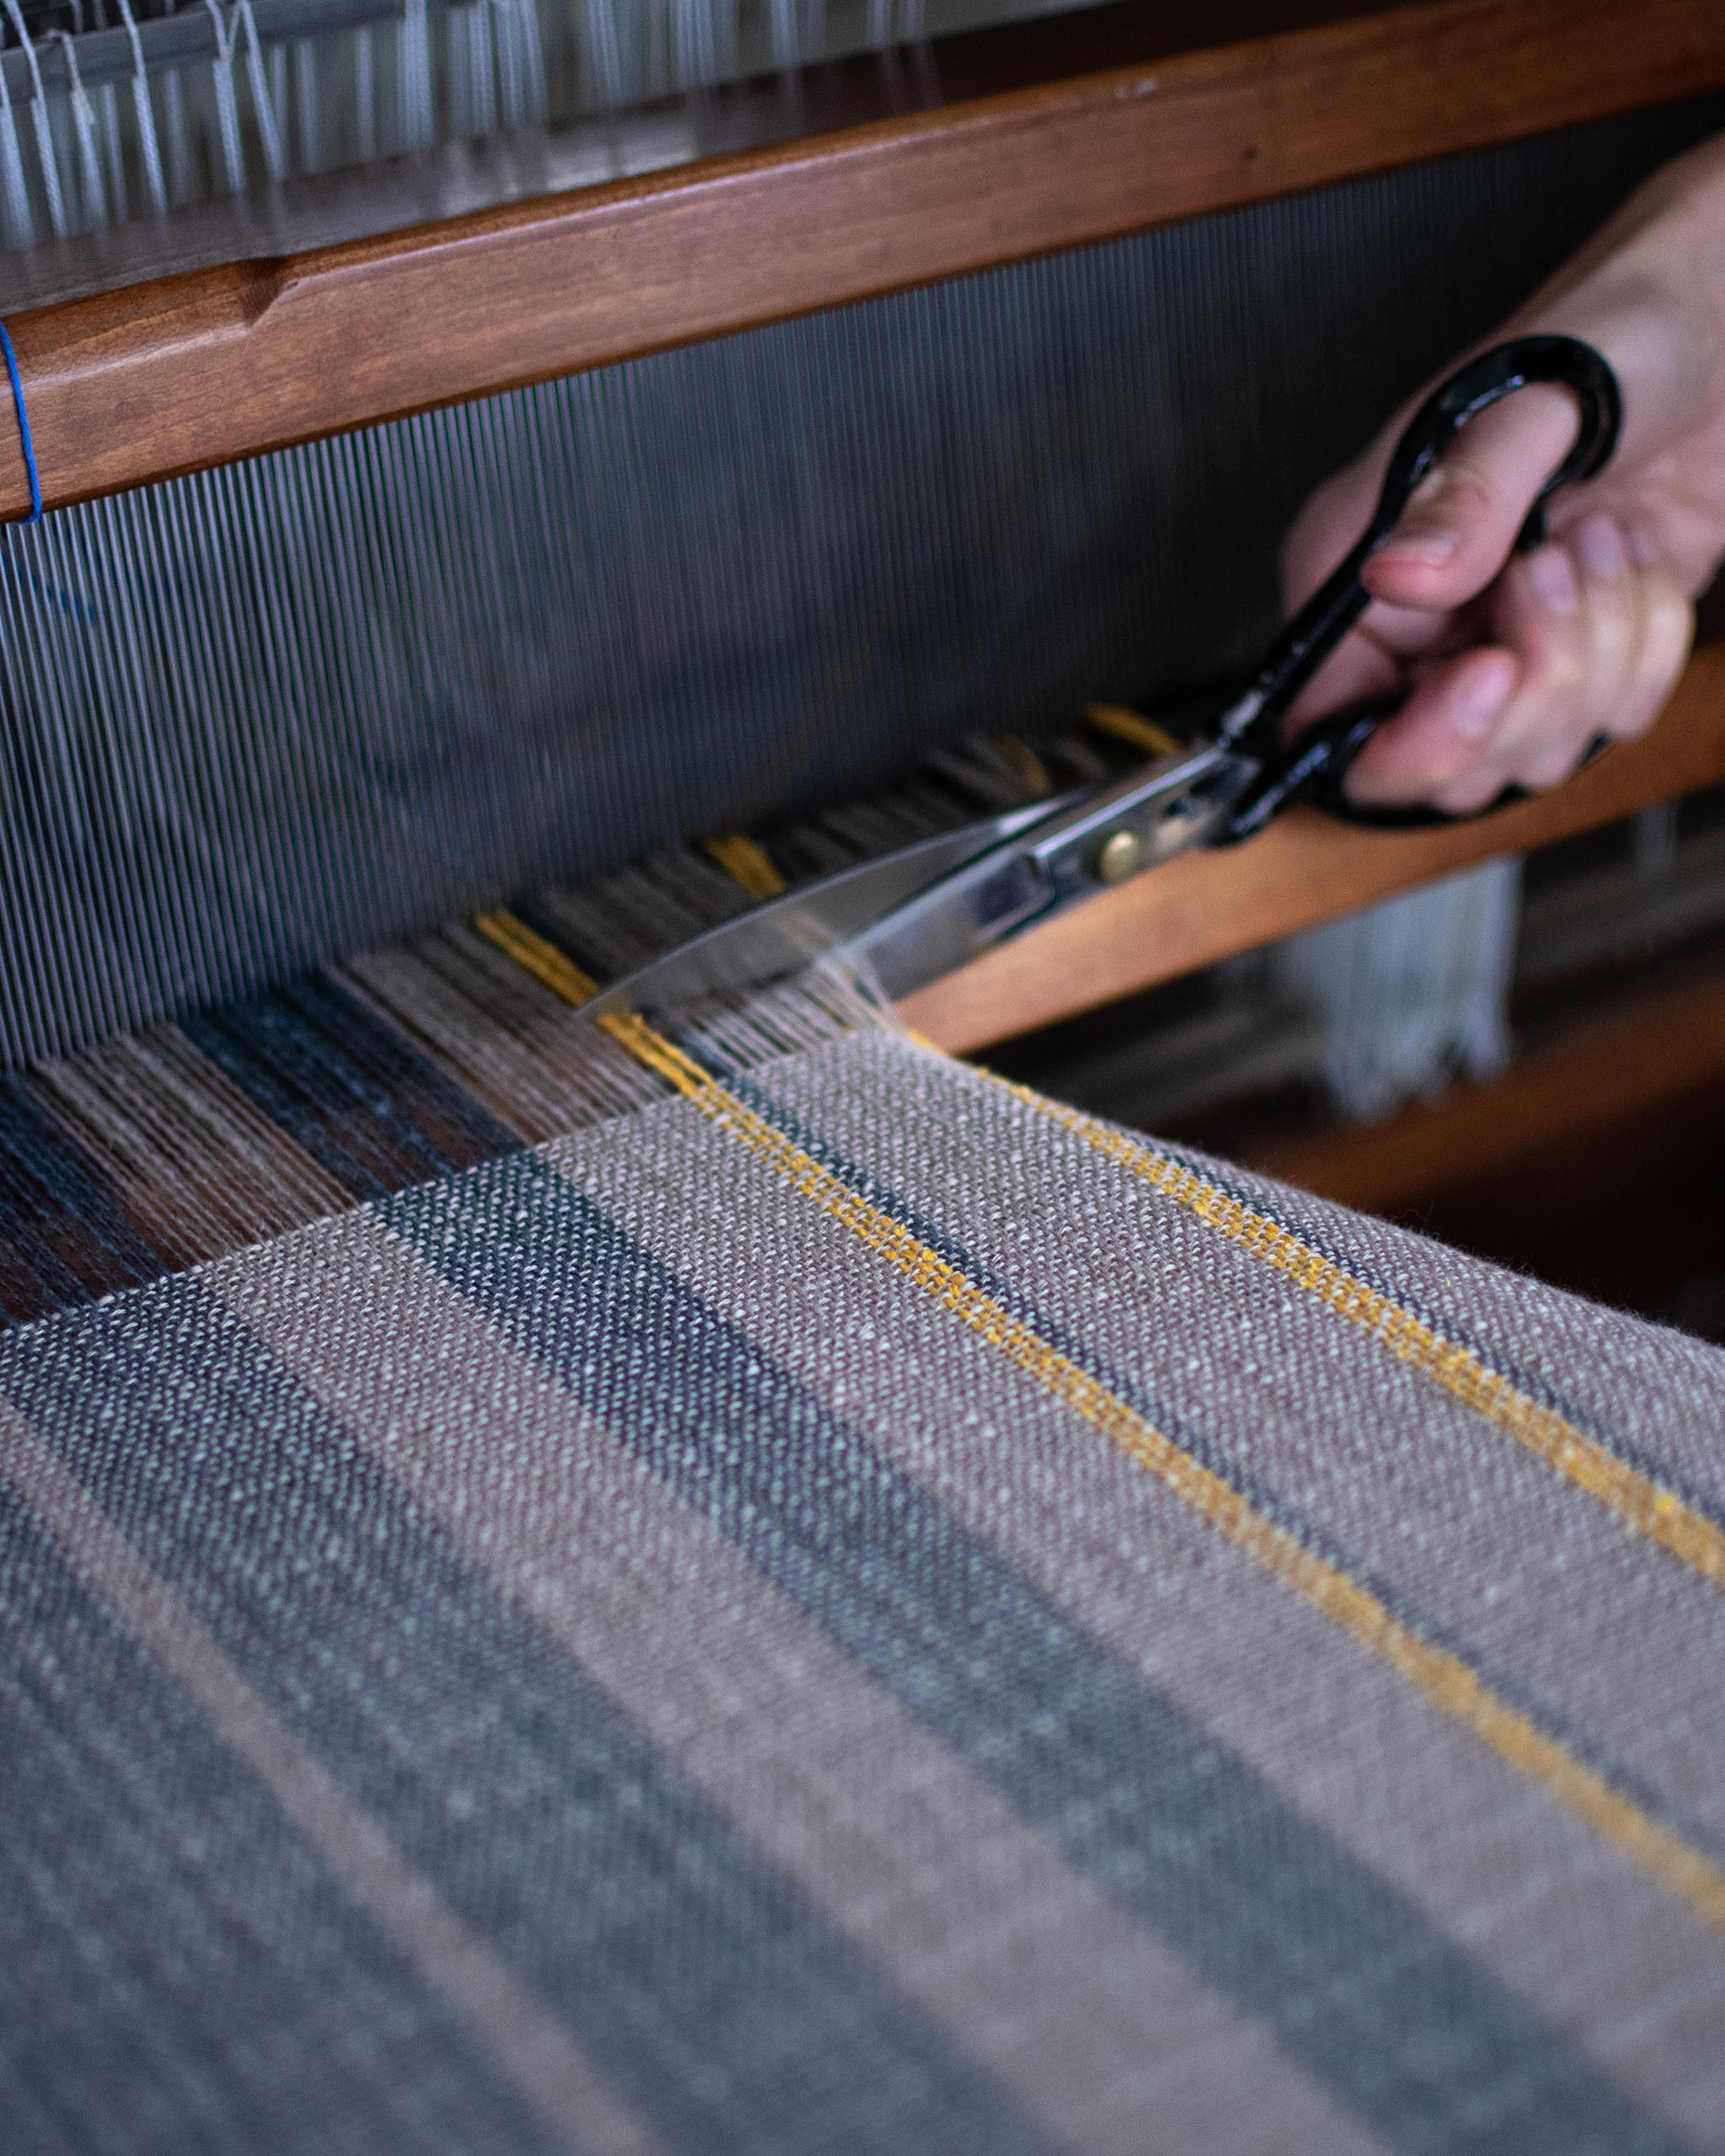
Maria writes, "Prepare the warp on the warping board and set up your loom for plain weave in whichever way you prefer. I used [Color B, Sand] as the weft, but due to the generous size of all 3 of these skeins there is plenty of extra to experiment. After cutting the woven fabric off the loom, I used a zigzag stitch to secure the edges of the fabric. Then, I washed the finished fabric in the washing machine on gentle cycle and hung it on a laundry rack to dry. Before sewing, I gave it a nice even press with the iron."


Maria writes, "These are instructions for making a top with similar dimensions to the top I made, but of course, all of these steps can be modified for desired size and length, and depending on your loom, the finished dimensions of your woven fabric may also be different, which would also affect the length you have to work with.
My finished dimensions of the top:
1. Fold the washed and pressed fabric in half crosswise (perpendicular to selvedge), lining up and squaring off the edges. Press the fold, and mark it with pins, water soluble marker, or preferred method. Then, using a zigzag, sew a line down both sides of the fold to secure the warp threads. When both sides are secured, cut down the fold line. Now you have 2 equal sized lengths of fabric!
2. Line up the lengths of fabric lengthwise next to each other to determine which orientation of the fabrics you like. Overlapping the two fabrics in the center about ½”, pin from both ends of the fabric towards the center, leaving an unpinned portion for the head the way you would if you were making a poncho (my top has 16.5” of unsewn gap for the head). Sew 2 lines of straight stitch about ⅛” from each side of the overlap on the front of the top, and the back of the top.
*Because I use a less traditional sewing method for this top, at the neckline (front and back) I gently tapered the two fabrics apart over the last inch of sewing. This isn’t a necessary step, but it allows for an even stronger and more secure connection on these high stress spots.
3. Then, fold the top crosswise in half, and start pinning the sides together. I left 7” from the fold/shoulder of the top for the armhole (circumference: 14” - adjust as needed), and stopped sewing the side about 10” from the hem, on both sides of the top. I just overlapped the edges and sewed 2 lines of straight stitch, as I did at the front and back of the top.
4. Next, fold the back hem edge about ½” inwards and press, then fold and press one more time, and pin. Fold the front hem edge in the same direction as the back hem (it will look wrong, like it’s backwards) in the same way and pin. Sew a straight or hem stitch on both.
5. Lastly, fold up the front hem towards the top of the shirt to make a pocket flap, as far as your side seams allow. Press and pin down the flap, then sew a straight stitch from the center top to center bottom of this pocket flap. Fold the sides in about ½” so they line up neatly with your side seams, press, pin, and stitch along the length as well, on both sides of the pocket flap.
*Extra backstitching is a good idea when sewing up the pockets for extra strength.
6. Trim any excess threads sticking out, maybe give your top one more press, put your awesome top on, and go strut your stuff!"
Black Birch Textiles is the work of Seattle based artist, Maria Magdalena Ma. Maria’s addiction to fiber started at the age of 6, when her grandmother taught her how to knit, crochet and embroider. While working in other mediums at SMFA towards a BFA, string in various forms kept creeping into her work. Then around 2012, she had an opportunity to take a weaving class on a 4 shaft loom, and her studio hasn’t been the same since.
Today Maria handweaves cloth on her large cherry wood 8 shaft floor loom, and forever the fiber arts student, she also spins some of her yarns, experiments with natural dyes, knits, crochets, embroiders, and sews (sometimes all to make one piece).
She is heavily inspired by traditional, meticulous, and mindful craft from all over the world and its place in today’s often overstimulated life.