
Shopping Cart
*continental US addresses only
*continental US addresses only
Your Cart is Empty

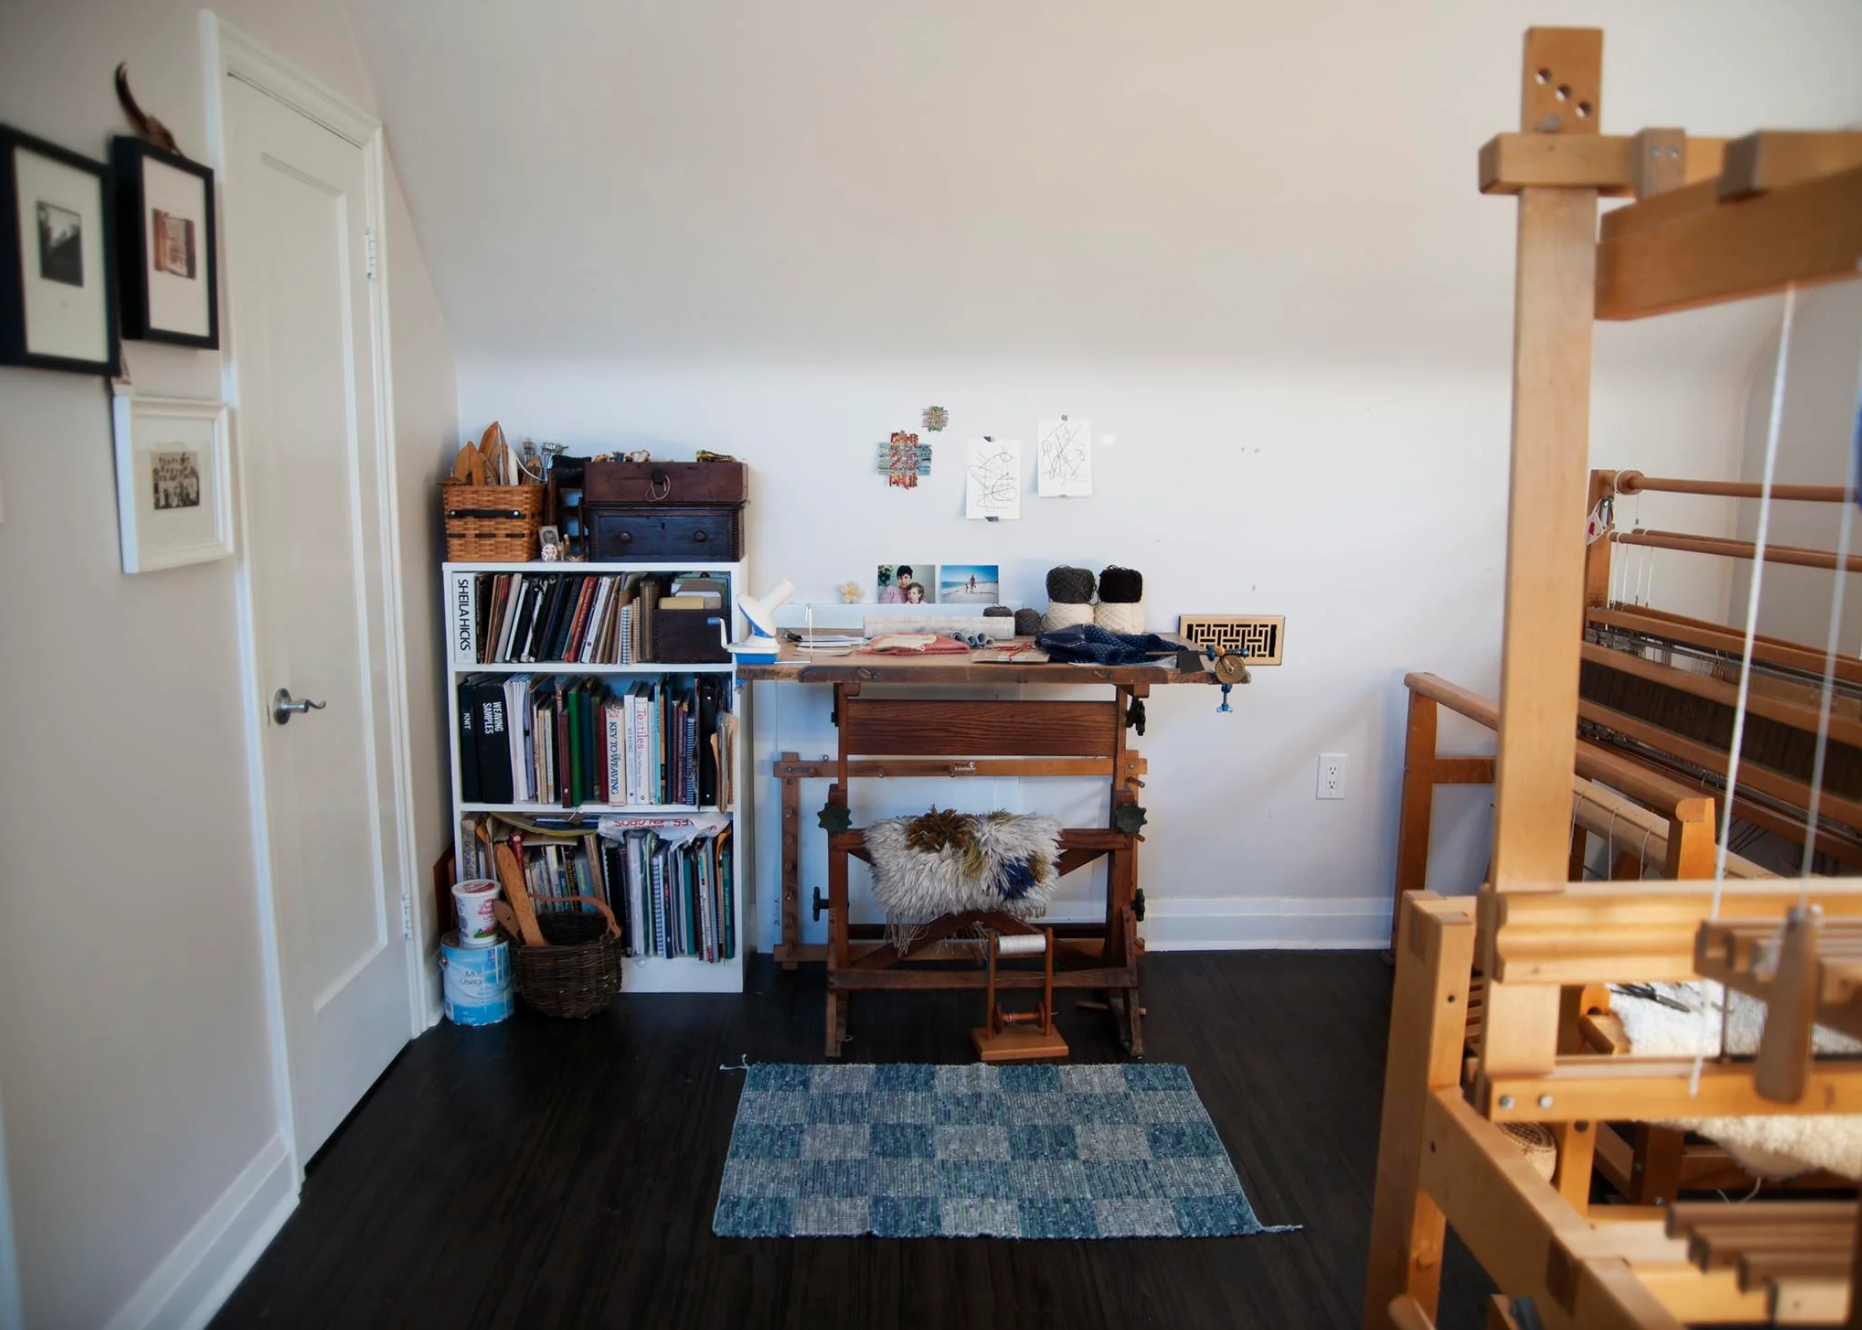
Several times per year, I like to reset my weaving loom and equipment by giving it a little TLC, ensuring it’s ready to go for the next project. This usually happens at the end of a big warp or long-term project, when I stop being able to find things, or when the dust under the loom becomes just too much! Sometimes, it also happens just because: maybe there’s a funny sound, or I need to move heddles around, and it’s just a good opportunity to give everything a once over.
Loom maintenance can go a long way in preventing mistakes, supporting equipment longevity, and ensuring that your most important tool is running smoothly (which in turn means that weaving is smooth and fun, too!). In this article, I’ll share some of the short checklist of things I like to do every few months to care for my loom. I often time this maintenance to coincide with a seasonal shift since increases or decreases in temperature and humidity can affect wood as well as yarn, and it’s easier to remember that spring cleaning = loom cleaning, too!

Before you get started on any loom maintenance tasks, it’s a good idea to know more about your loom: who made it, what kinds of parts are on it, and what it’s made of. That way, if you need to order replacement parts or need to ask questions, you know exactly where to go for answers; many of the most popular manufacturers of weaving looms in North America are still in business and can offer you assistance in upgrading or replacing parts.
Replacing parts is probably more relevant if you’re buying a used weaving loom (read part one of that article here!), but a more pertinent maintenance question might be how to treat the wood of your loom. Many weavers may want to refinish or condition their wood, but using the right product or approach is critical. I found this article in Handwoven Magazine very helpful — varnished wood, for example, won’t let oil in! In general, however, my favourite approach for caring for my loom’s wooden parts is plain old soap, water, and a little elbow grease.
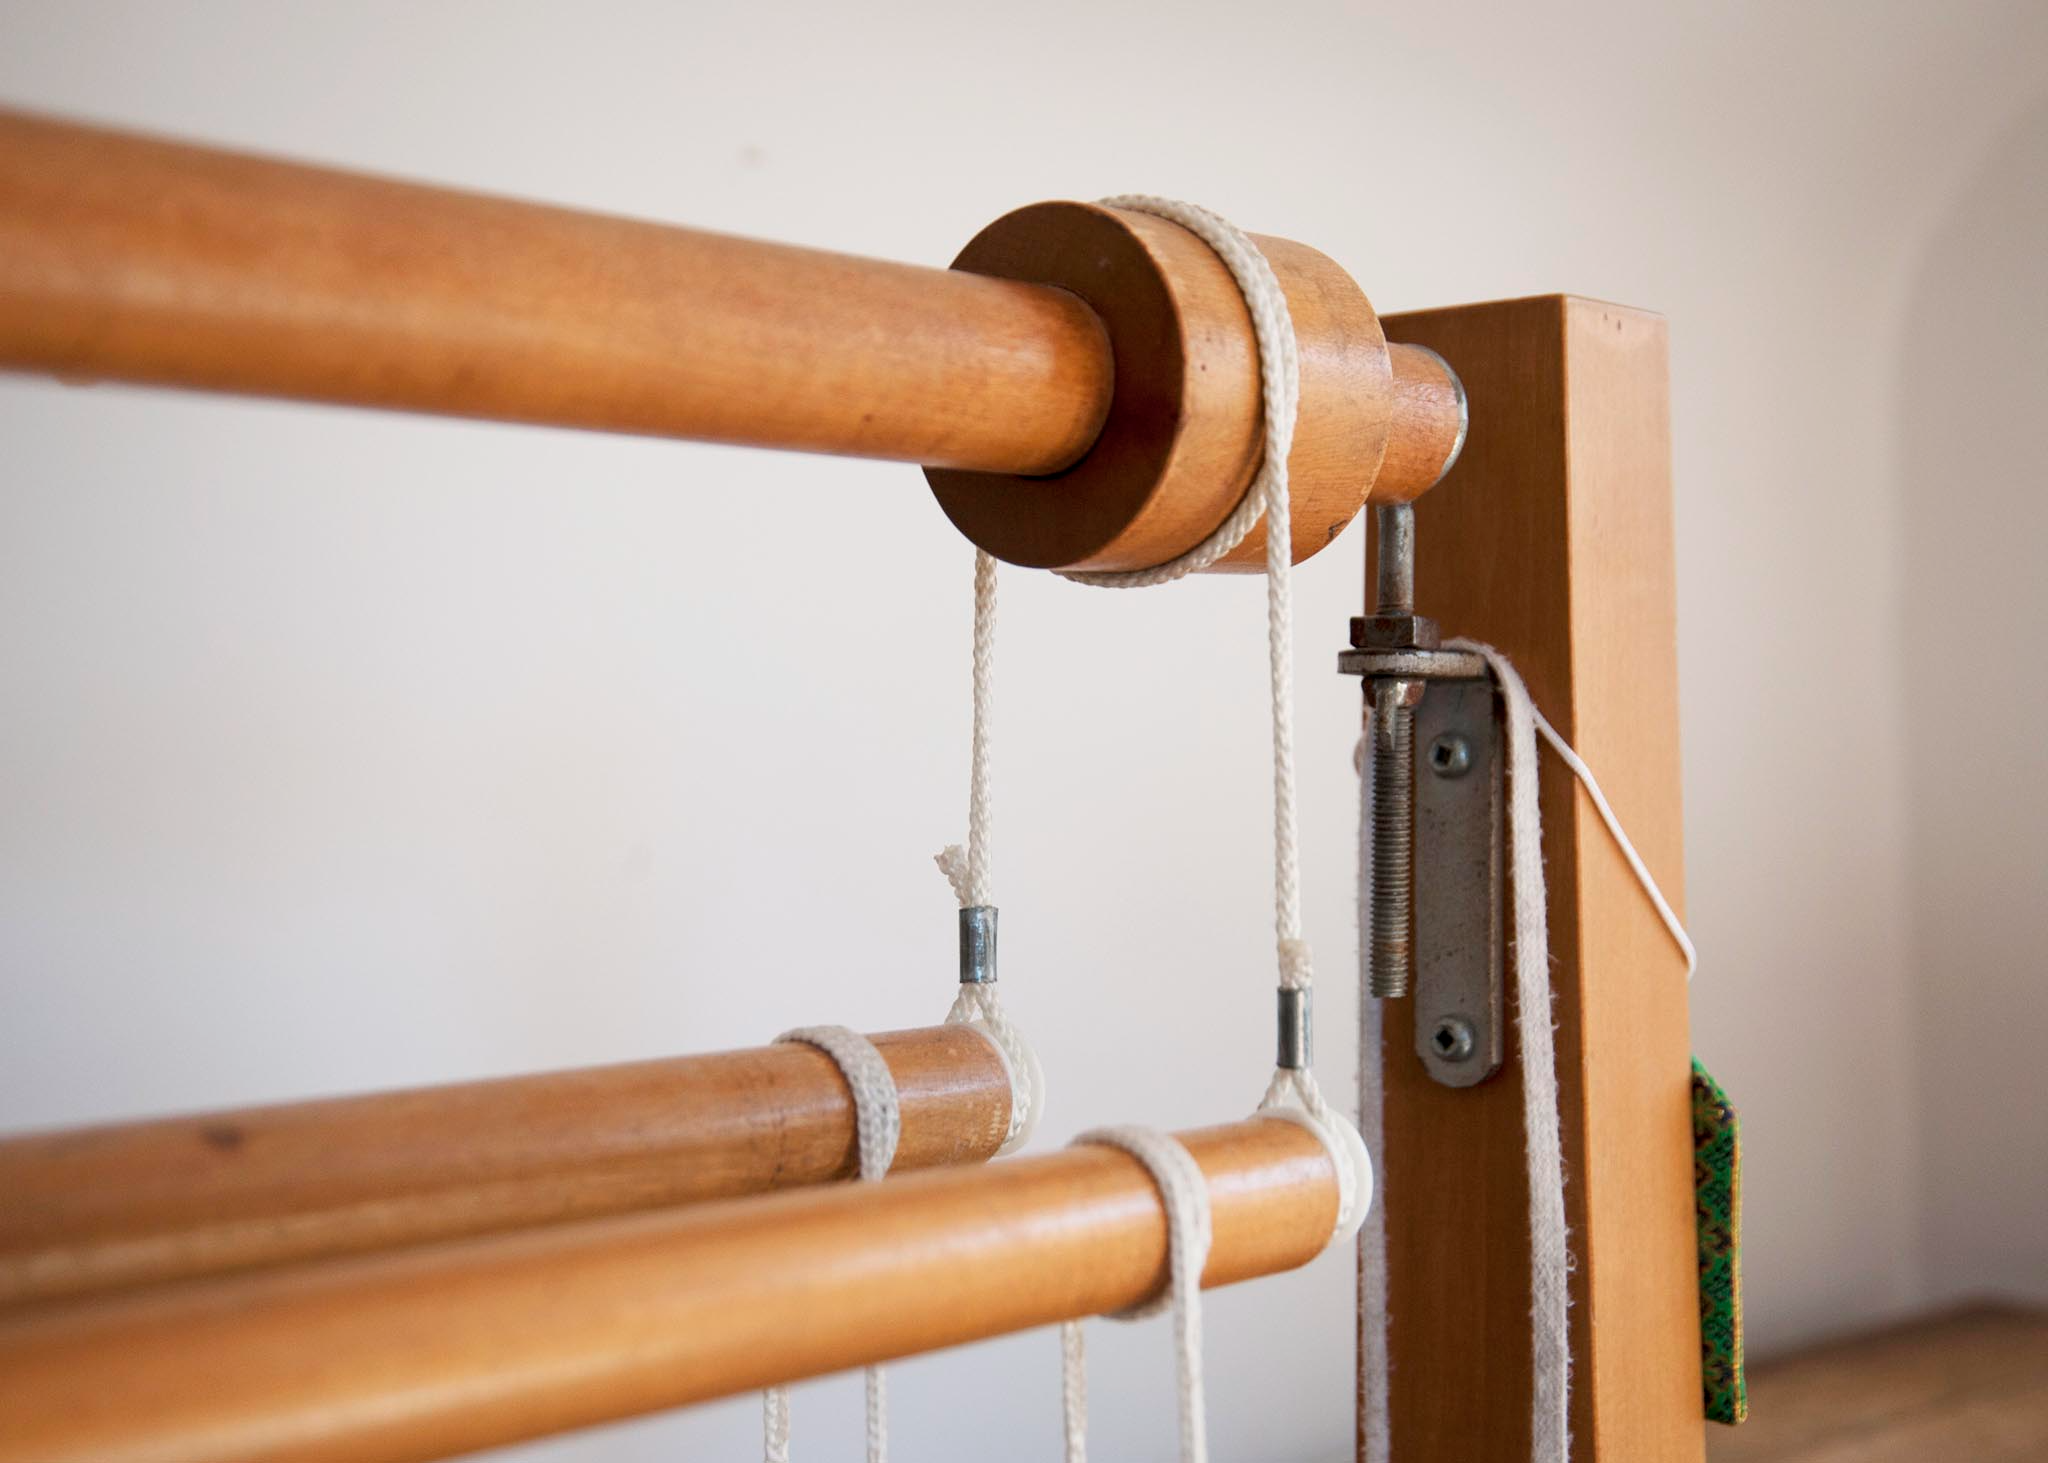
First up: tighten those bolts! I think I’ve written about it before, but I was once happily weaving away when my treadles floated away because the bolt holding them on the loom had come loose. Oops! Looms move and flex during use and as wood expands and contracts with temperature and humidity changes, so it makes sense that bolts loosen over time. Tighten your bolts with the proper sized tool, and don’t over-do it — you risk cracking the wood. Don’t forget your bench, too!
As you’ve probably noticed, your loom will collect small pieces of string, dust and weaving debris. I use my vacuum to hoover these bits off, paying close attention to holes and the channel my reed sits in, where dust seems to get particularly compacted. I go from the top to the bottom - castle, lamms, beams, lower lamms, treadles, and, of course, underneath, where the dust bunnies grow to outrageous proportions.
One task I don’t particularly enjoy is counting heddles and redistributing them across all 4 or 8 shafts. But over several projects, this task becomes inevitable, so I’ll put the time aside several times a year to reset my heddle count. When I had a loom with metal heddles, I used a swipe of brightly-coloured nail polish to mark every tenth heddle so that I could easily count how many I had on each shaft.
Loom cords can become frayed and stretched over time, so taking inventory of them and replacing or upgrading them is recommended. If you need new cords, I recommend changing them all at once instead of piecemeal — just in case they behave differently and affect your work.
Inspect your apron for damage or wear and tear — that’s another one where I have personal experience of an old apron ripping in the middle of a project! The best apron I ever had was a thick canvas (the fabric type, not the weave structure!); it had a grid pattern that made it very easy to assess and install.
Those of us with older reeds may need to maintain or repair them occasionally. Besides a regular vacuum, I sometimes need to replace the brittle paper wrapping the top and bottom edges. I like to use gaffer tape for this and usually remove all the old flaky paper first.
Your loom’s brake doesn’t need any maintenance beyond a vacuum and cleanup if it’s got any string or dust in it. Resist the urge to oil or grease it — it doesn’t need it! If your loom has cogs like mine, ensure there’s no string wrapped around it and tighten the bolt holding it on.
Caring for your loom is simple — as long as you don’t drop things on it or get it soaking wet, you should be able to safely use it for many years with minimal maintenance. Following these seven tips two or three times a year is good habit to get into, and has the added bonus of helping you understand how everything works and goes together too!
Amanda Rataj is an artist and weaver living and working in Hamilton, Ontario. She studied at the Ontario College of Art and Design University and has developed her contemporary craft practice through research-based projects, artist residencies, professional exhibitions, and lectures. Subscribe to her studio newsletter or follow her on Instagram to learn about new weaving patterns, exhibitions, projects, and more.