
Shopping Cart
*continental US addresses only
Welcome to the Gosling Pillows Weave-Along with Arianna E. Funk!
Arianna will be giving us some insight into the Swedish way of dressing the loom, which she covered very extensively during the Halvdräll Towels Weave-Along.
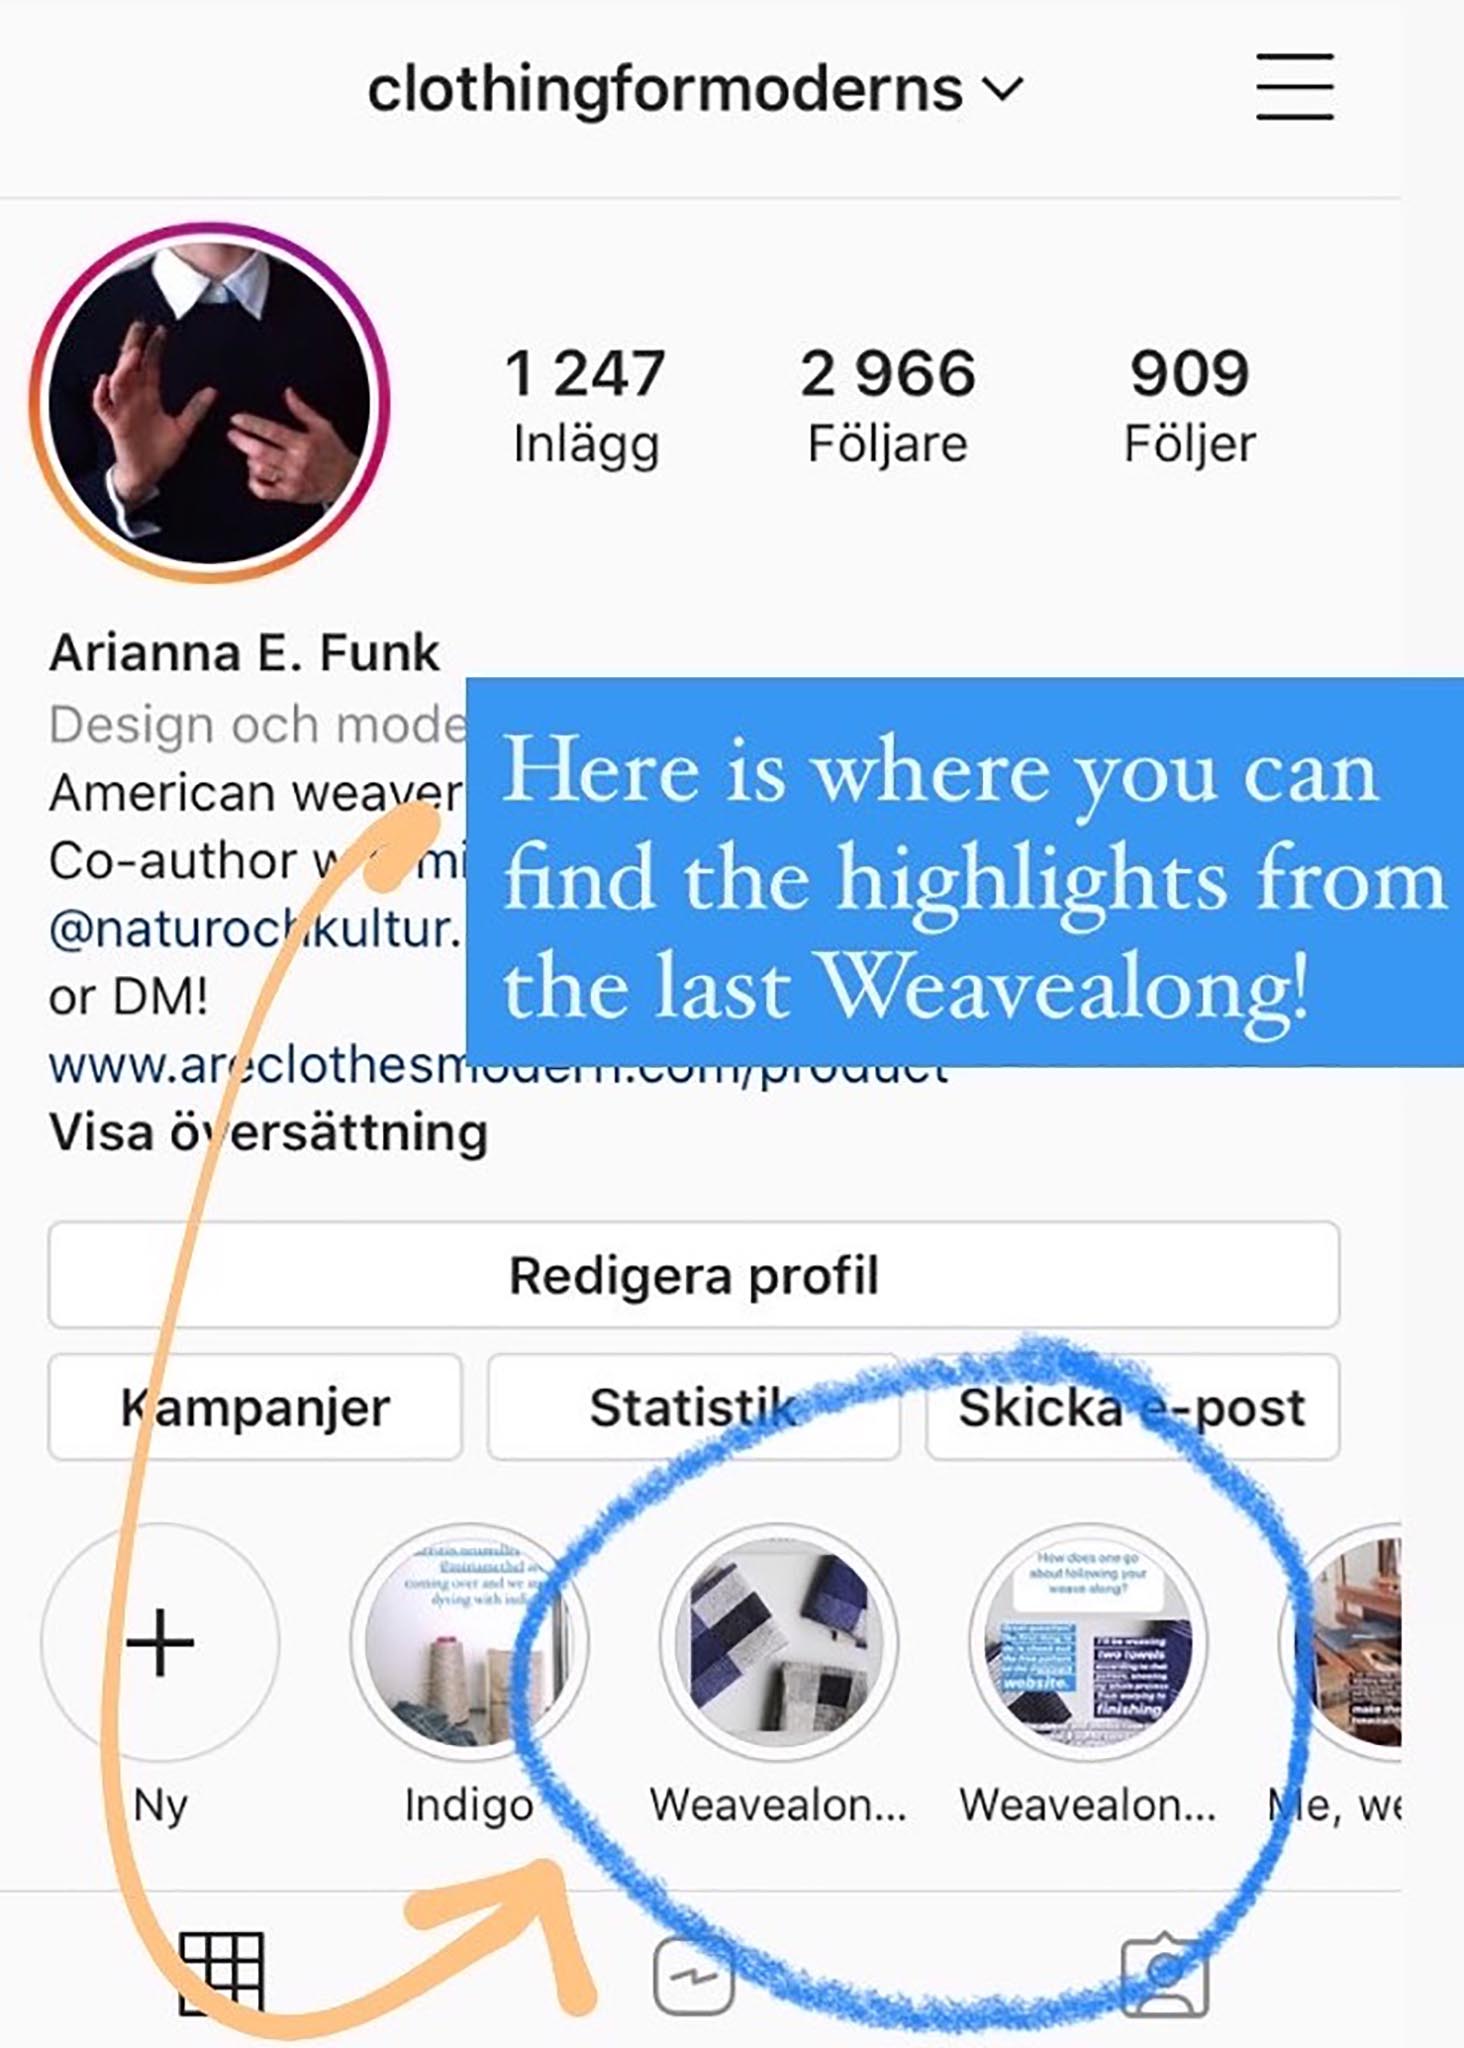
To see more of Arianna's weaving process and previous Weave-Along, visit her Instagram and look for story highlights (pictured here).

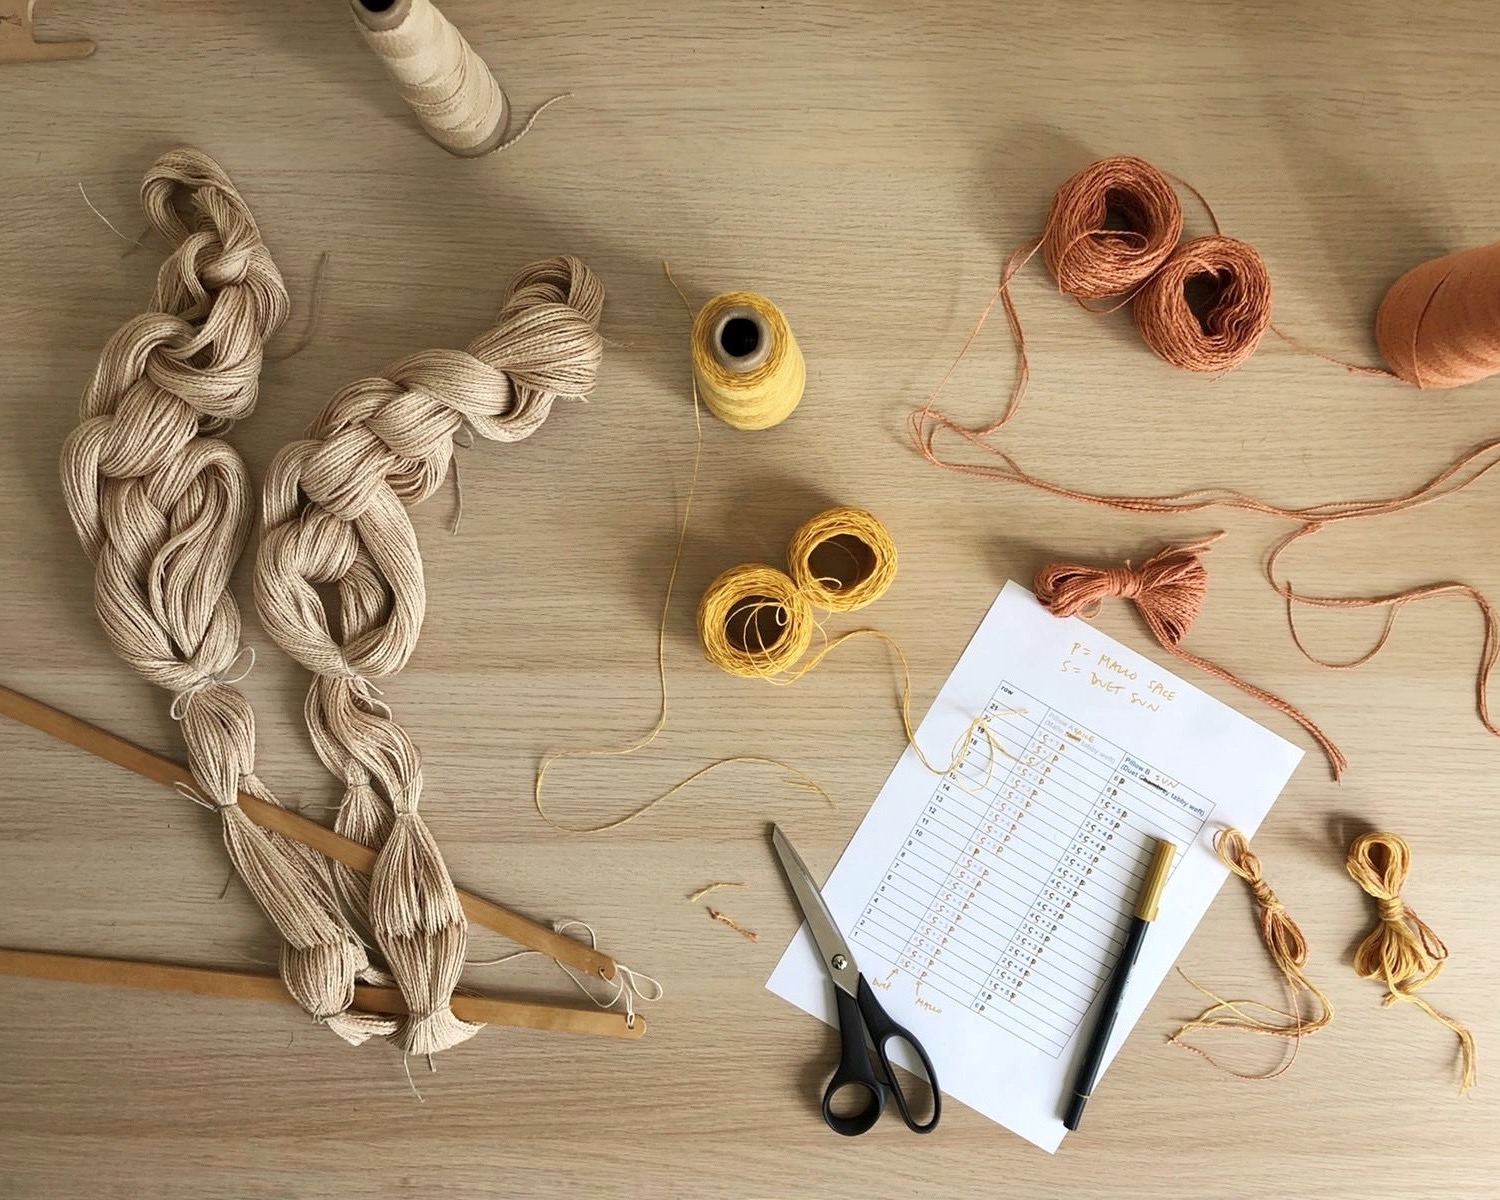
Arianna is using Gosling Pillows Kit ~ 2 for this Weave-Along.
I prefer pre-sleying because I would rather sley twice than tie on twice! But it's really just a matter of how you learned and how your brain works, of course. I also like that it is easy to combine different warp chains for more complicated patterning without having to sacrifice efficiency in warping.
You can see more about this process on Arianna's Instagram story highlights or IGTV.


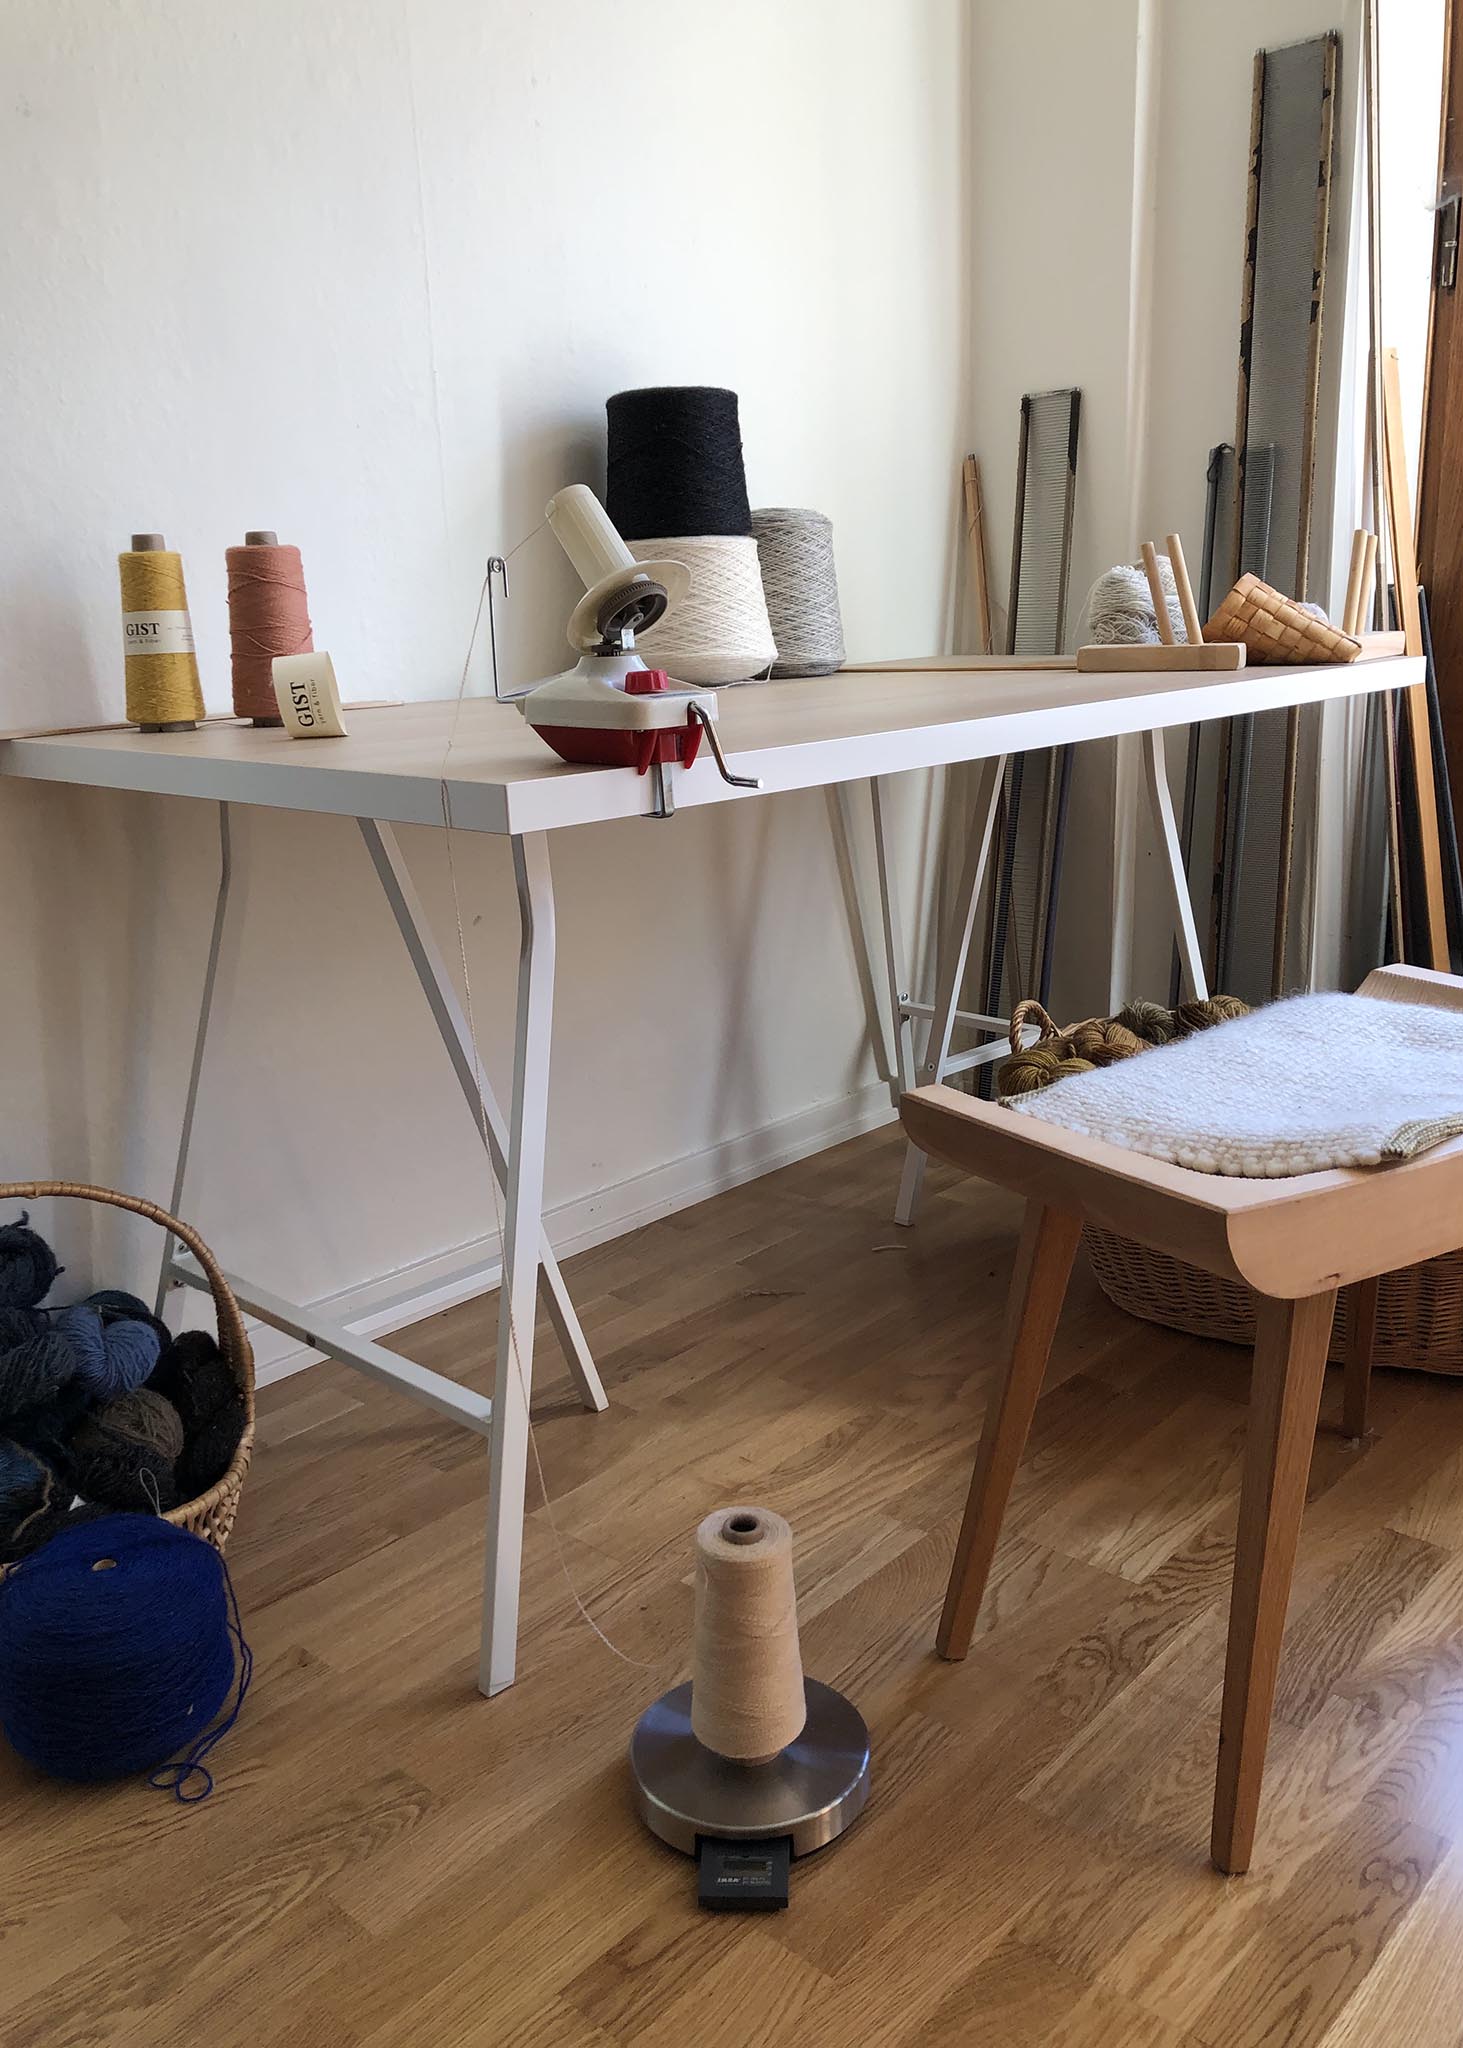
Normally I would use my jack but this warp is so short that I'm going to cheat and just hang weights from my two chains over the front beam.


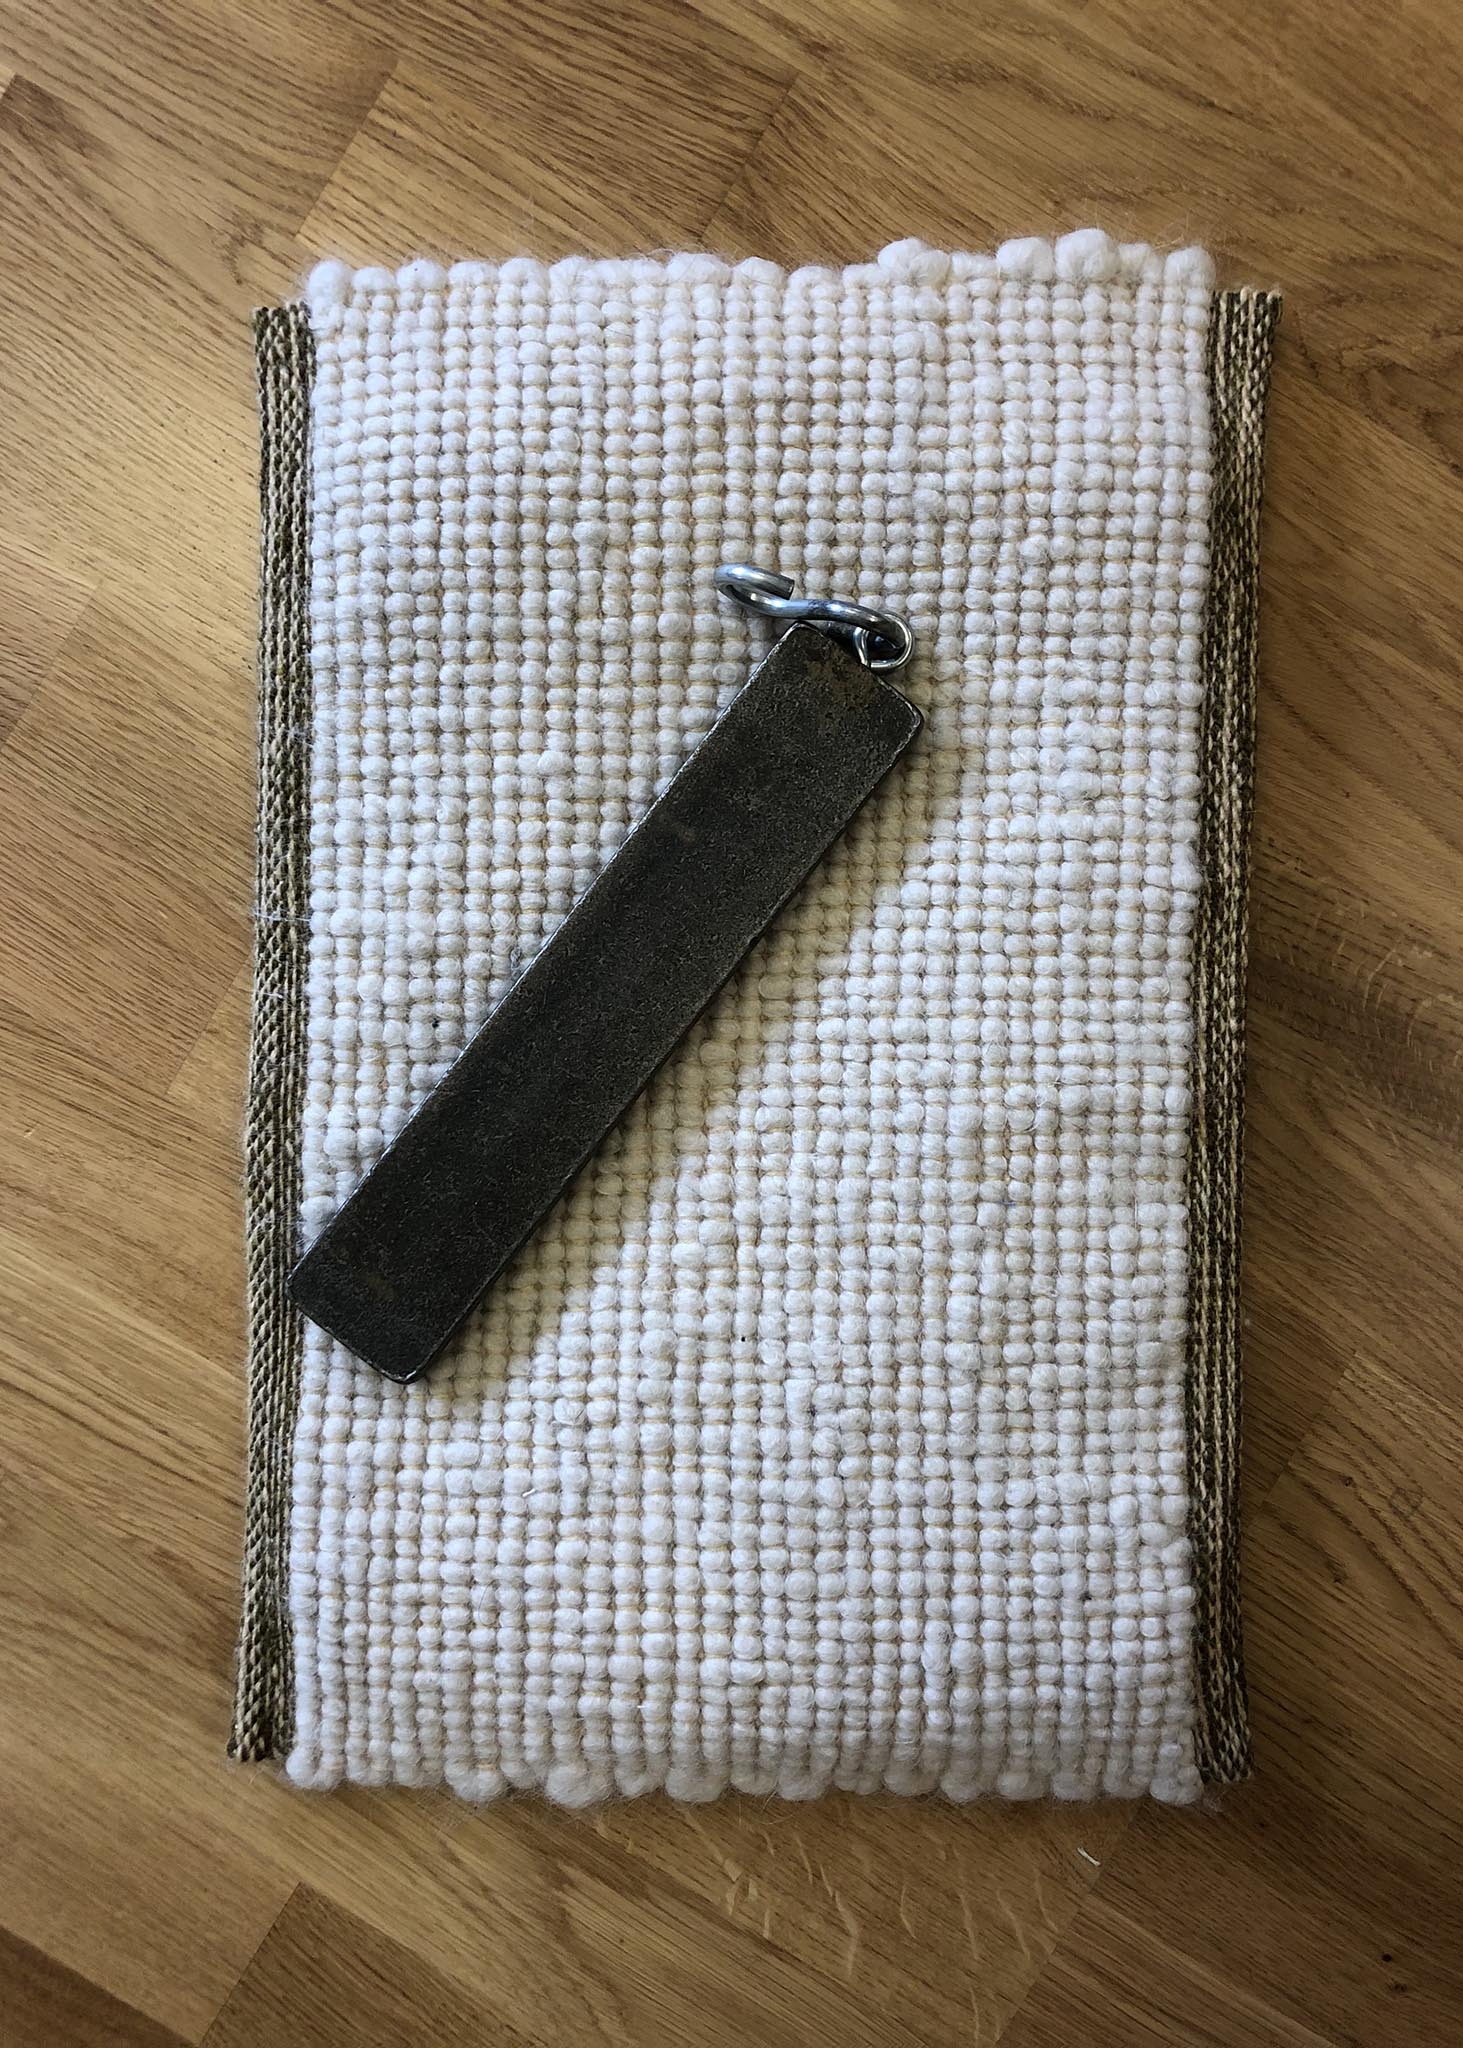

The weights I use are from my damask extension -- they are maybe lead? Super heavy: 1475 g (3 lb 4 oz) each!
It's good if the weights are really heavy, since the more taut the warp ends are while beaming on, the easier it is to feel discrepancies in tension. But it's even more important that they are equally heavy, otherwise you may have tension issues.
Some other ideas of what to use: free weights, two jugs with handles filled with equal amounts of water, cinderblocks...it's good if they can be easily attached/tied on and removed.

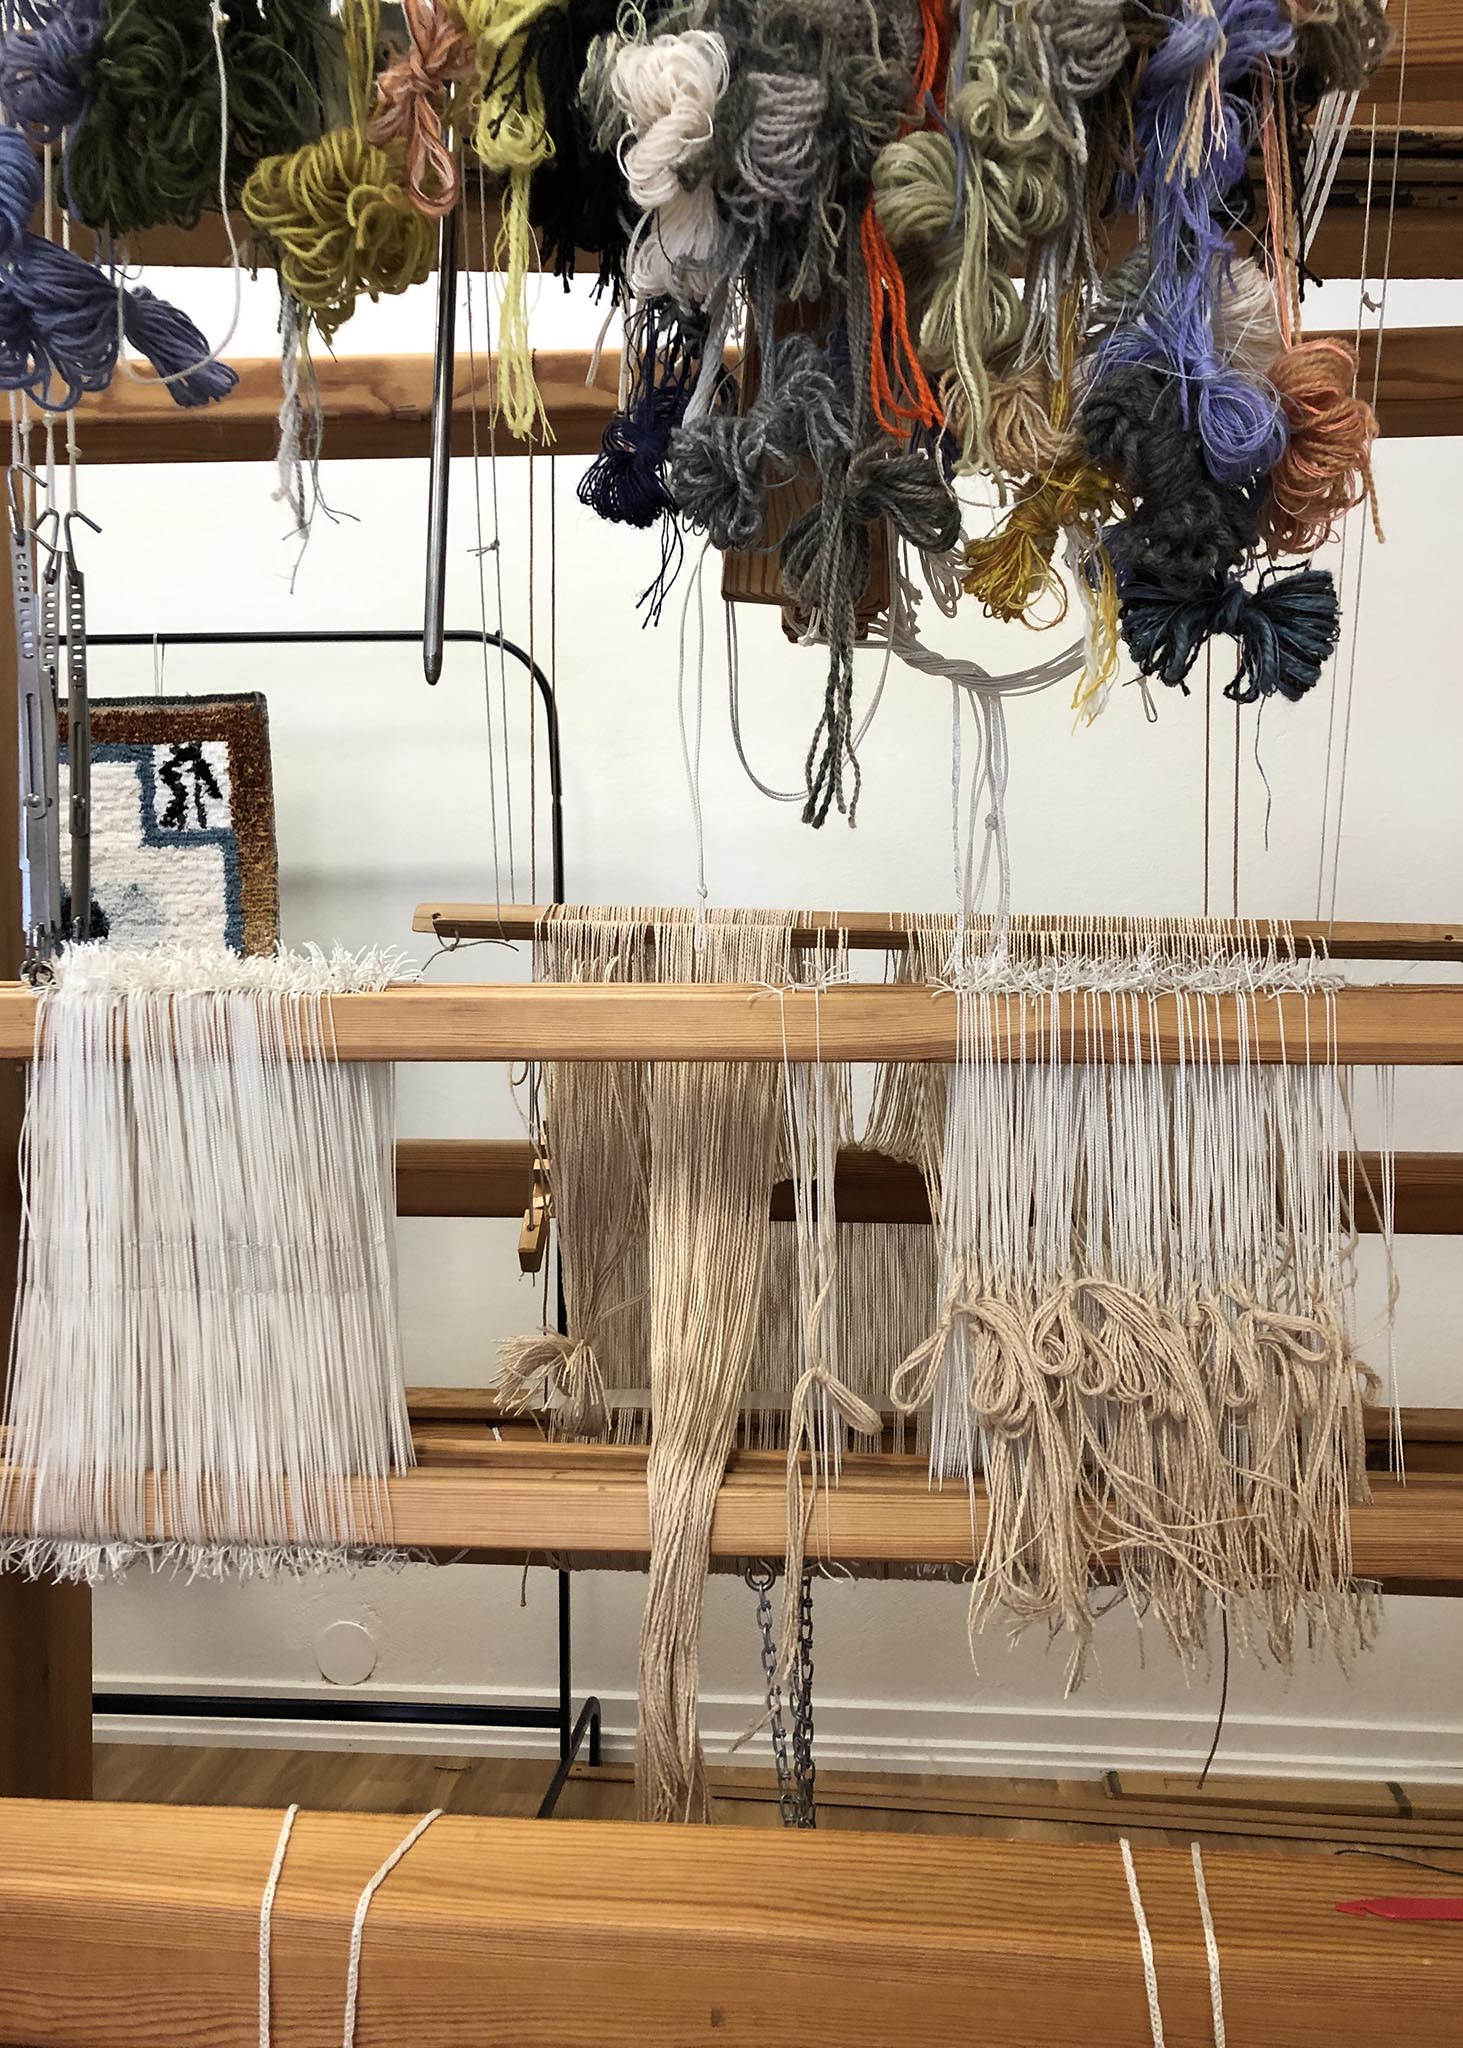
I don't count my heddles, instead I put a bunch on the right-hand side of the chains down to my lams, and since I have two warp chains and I know exactly where the middle is, I can just thread all of the ends from the right half and then shift the leftover heddles to the left side.
Give yourself plenty of space while you thread, you can always move the heddles around afterward!
A closer look...
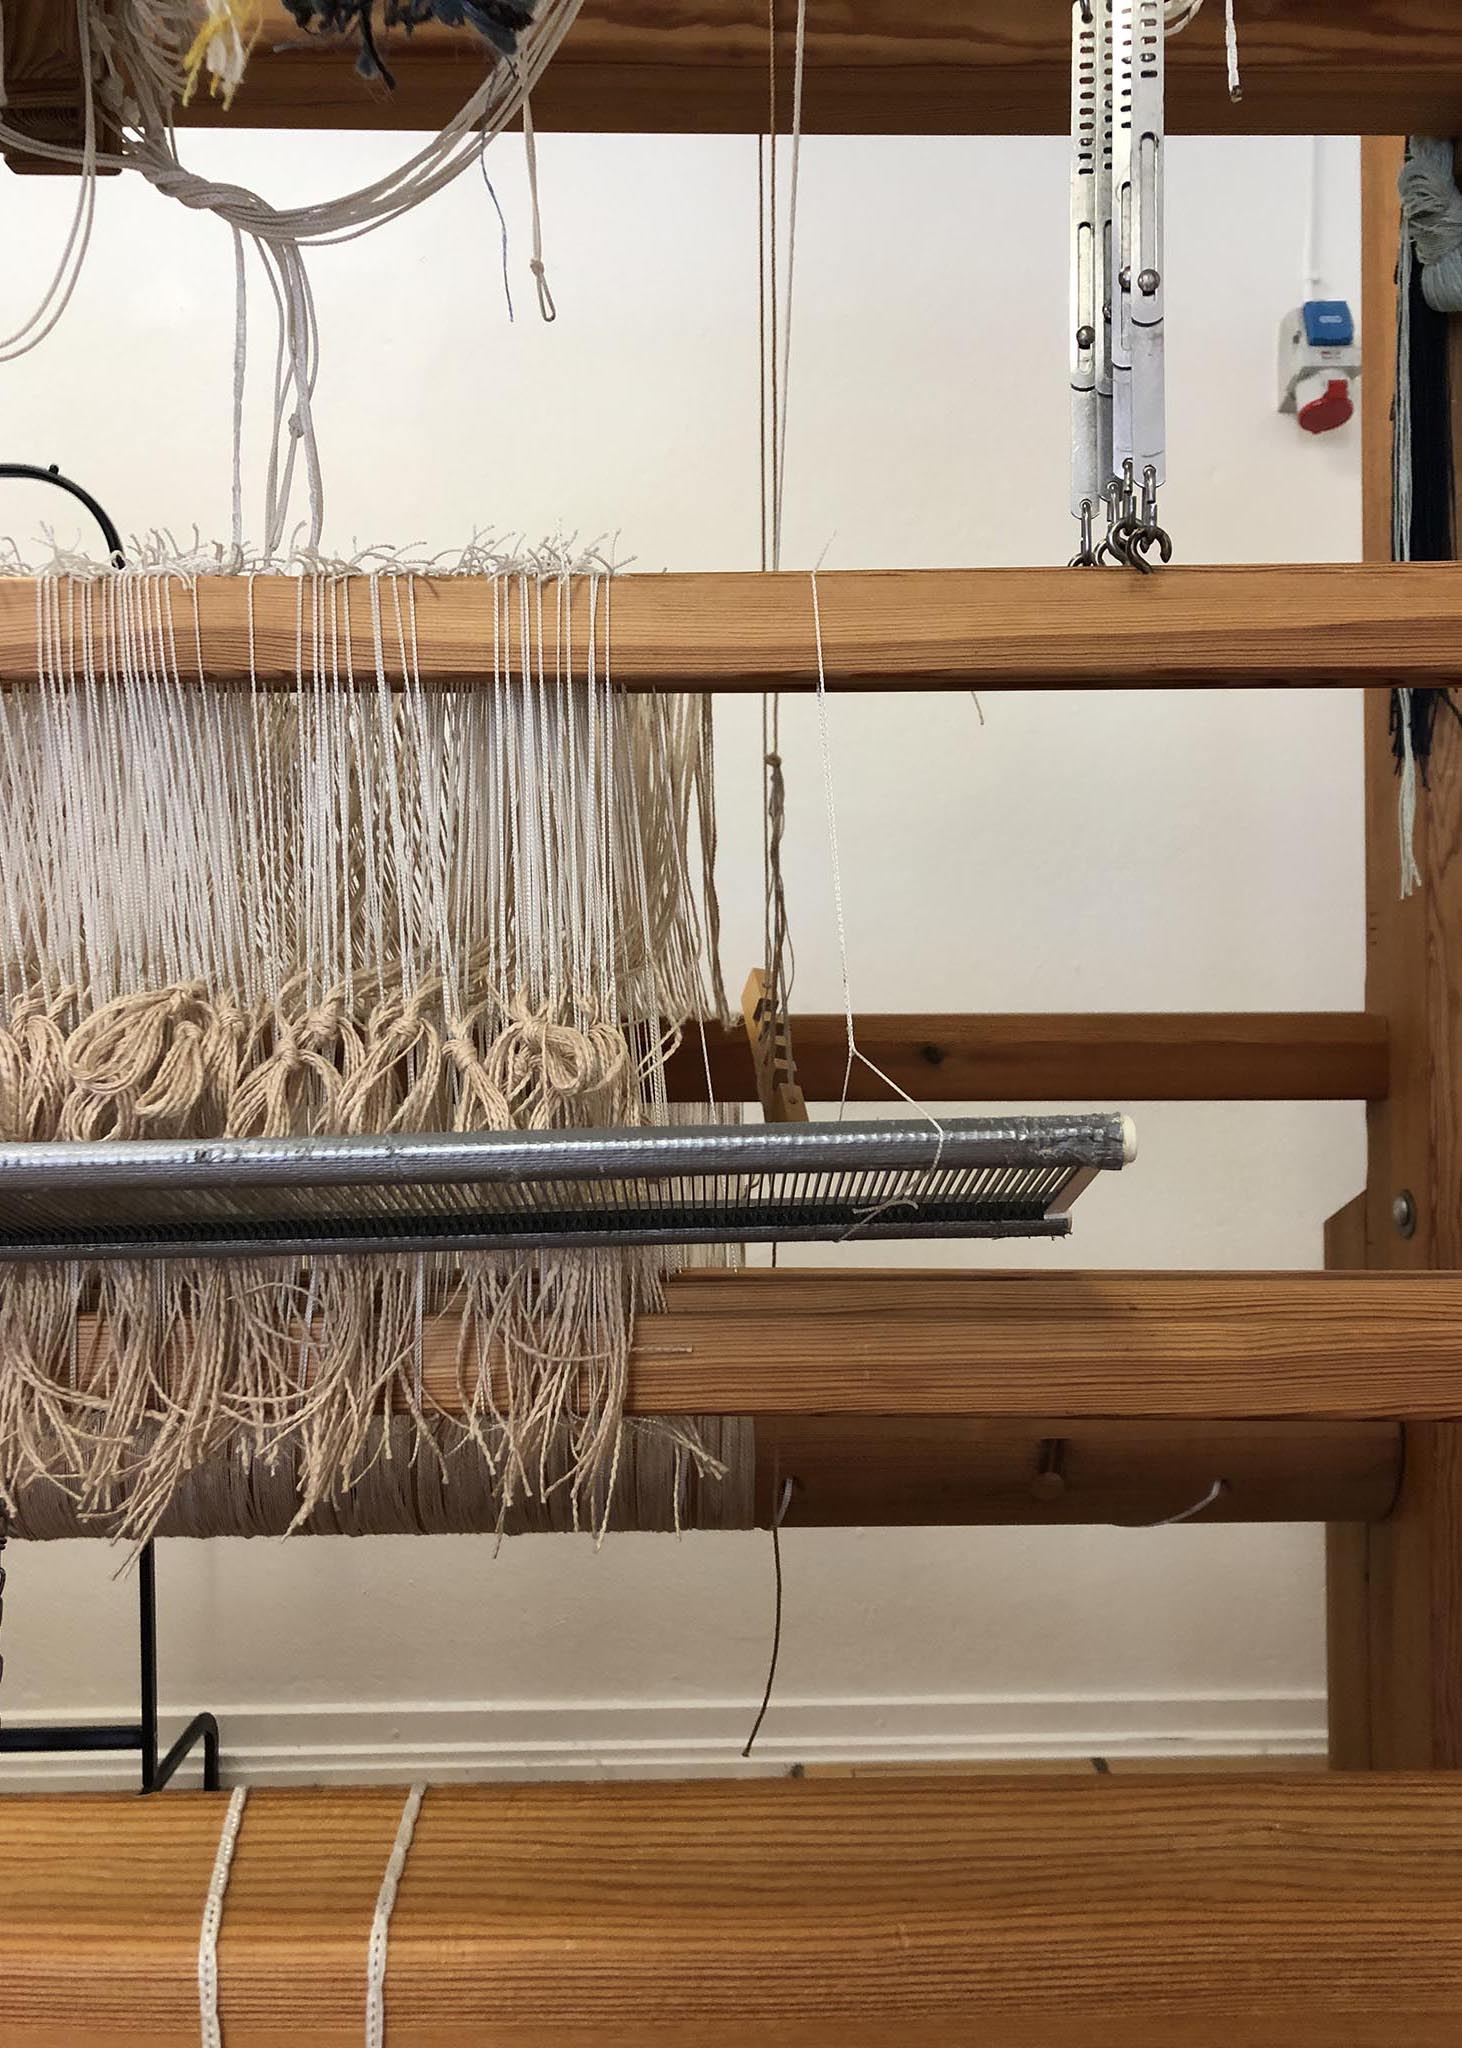
I hang my reed in a heddle that is only attached to the top of the shaft. The bottom loom fits my reed perfectly and it doesn't squiggle around while I'm sleying.
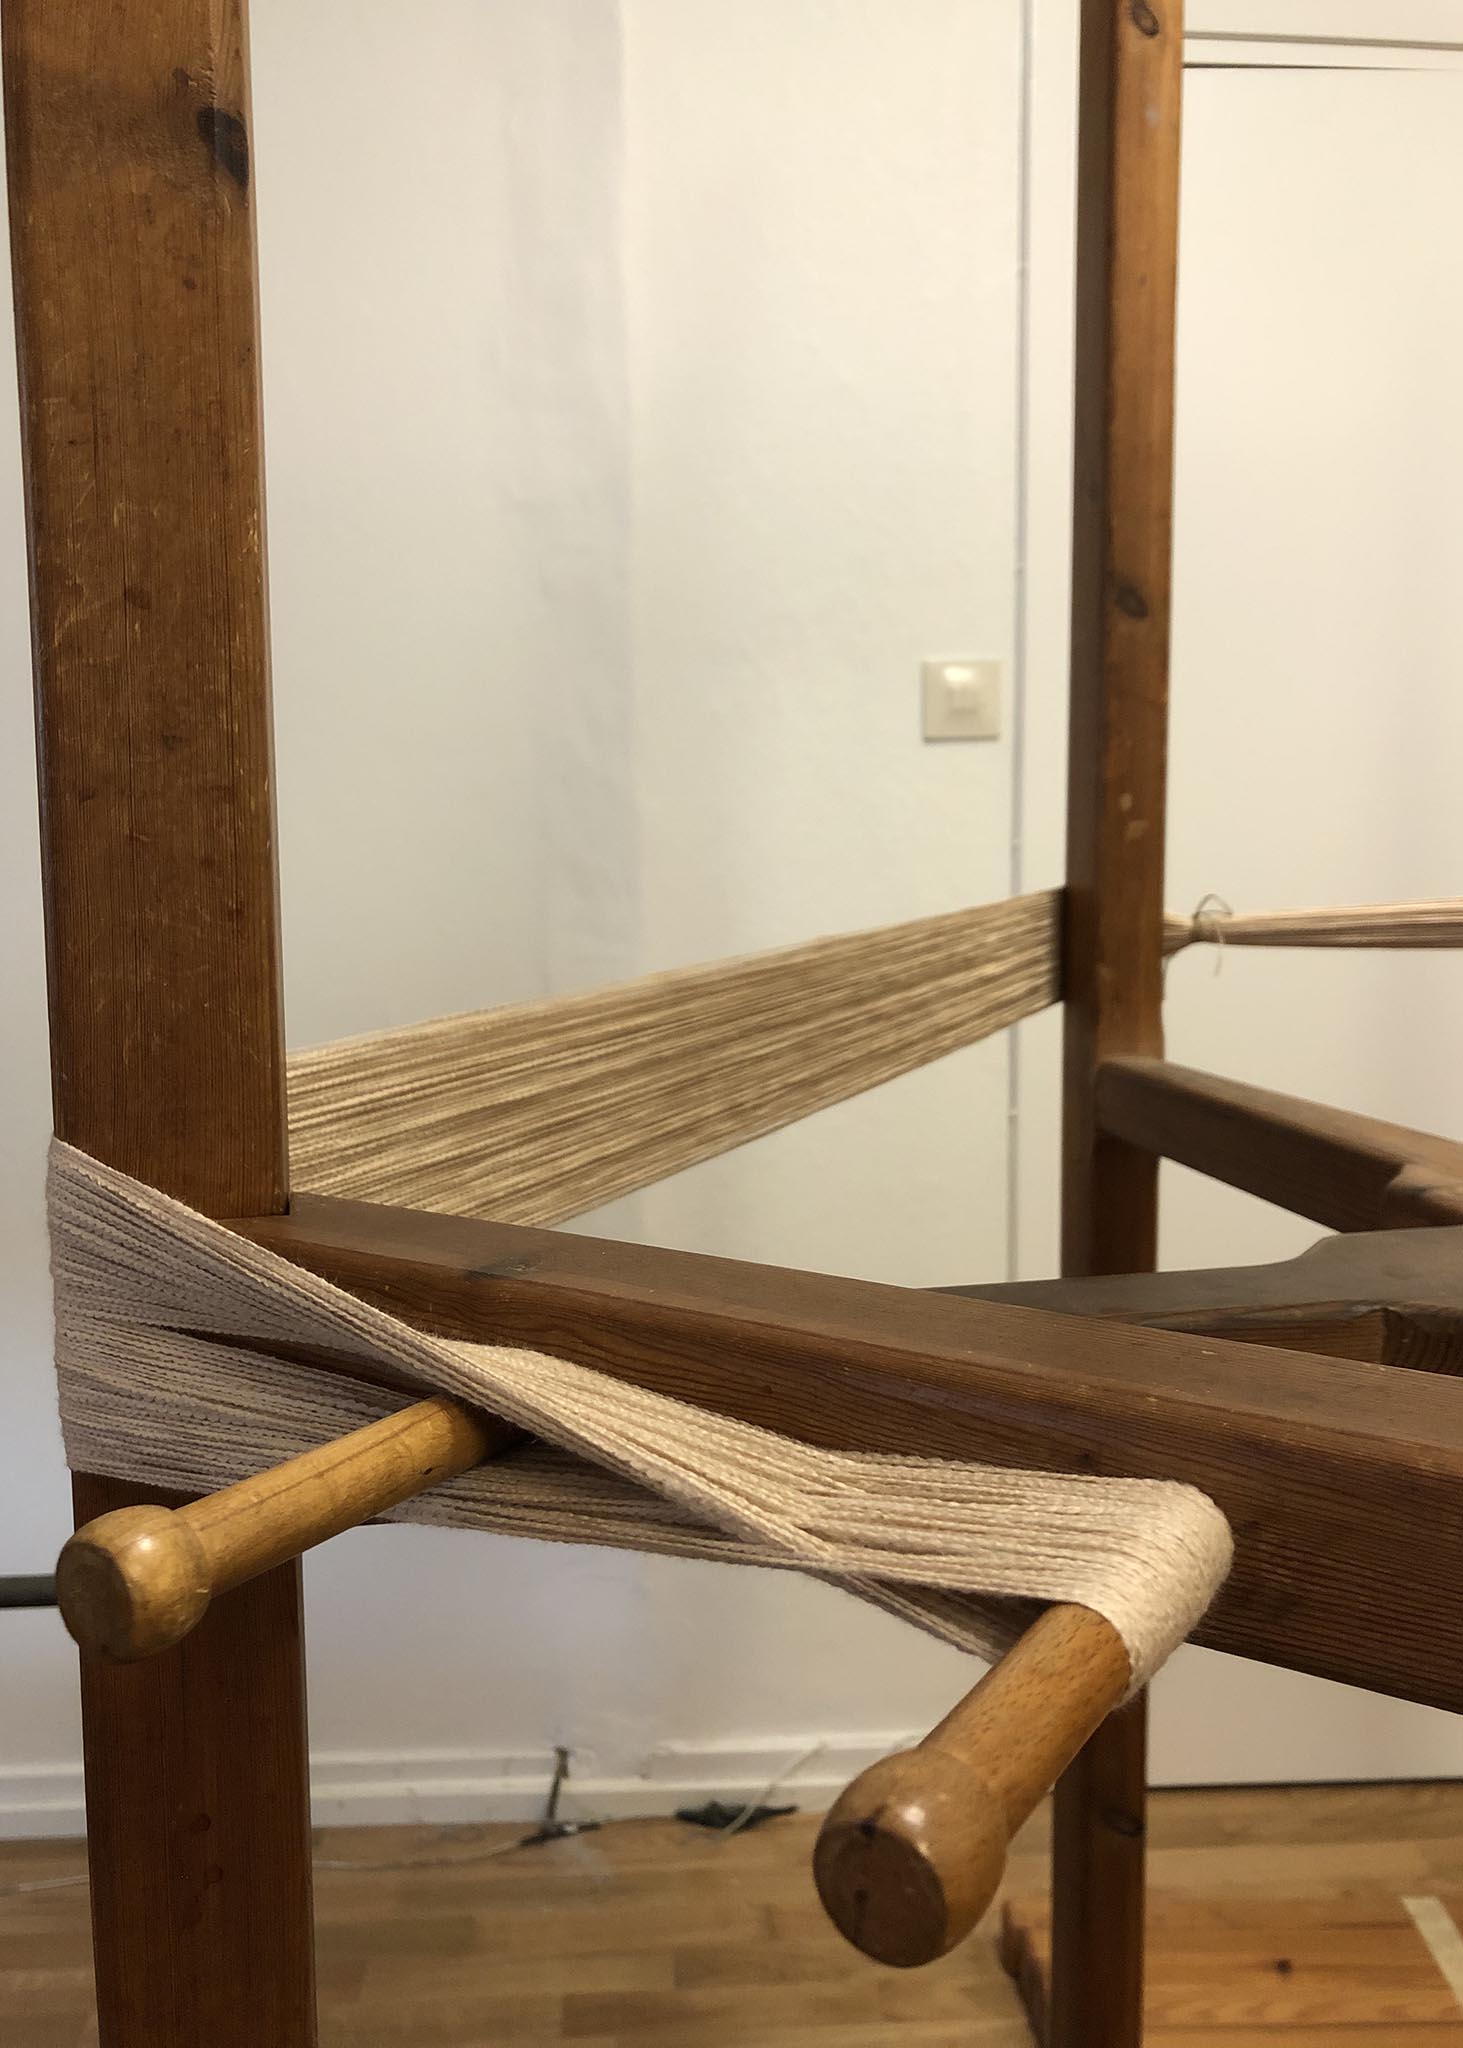
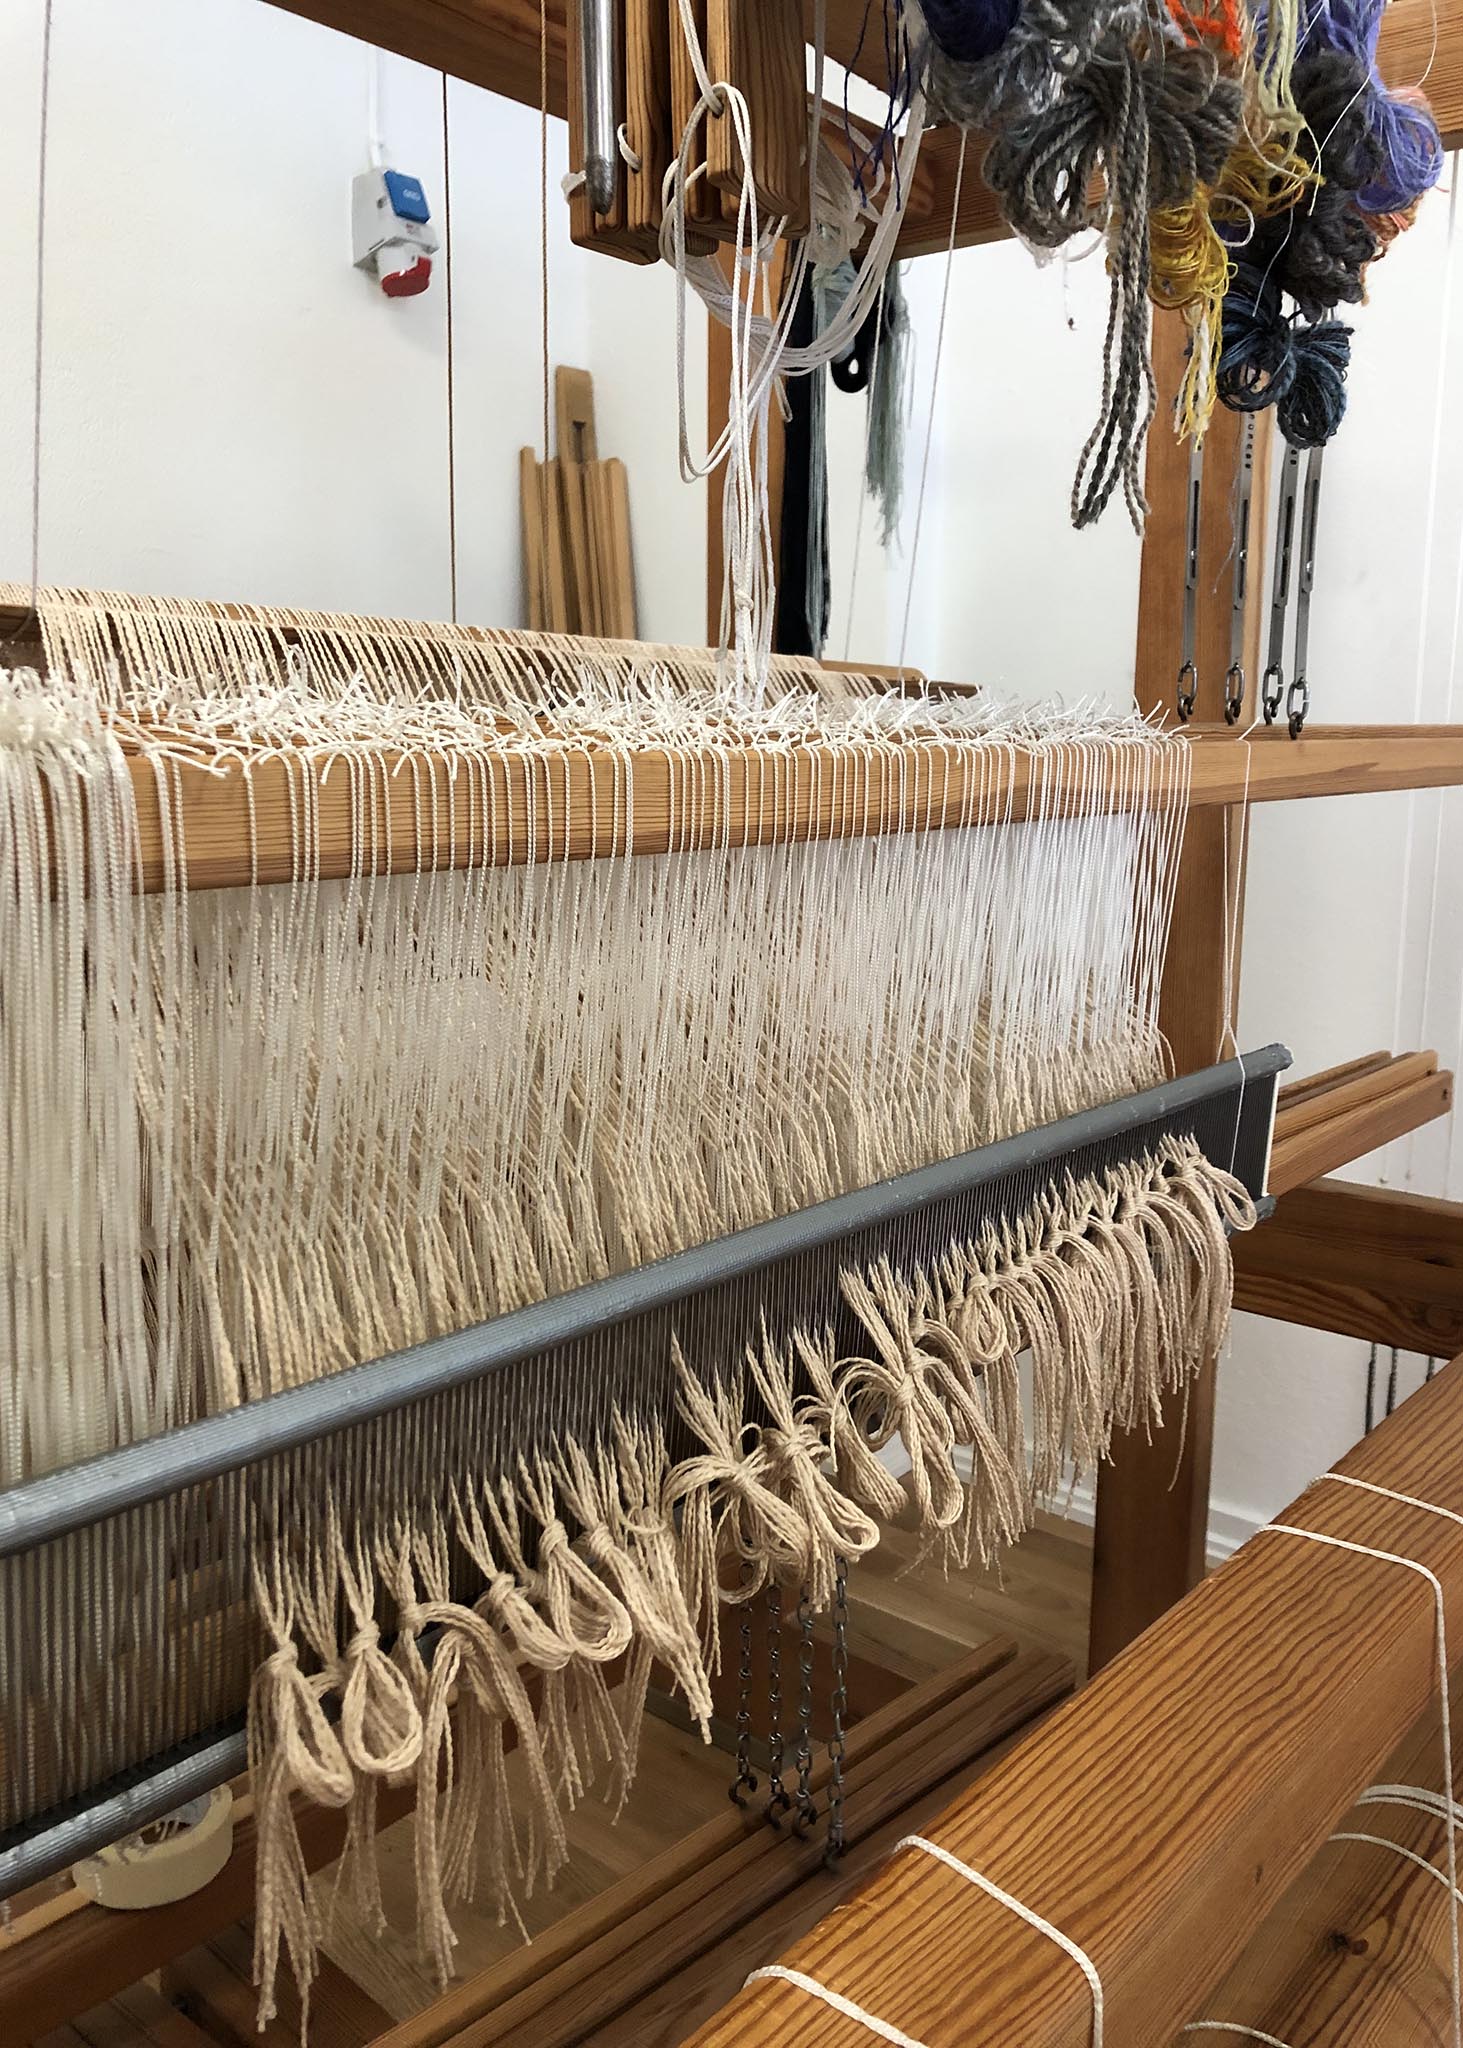
Tension looks pretty even if you ask me!

Pro tip: number your lams! Doesn't have to be numbers if that's confusing, it can be letters, shapes, symbols...stickers? Anything that will tell you which loops/holes go together. Saves so much brain power when you're tying-up!
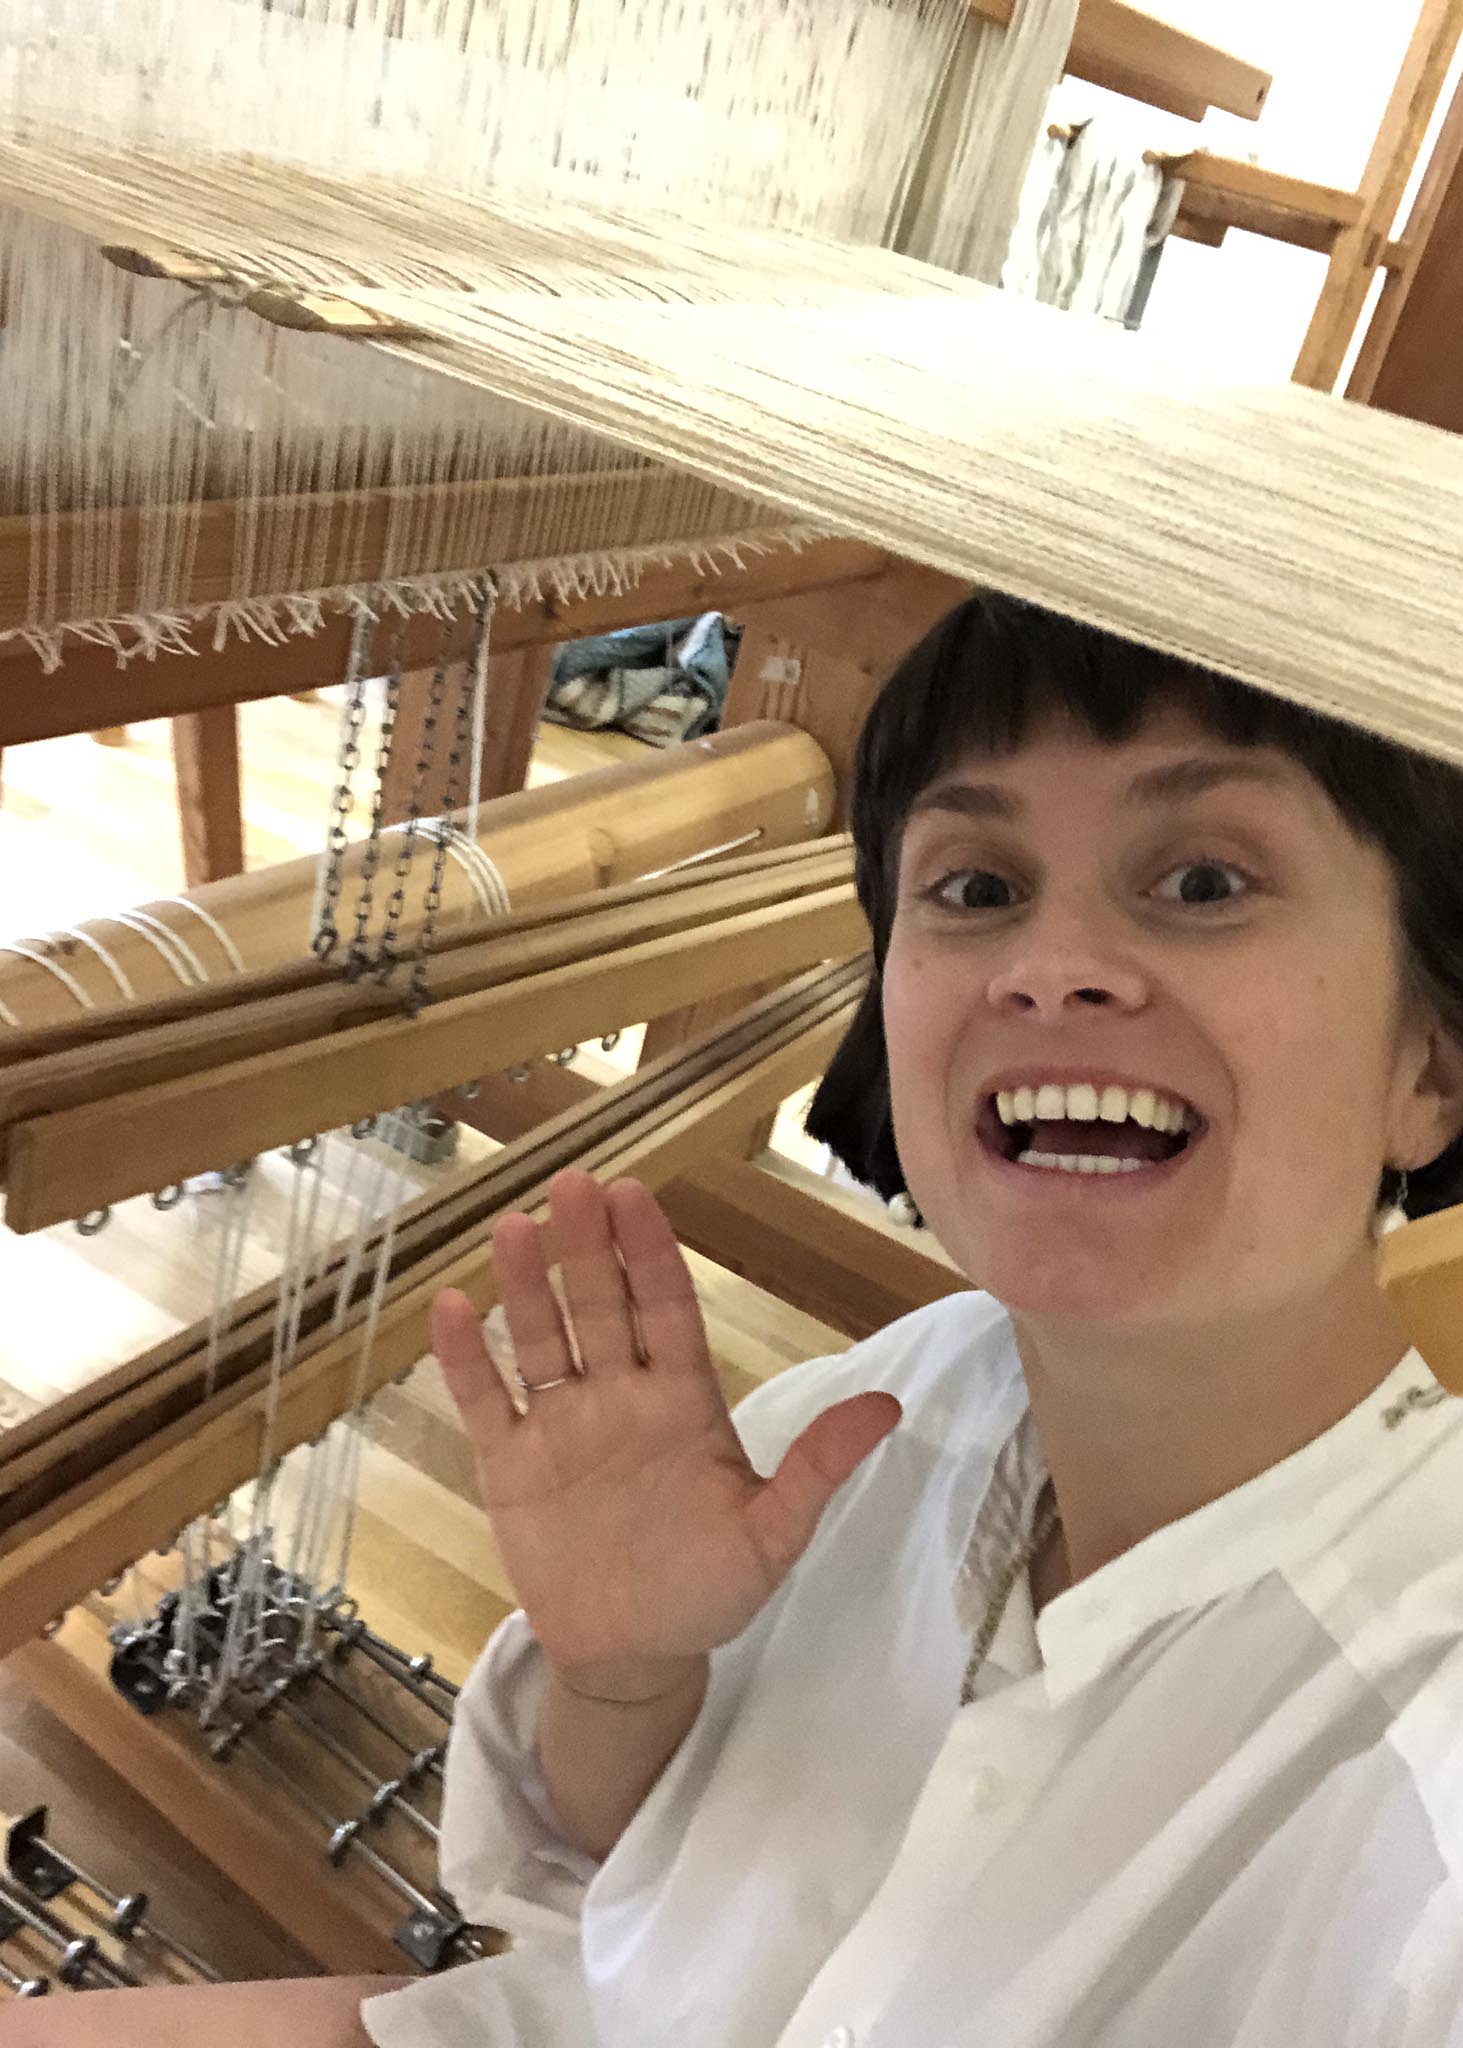
This is my face when I remember I've got my halvdräll tie-up from my last project still in place and don't have to change a thing!

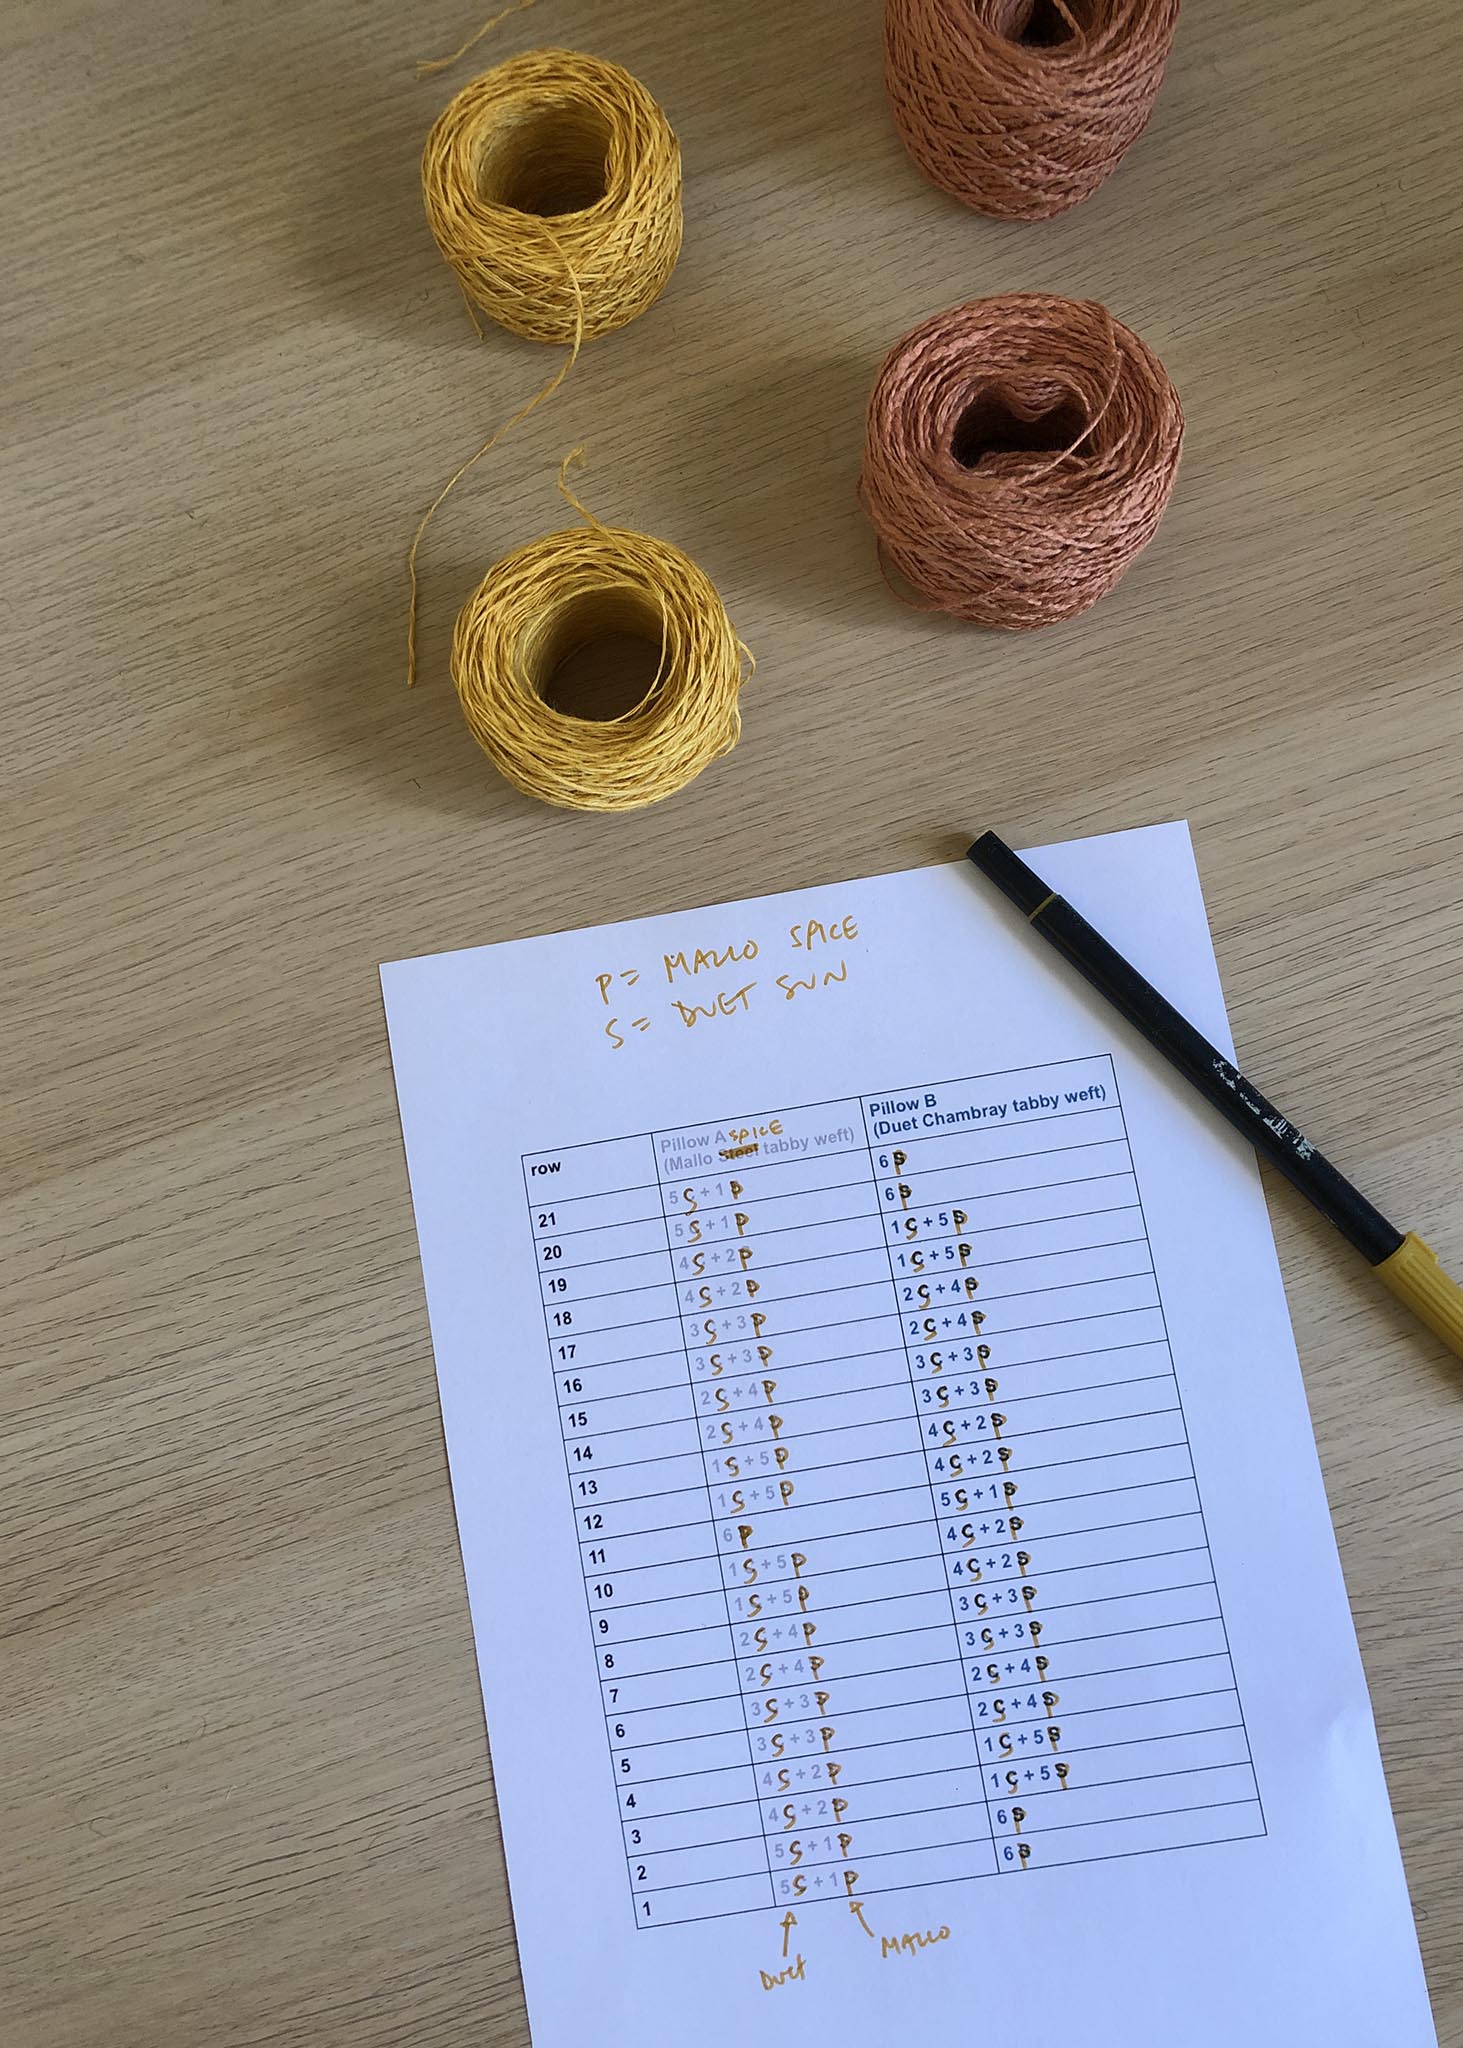
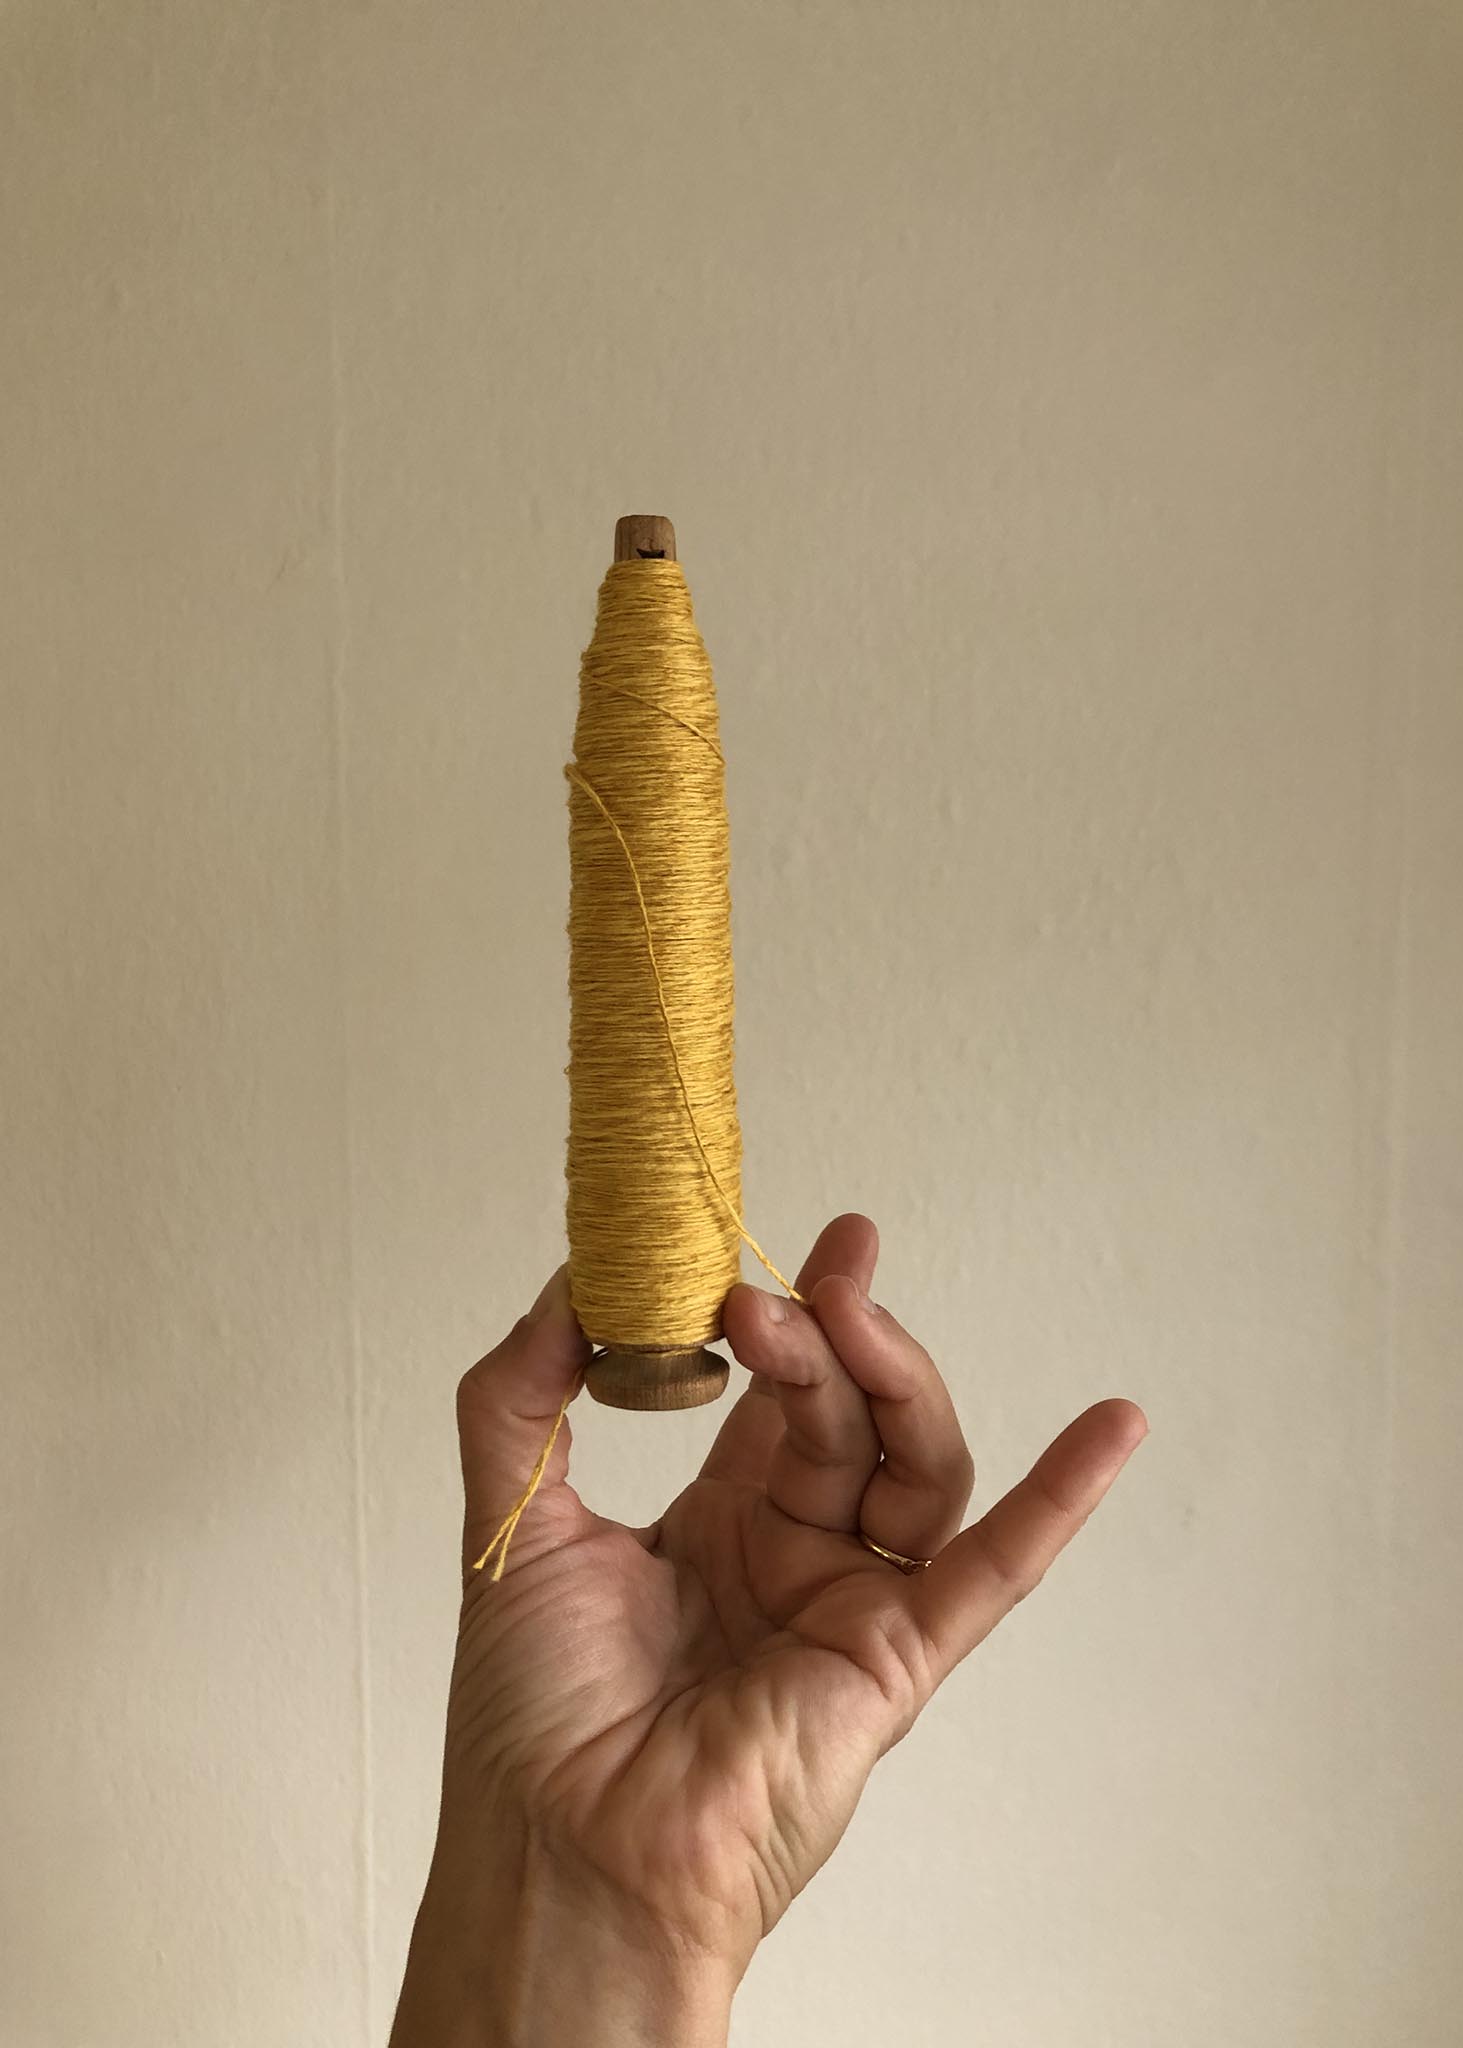
Gosling Pillows Kit ~ 2 uses Mallo in Spice and Duet in Sun as the weft.
I've printed out the chart from the pattern and written in my colors to keep everything in order.

Errata: there are actually only 26 ends on the right side, not 28! But that won't make a difference when sewing the pillow.
Halfway there!

In the photo on the left you can see that we are halfway there and beginning to add the yellow back in.
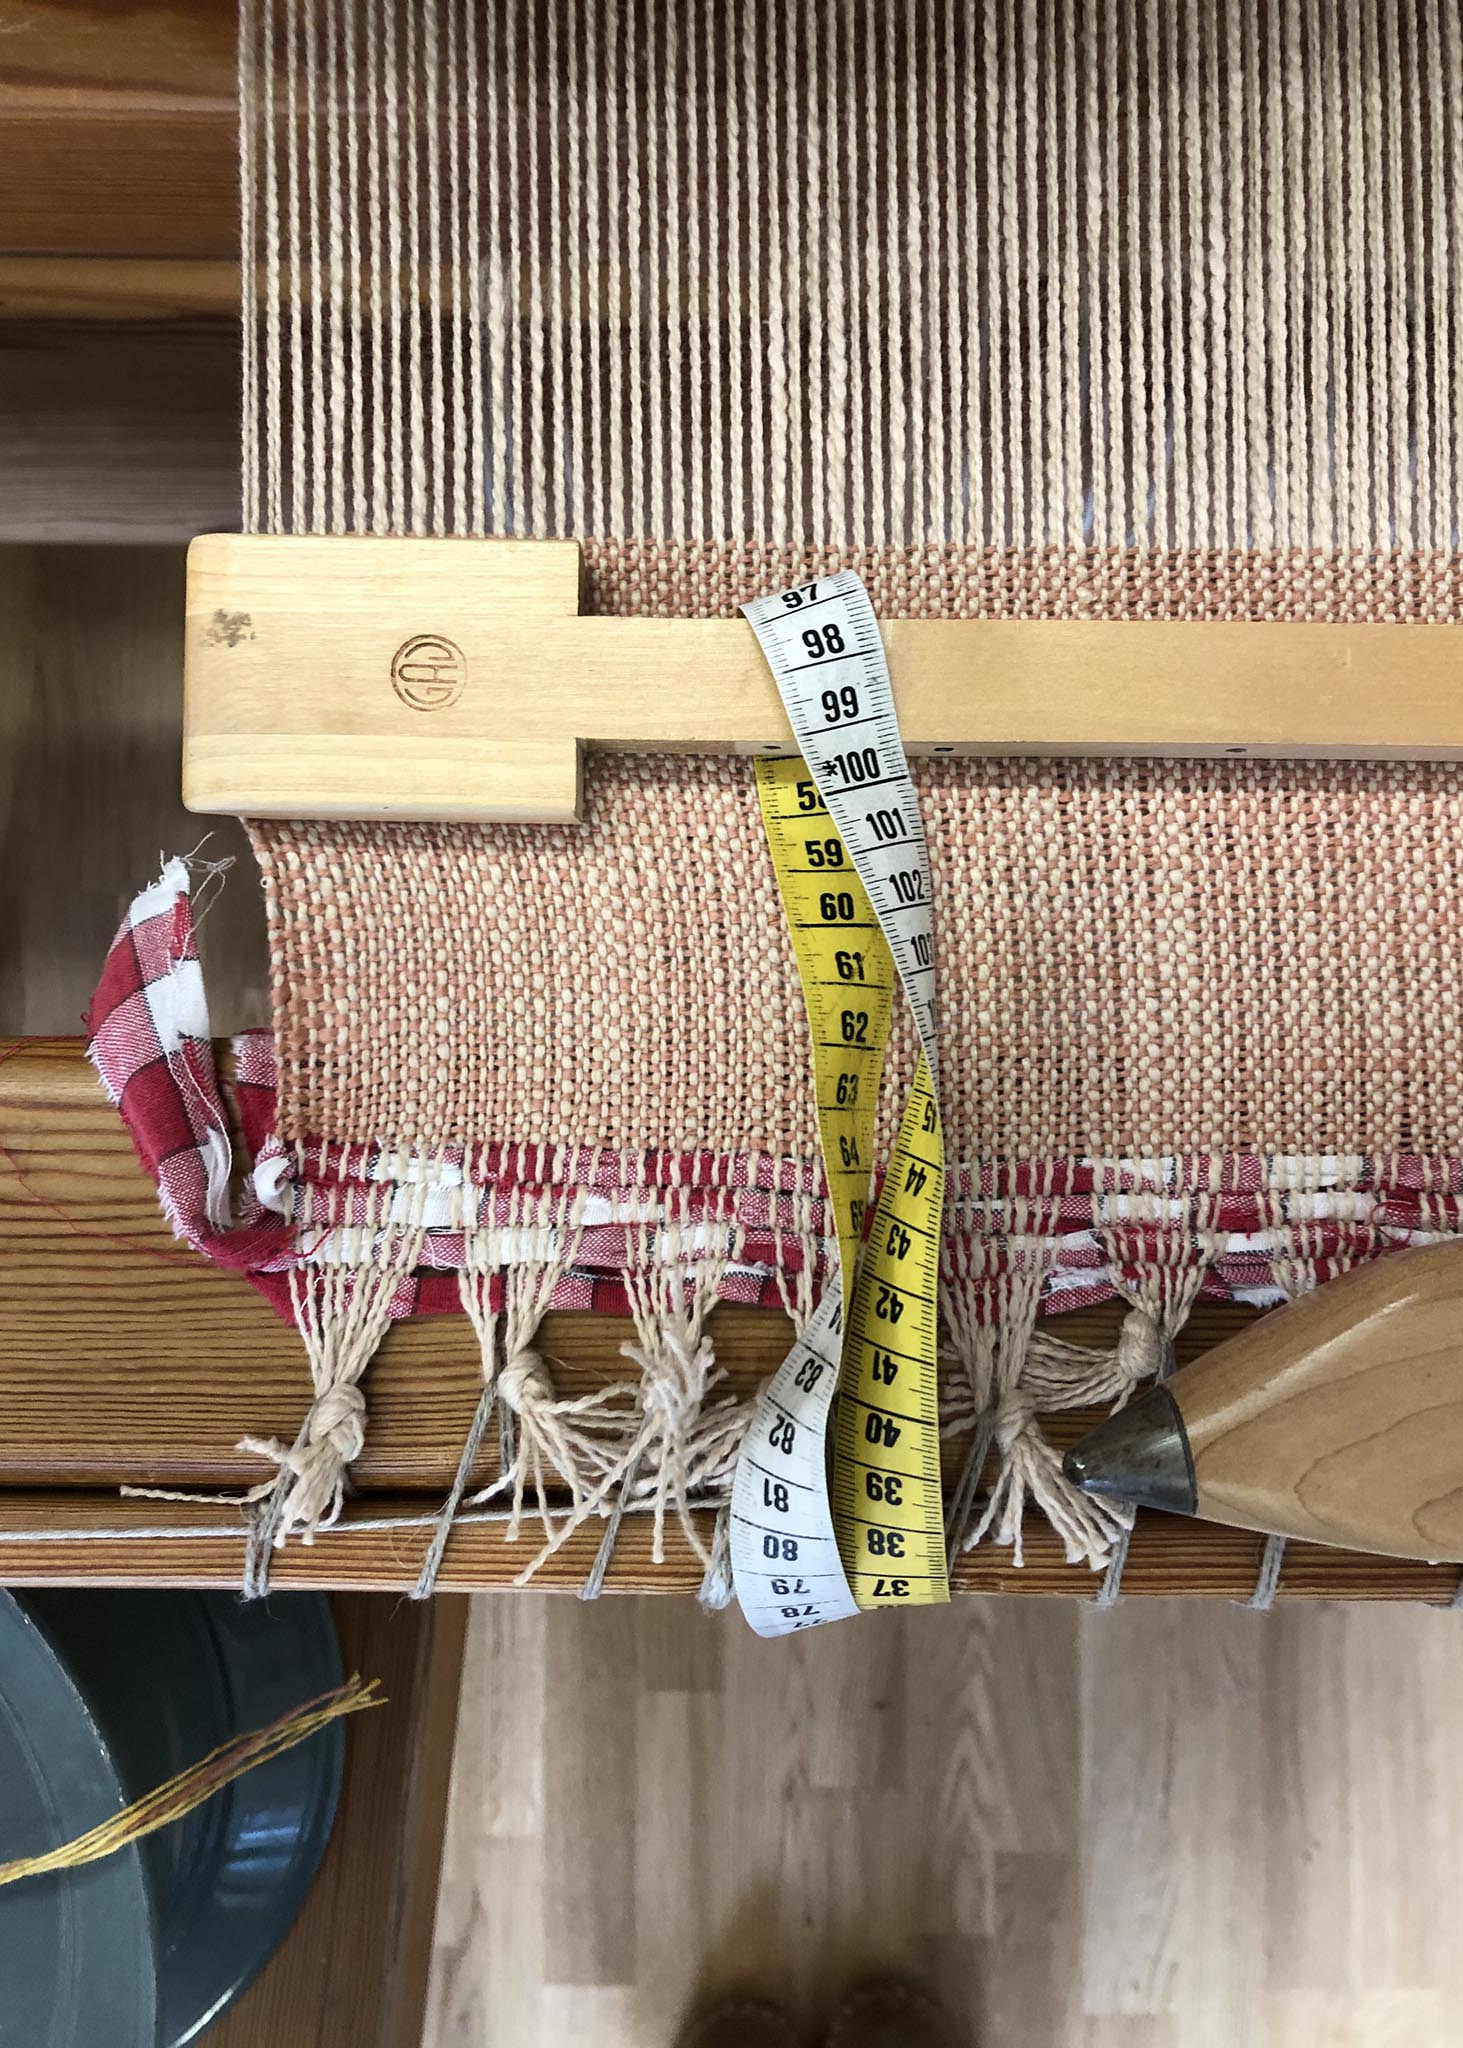
Once you have finished weaving the first pillow, weave 1 contrasting pick to give you a clear line of where to zig zag or serge.

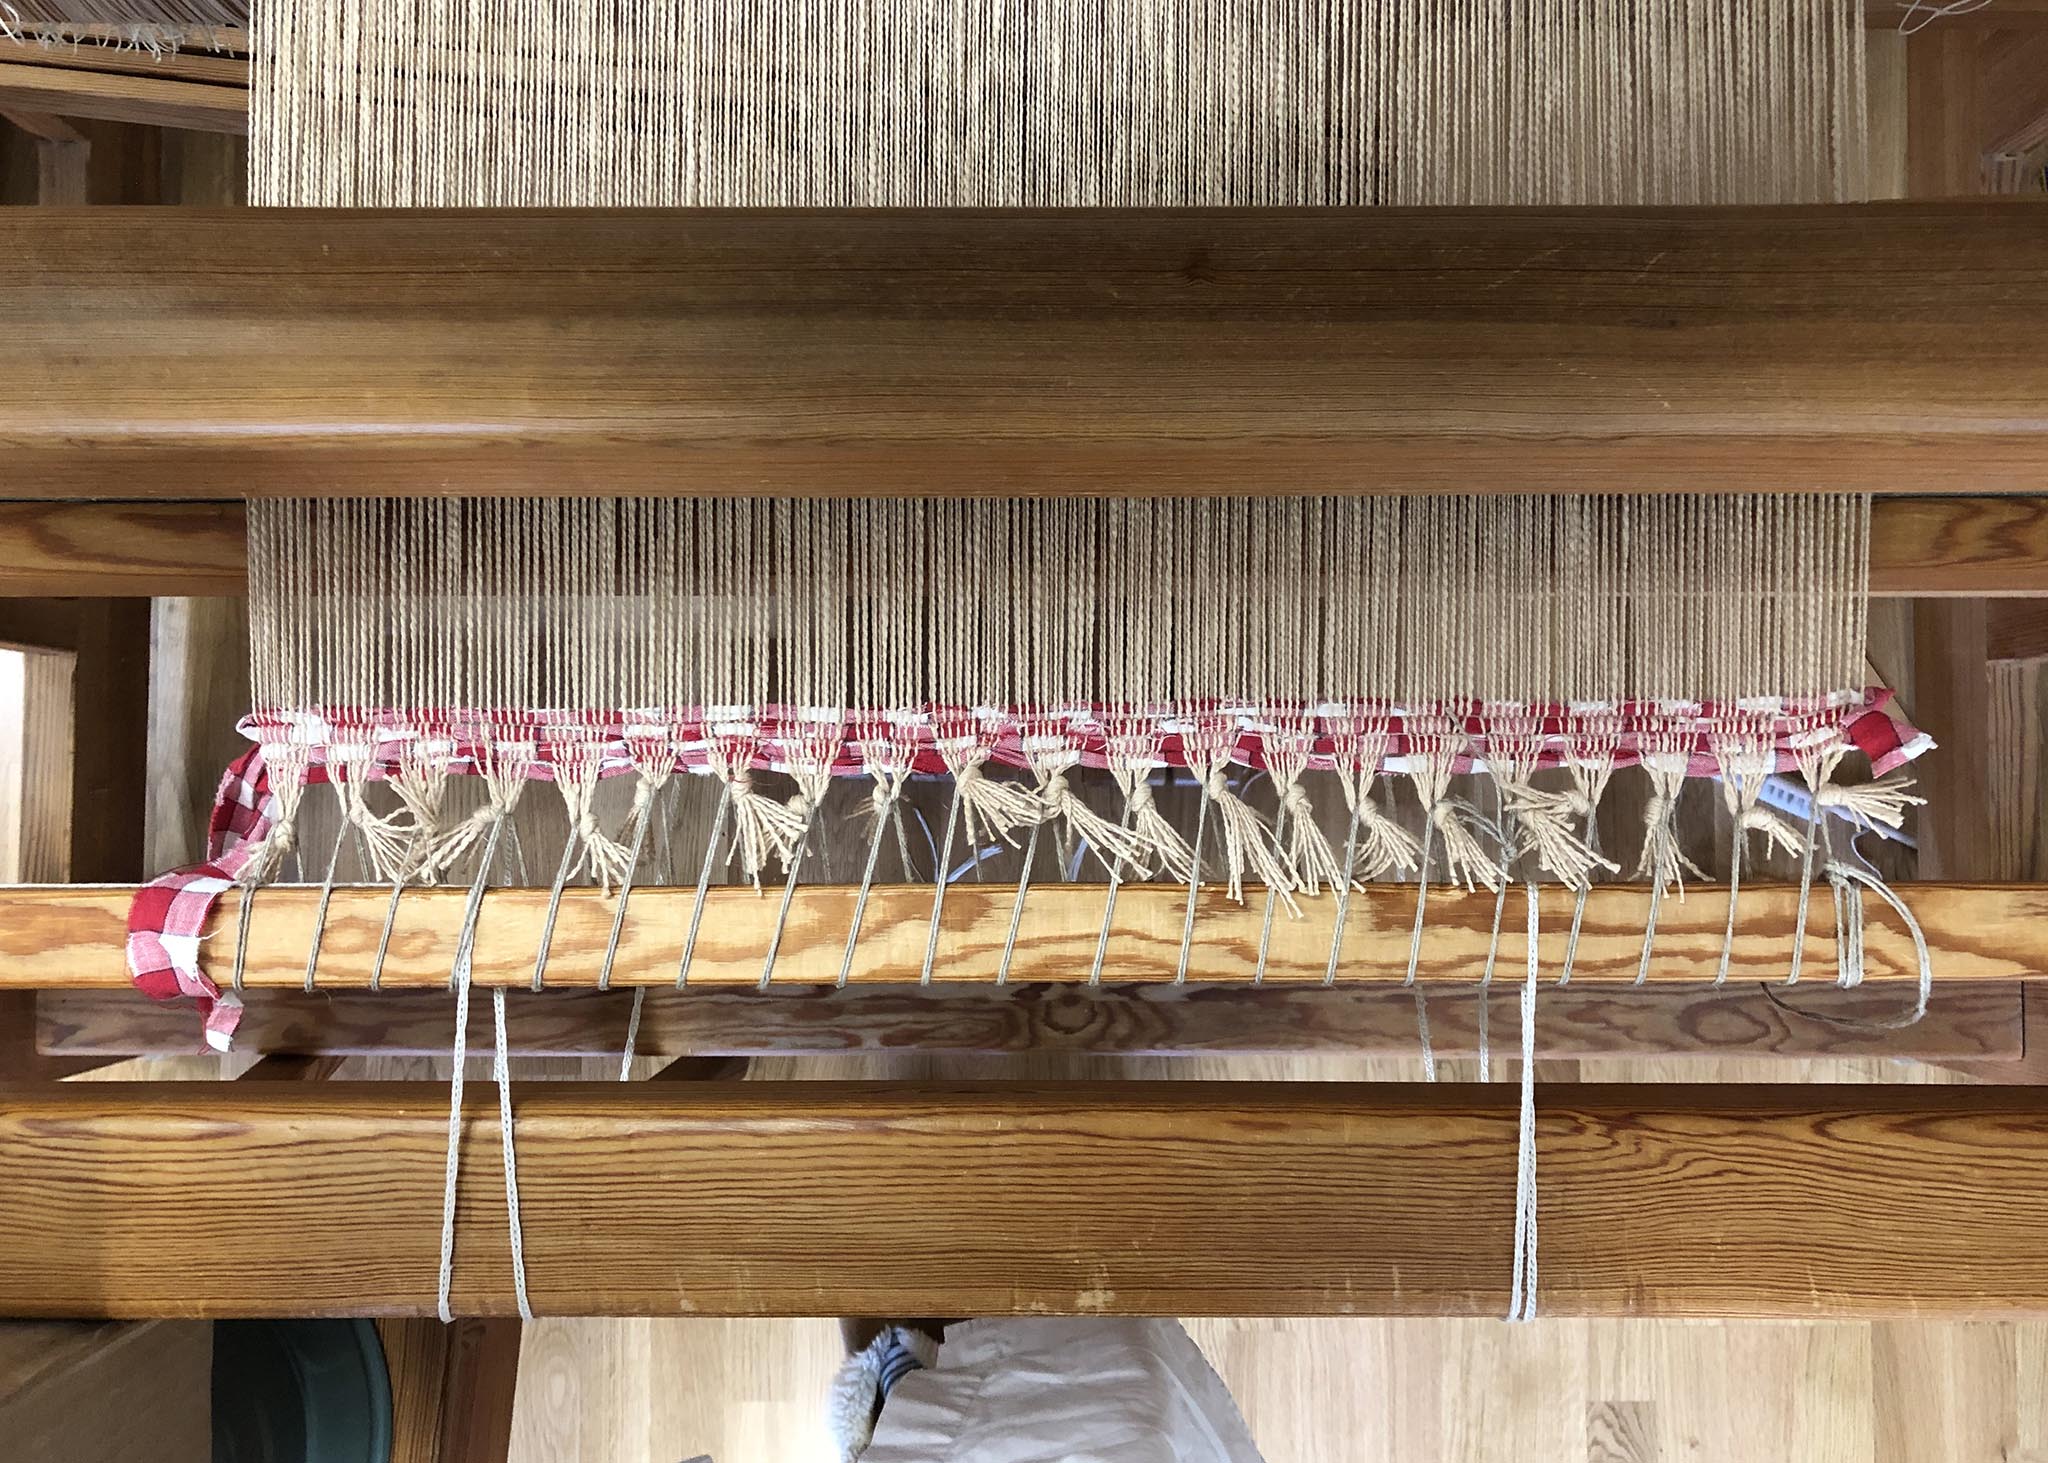
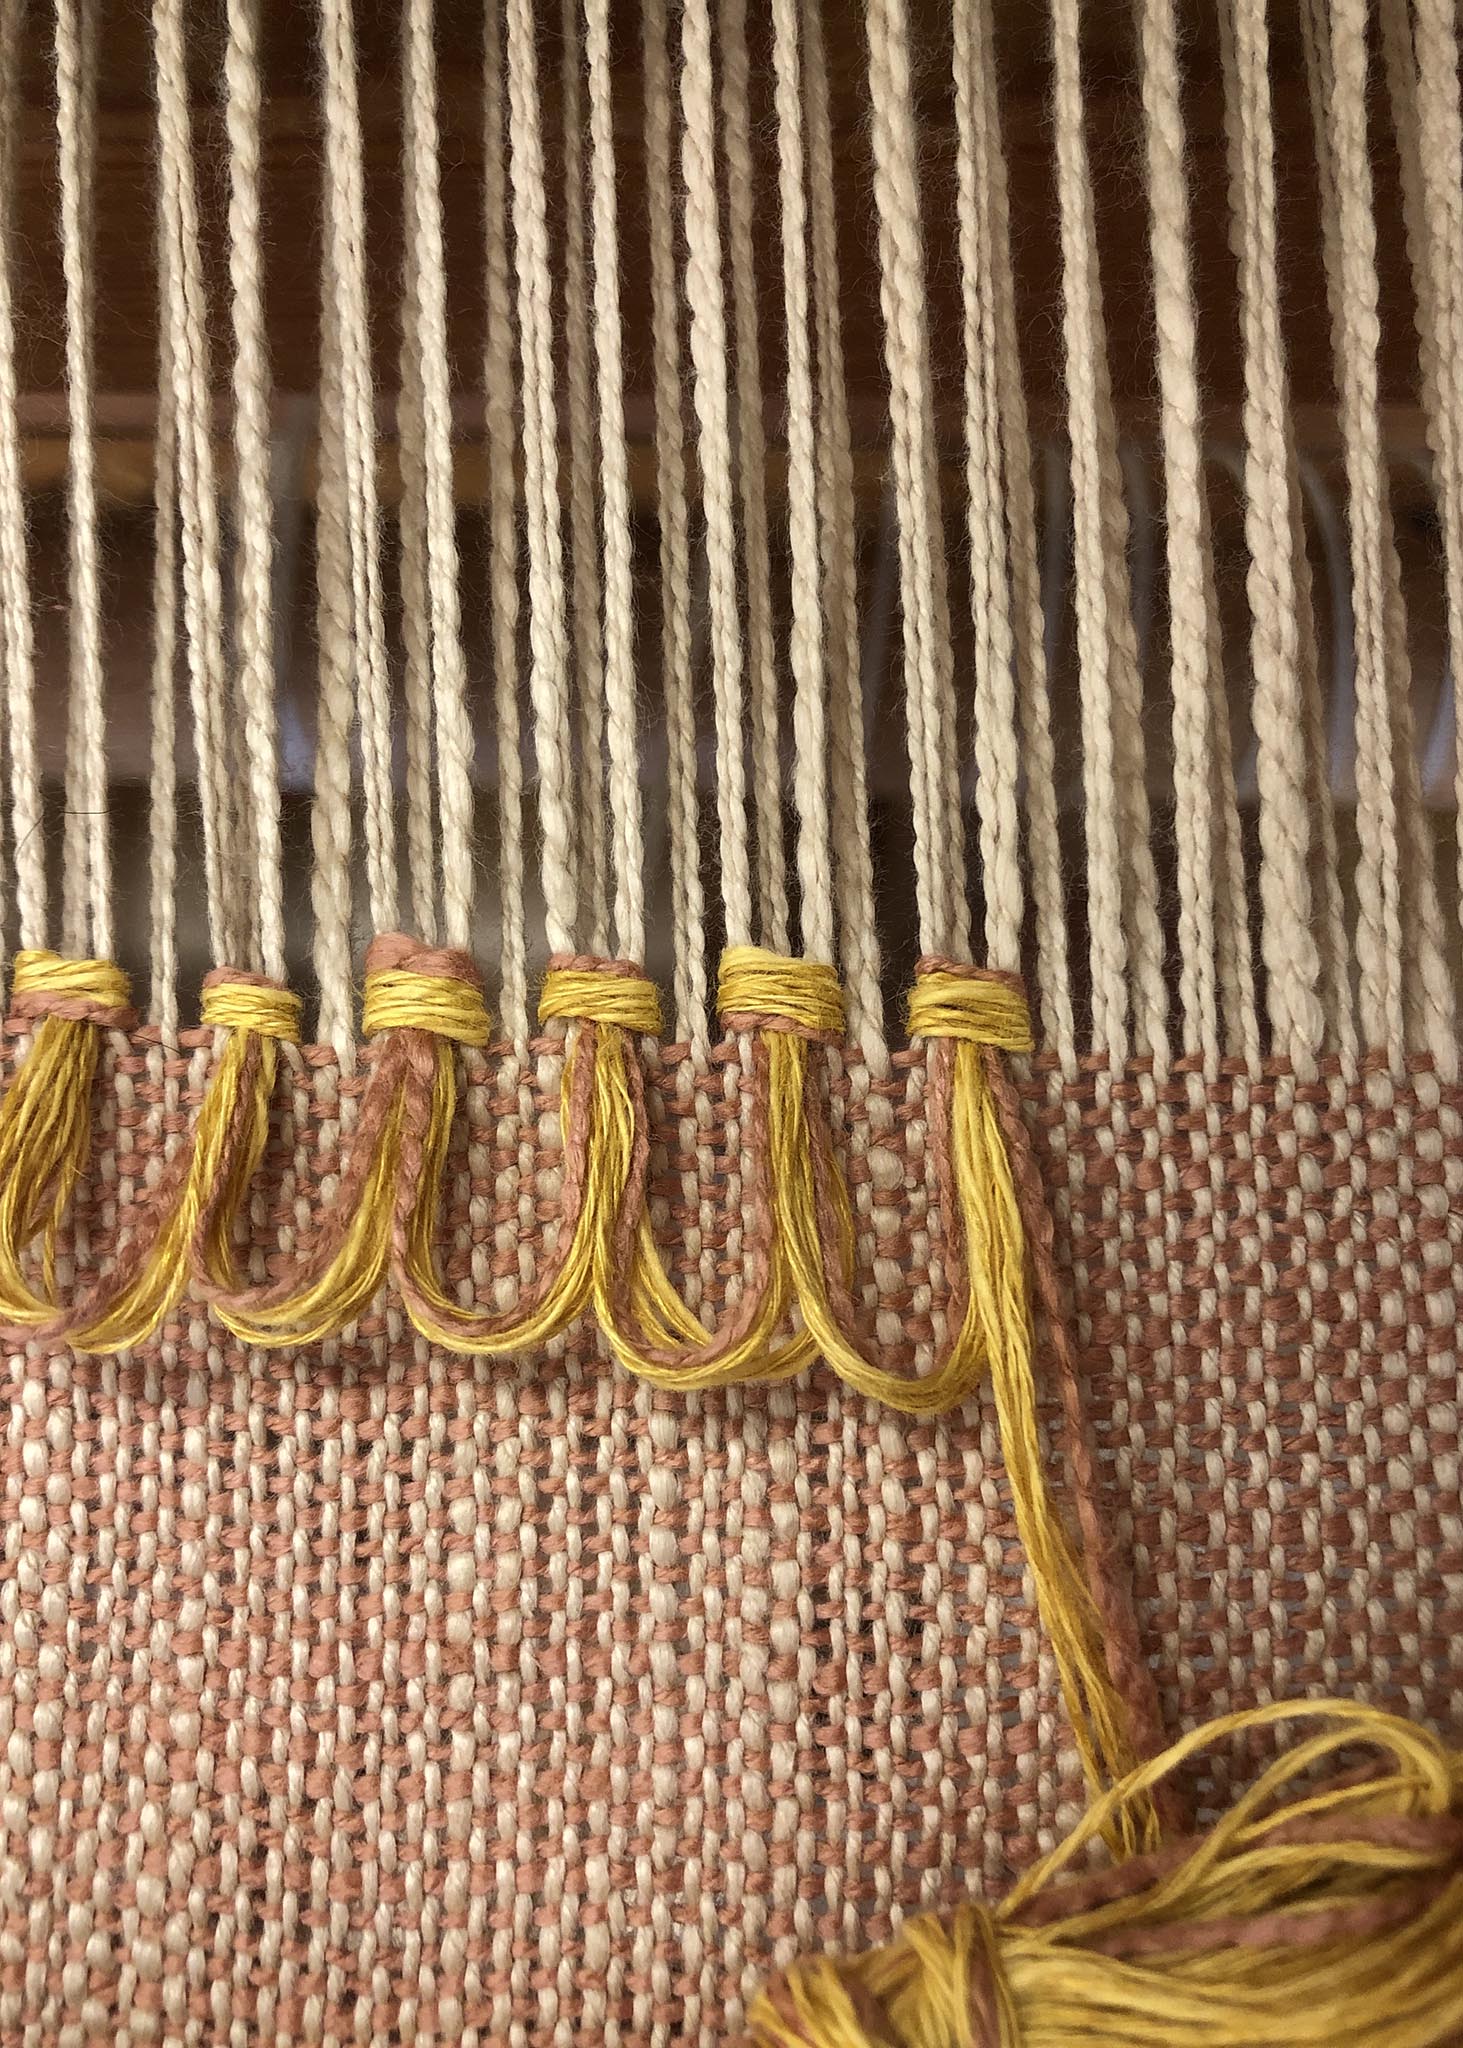
Cutting the rya loops! You can leave them as loops and cut them all at the end or clip as you go--just don't clip any warp ends...

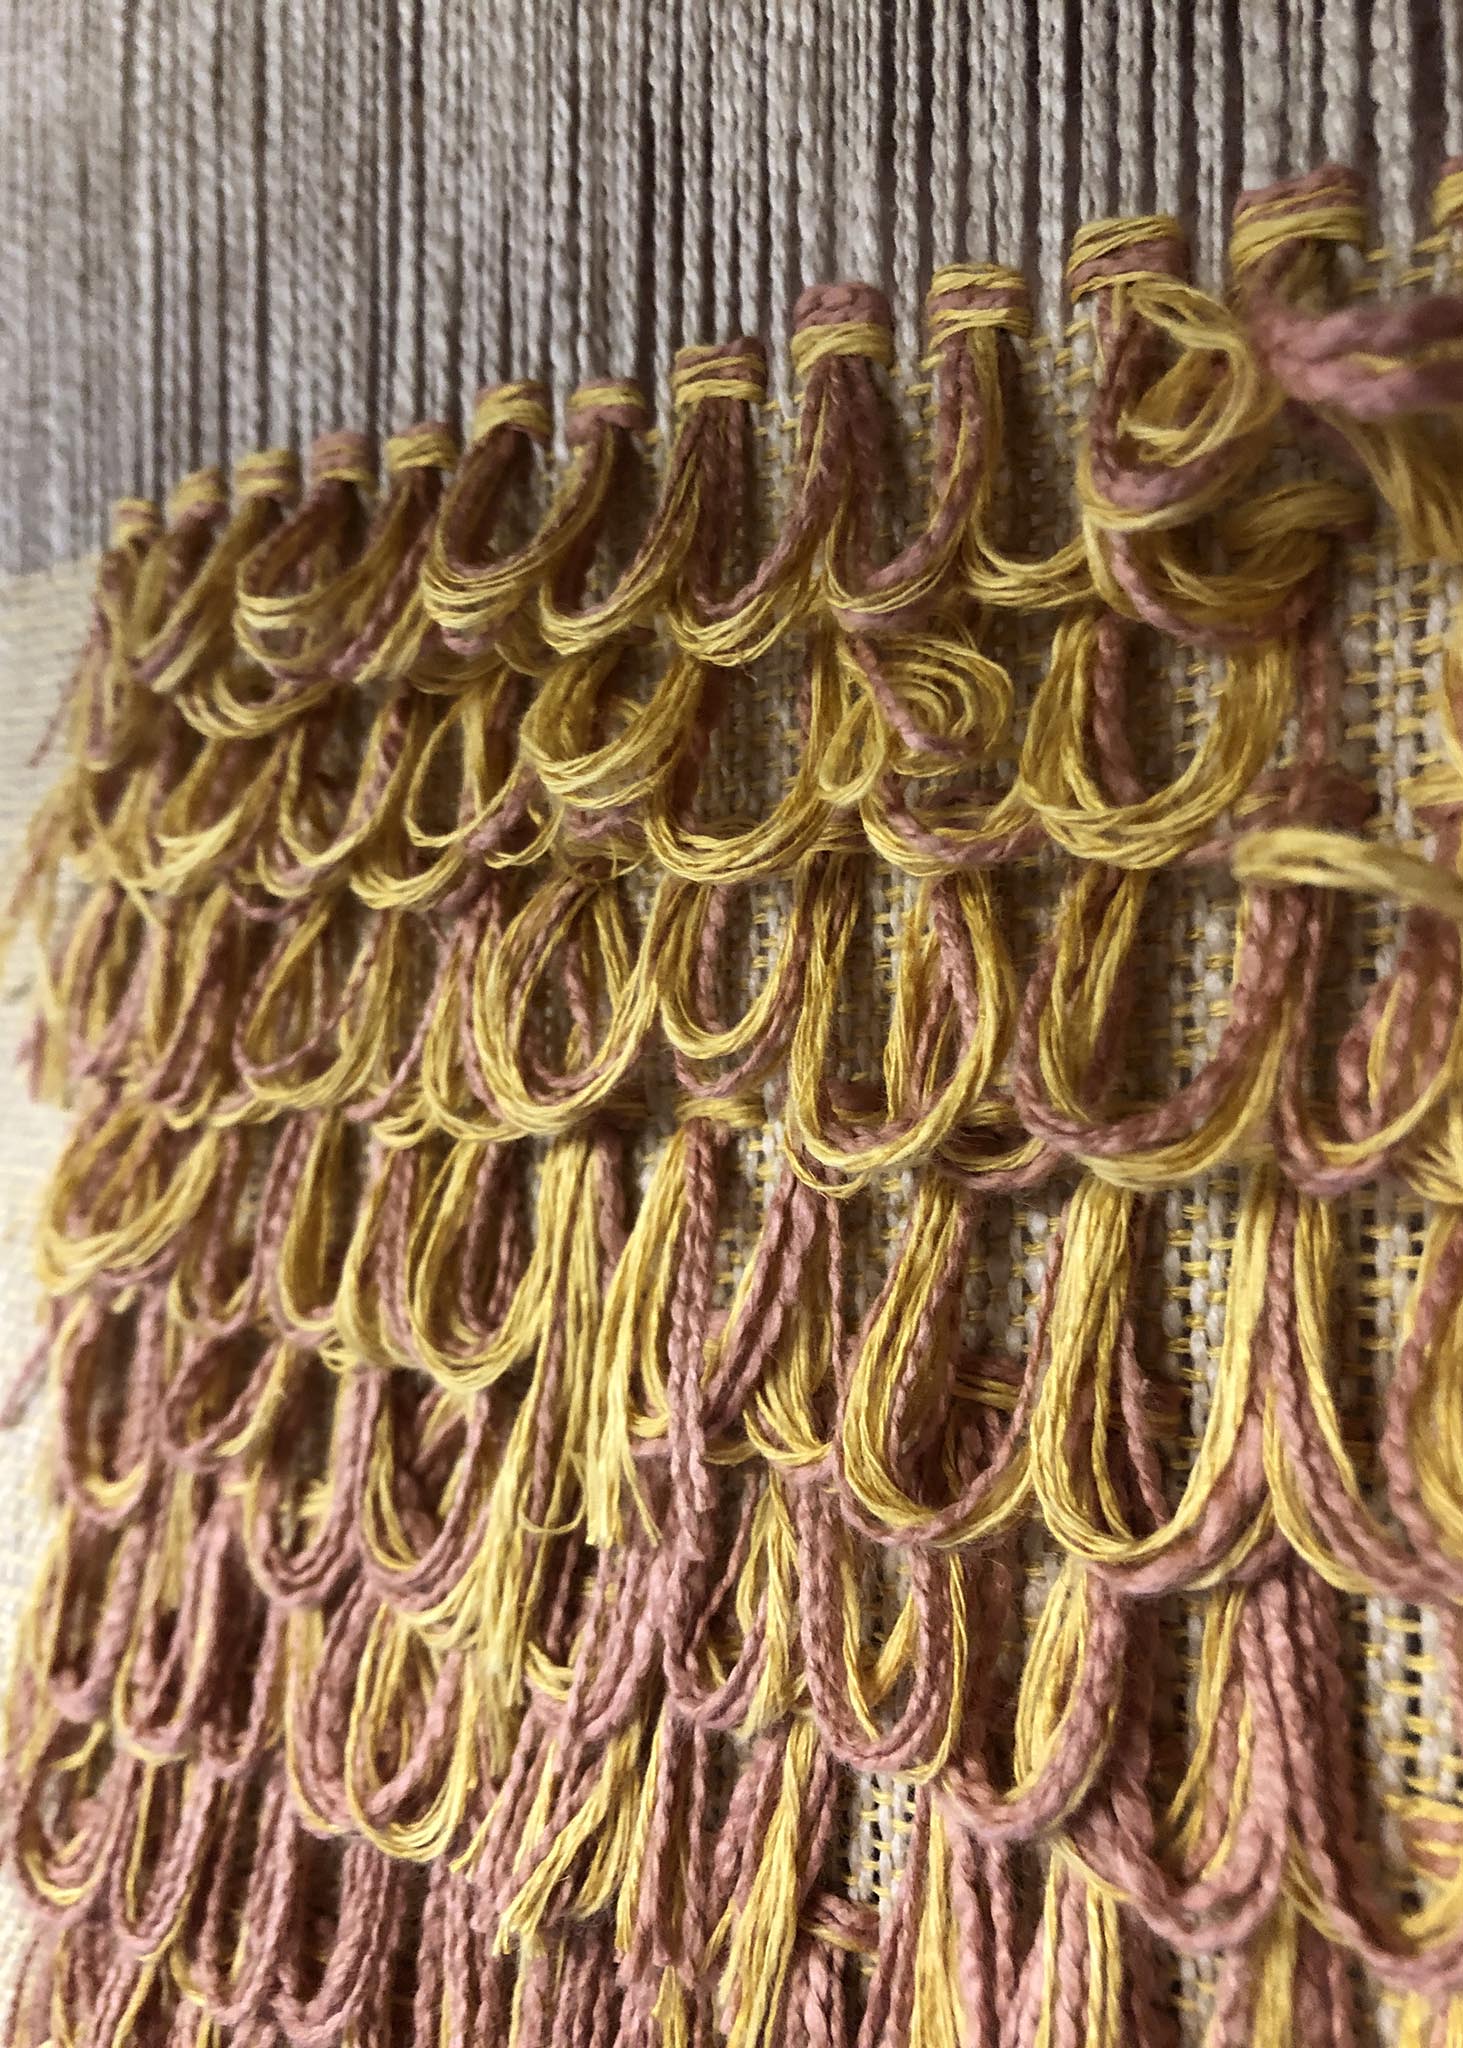
Anyone else's selvedges look like this? It's partly due to the fact that the edges don't have any knots and will bind somewhat more loosely the whole way. It will disappear in the wash AND in the seam allowance--weaving pillows is nice like that!
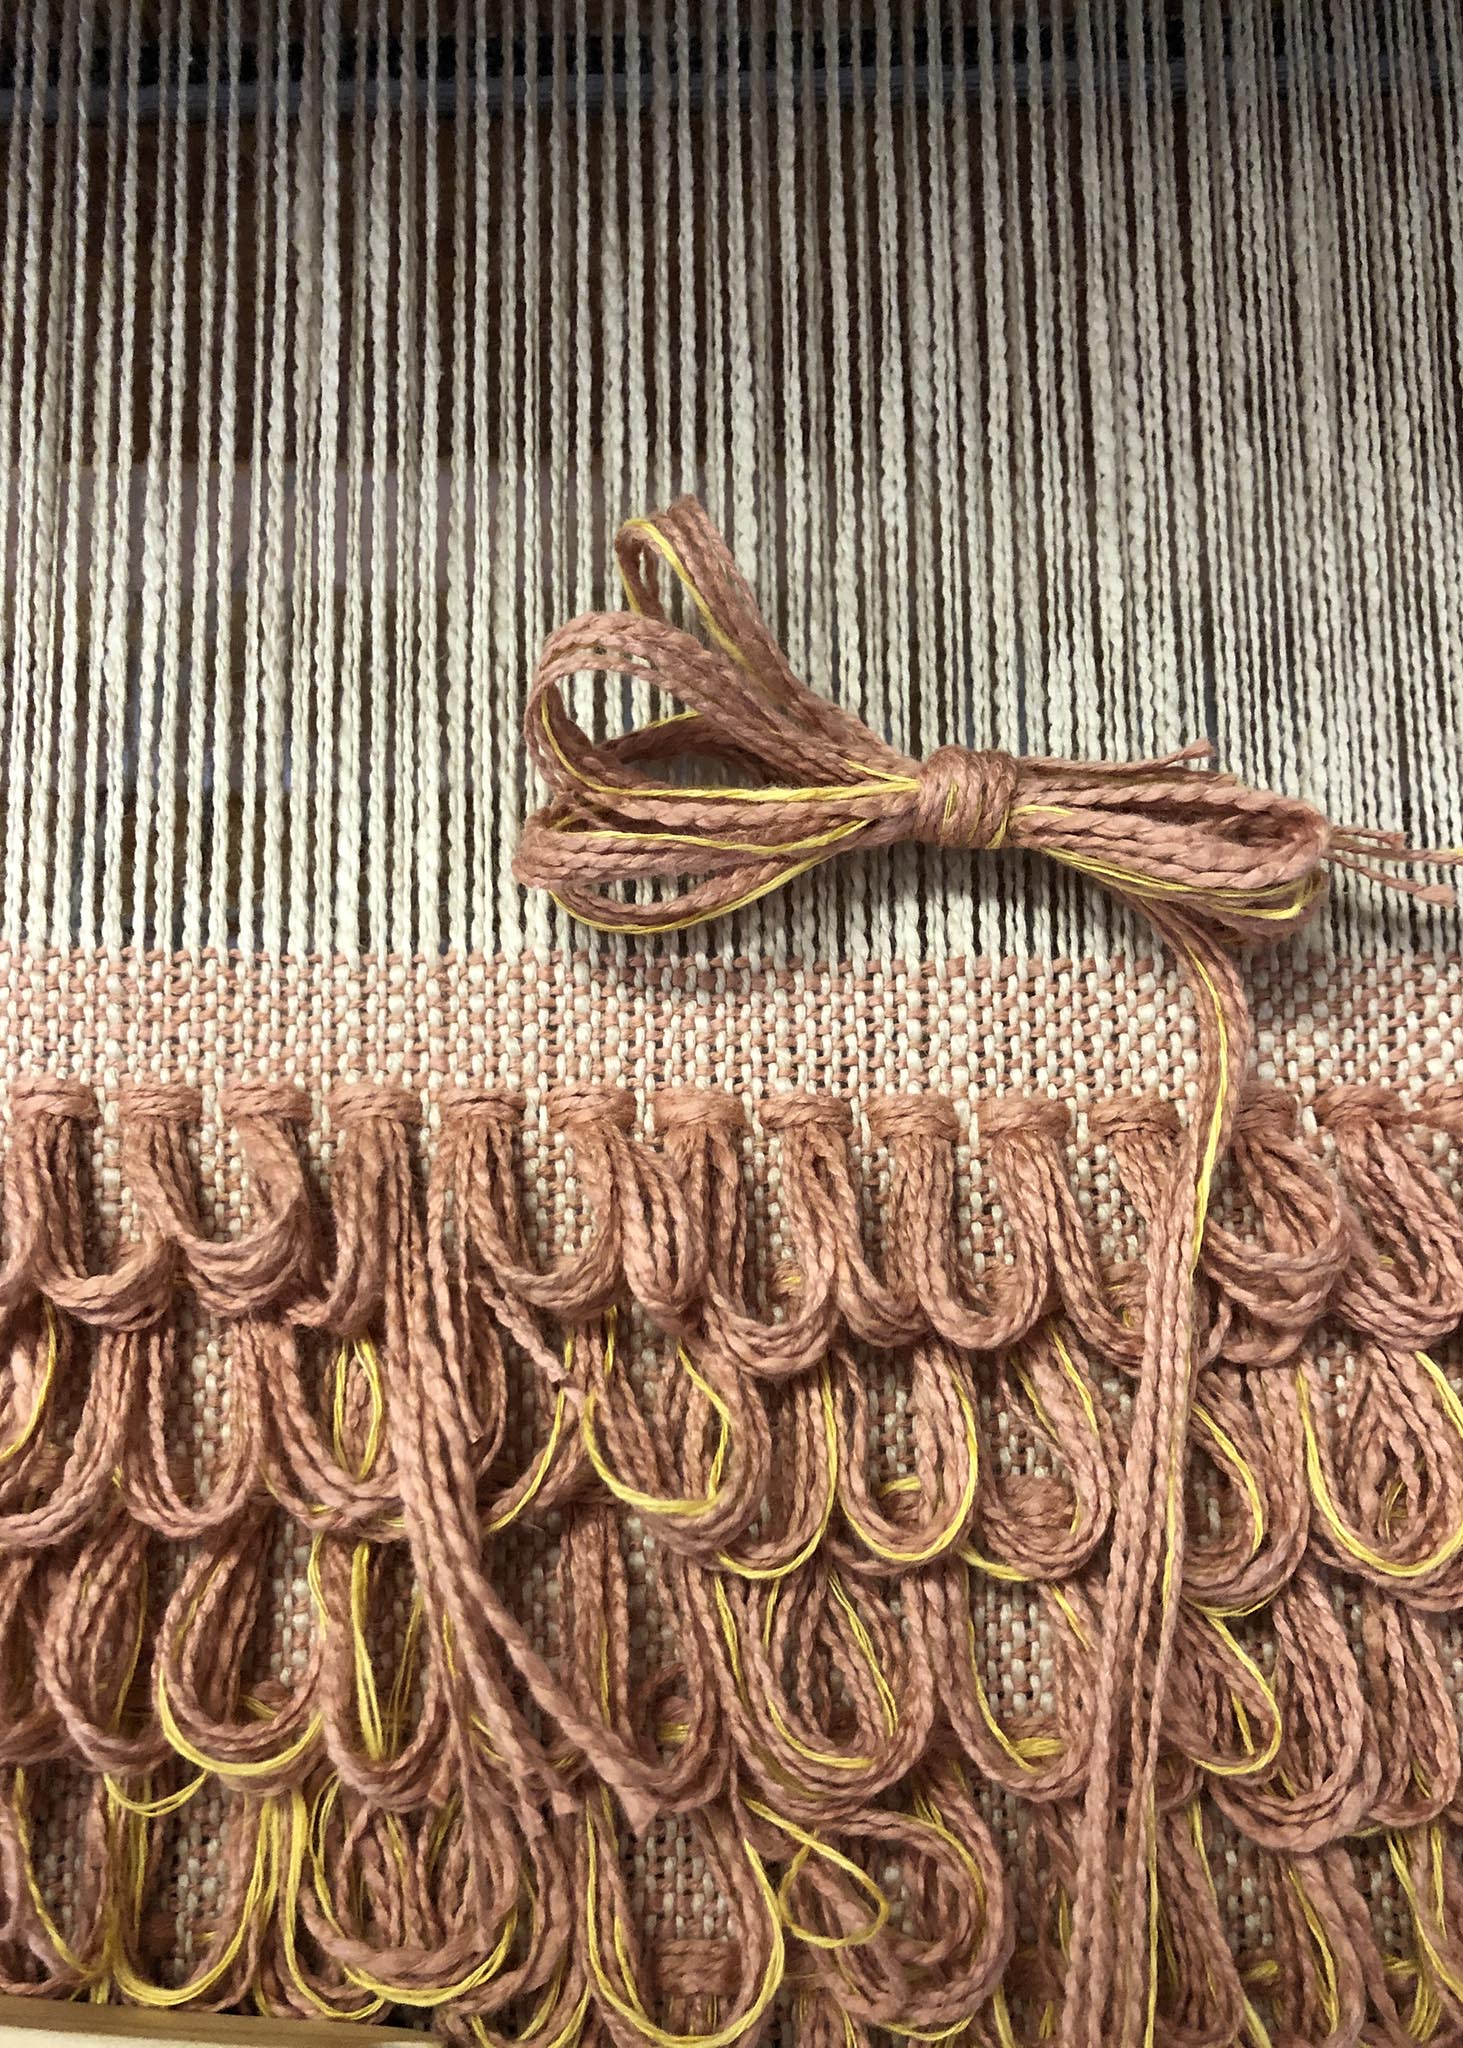
Also, don't worry too much about the length of your loops. Don't make them too long, or you risk running out of material, but loops of different sizes give the pile a more dynamic energy.

At the end of the second pillow, throw another contrasting pick and then weave another 1/2" or 1 cm so that you have a nice crisp line when you cut down and are ready to zig zag or serge.
Once the fabric is off the loom, zig zag or serge the raw edges of your pillows. Then give them a wash. I washed by hand used a gentle, PH-neutral wool wash.
Pillows are dry and ready to sew!
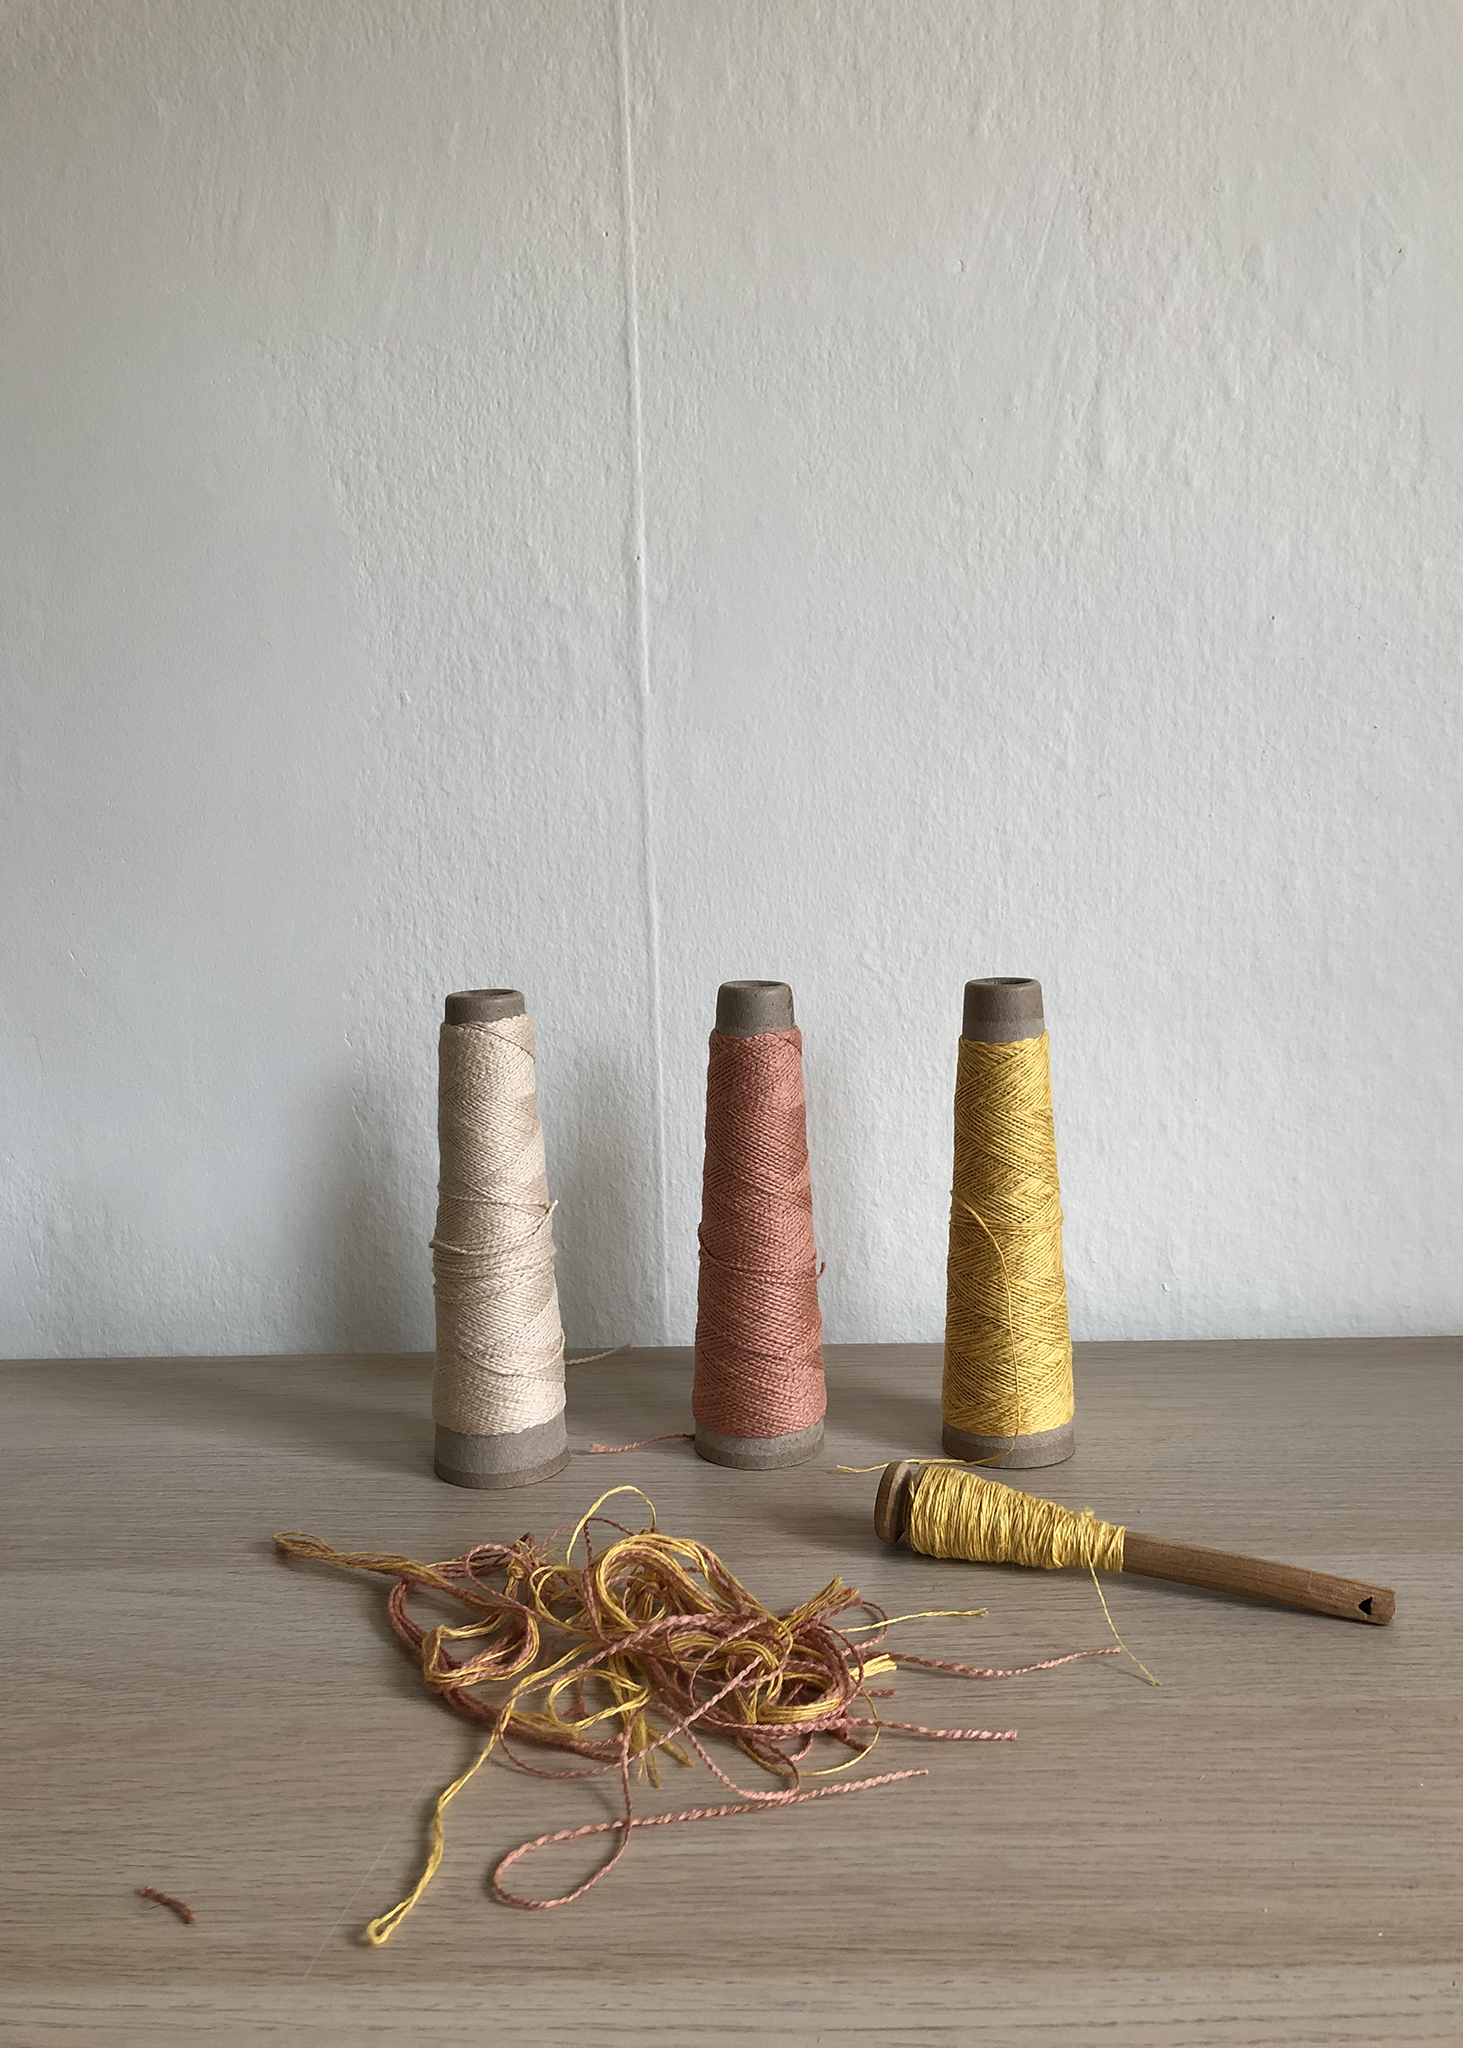
This is why I kept nagging about yarn waste--this is all I have left after weaving the pillows! And a few inches of thrums.
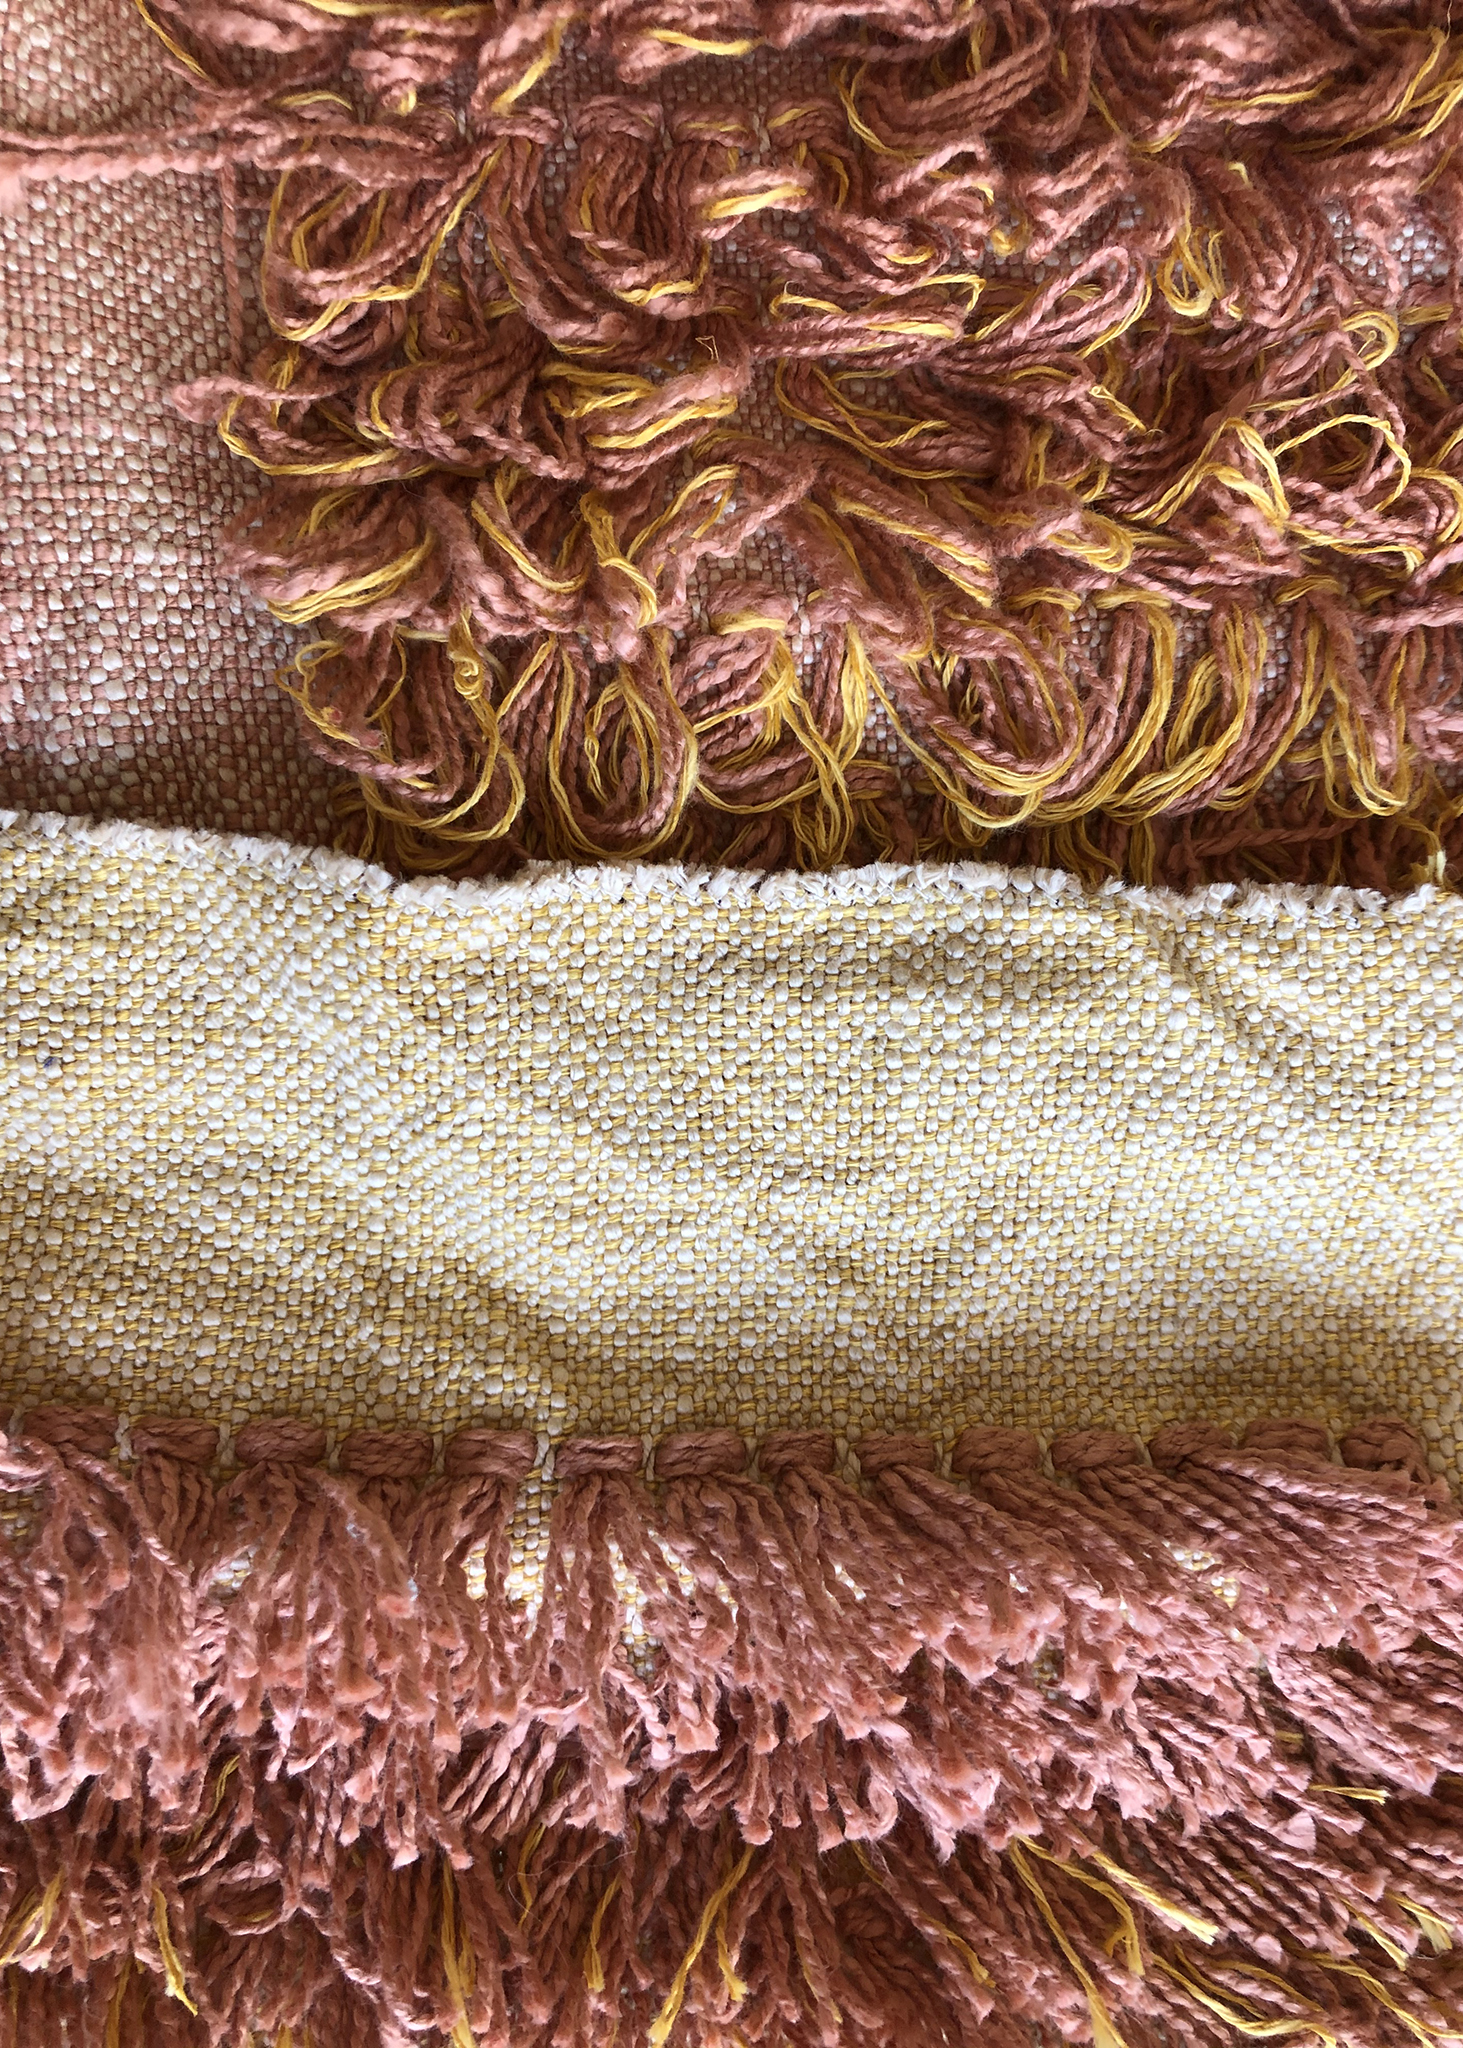
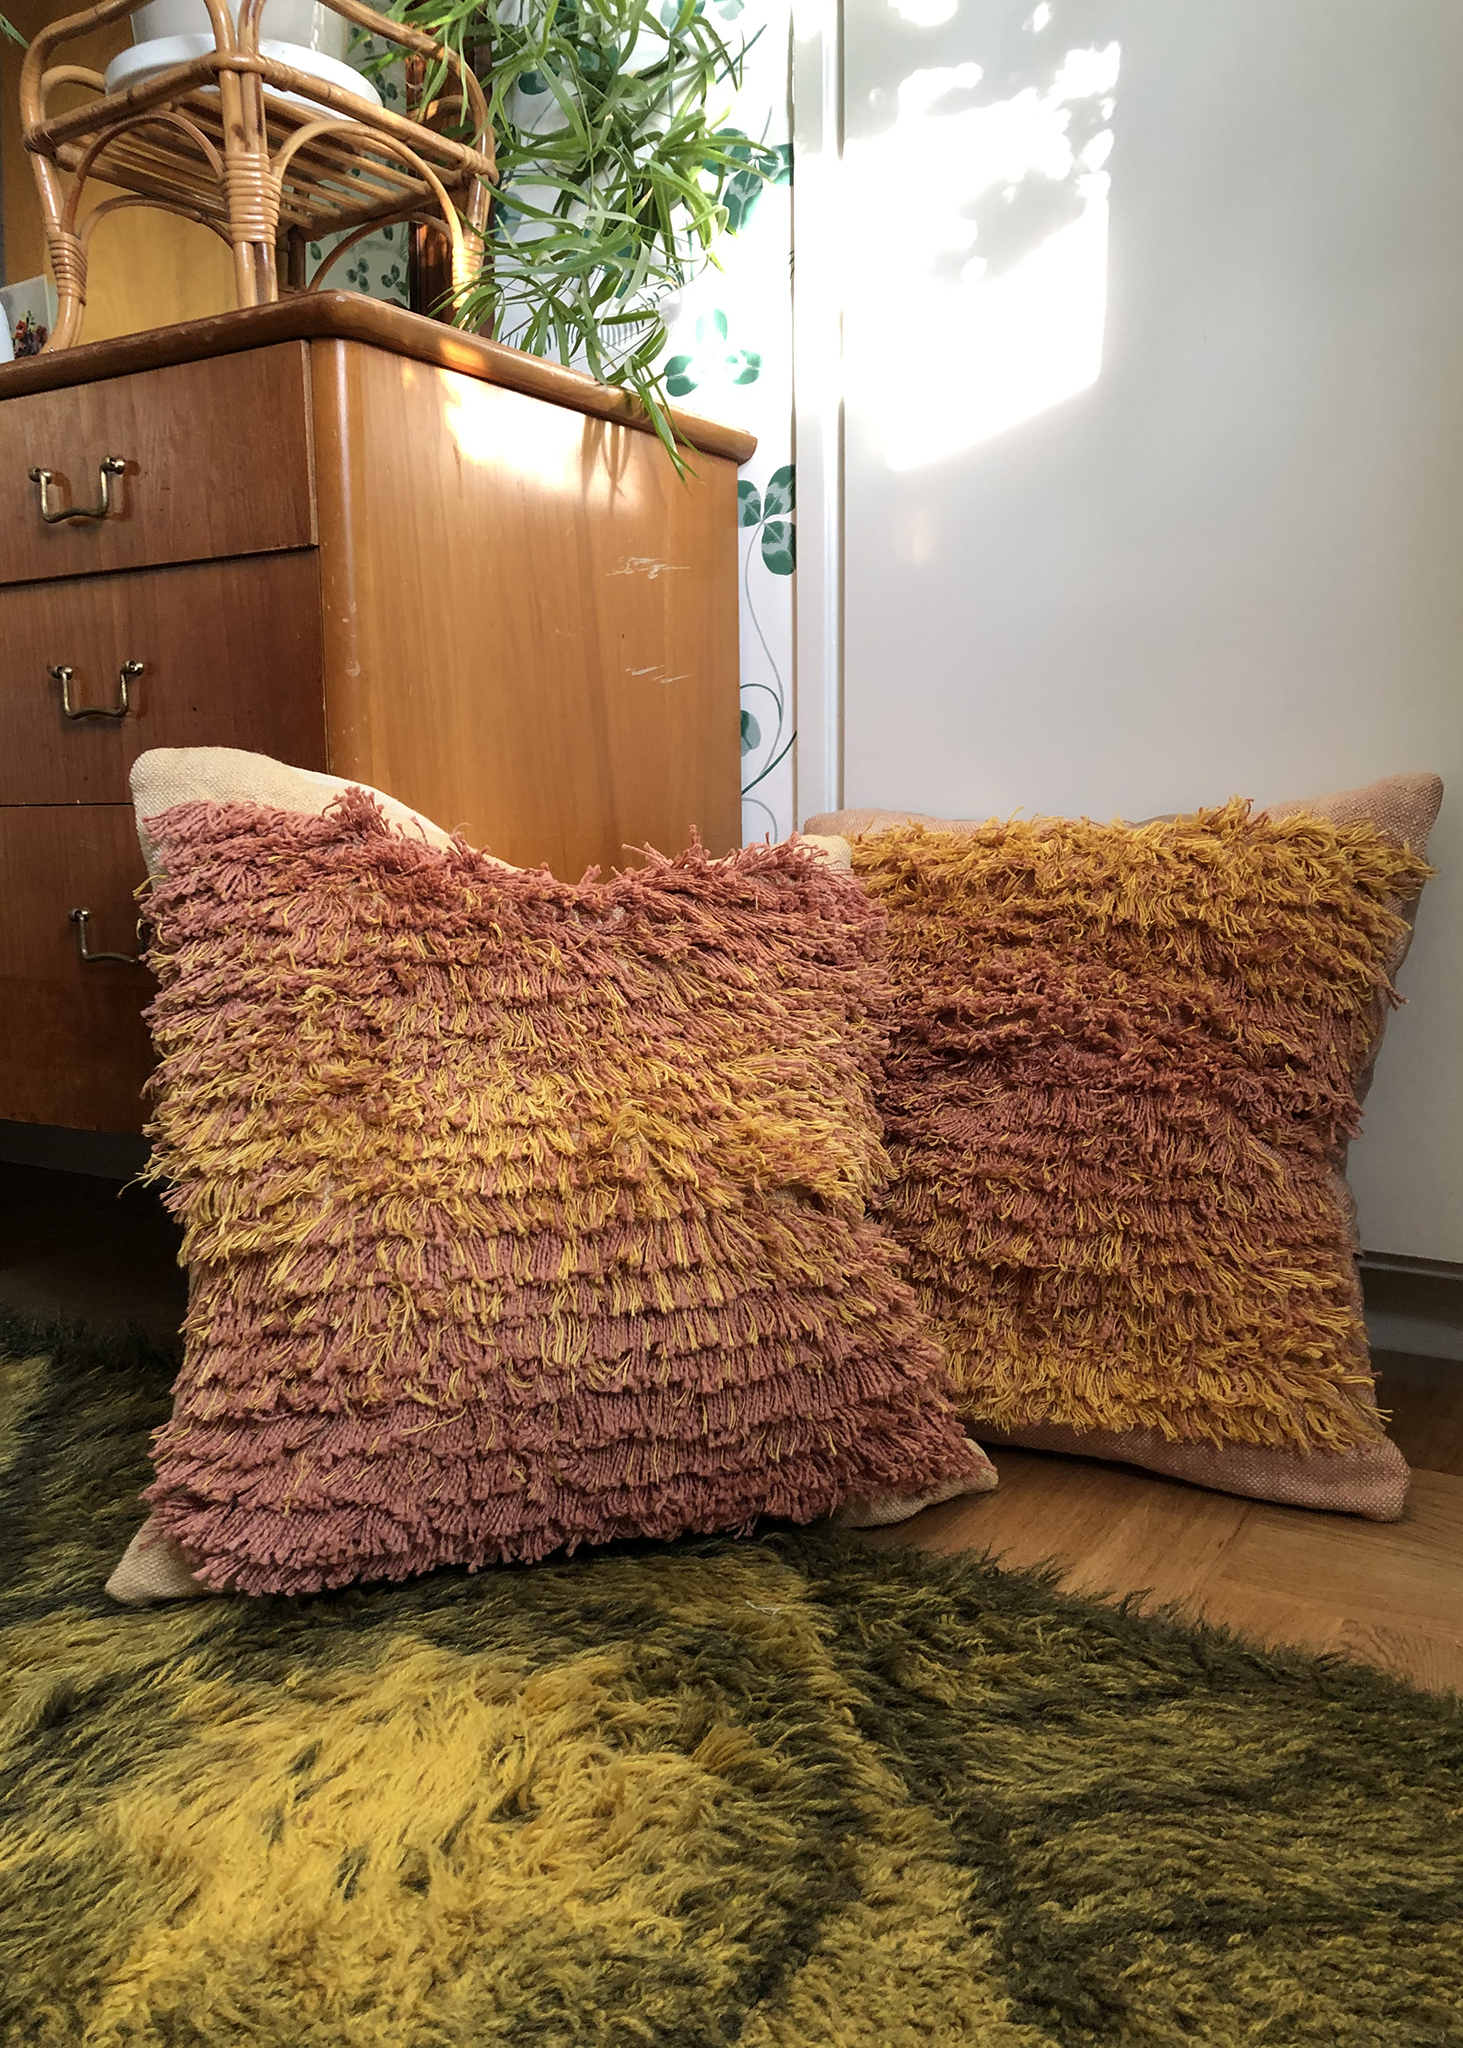
Pillow A I left as loops, even through washing. For Pillow B I cut the loops. I think the pile behaves better when you cut it before washing, and the ends fray ever so slightly in a really nice way.

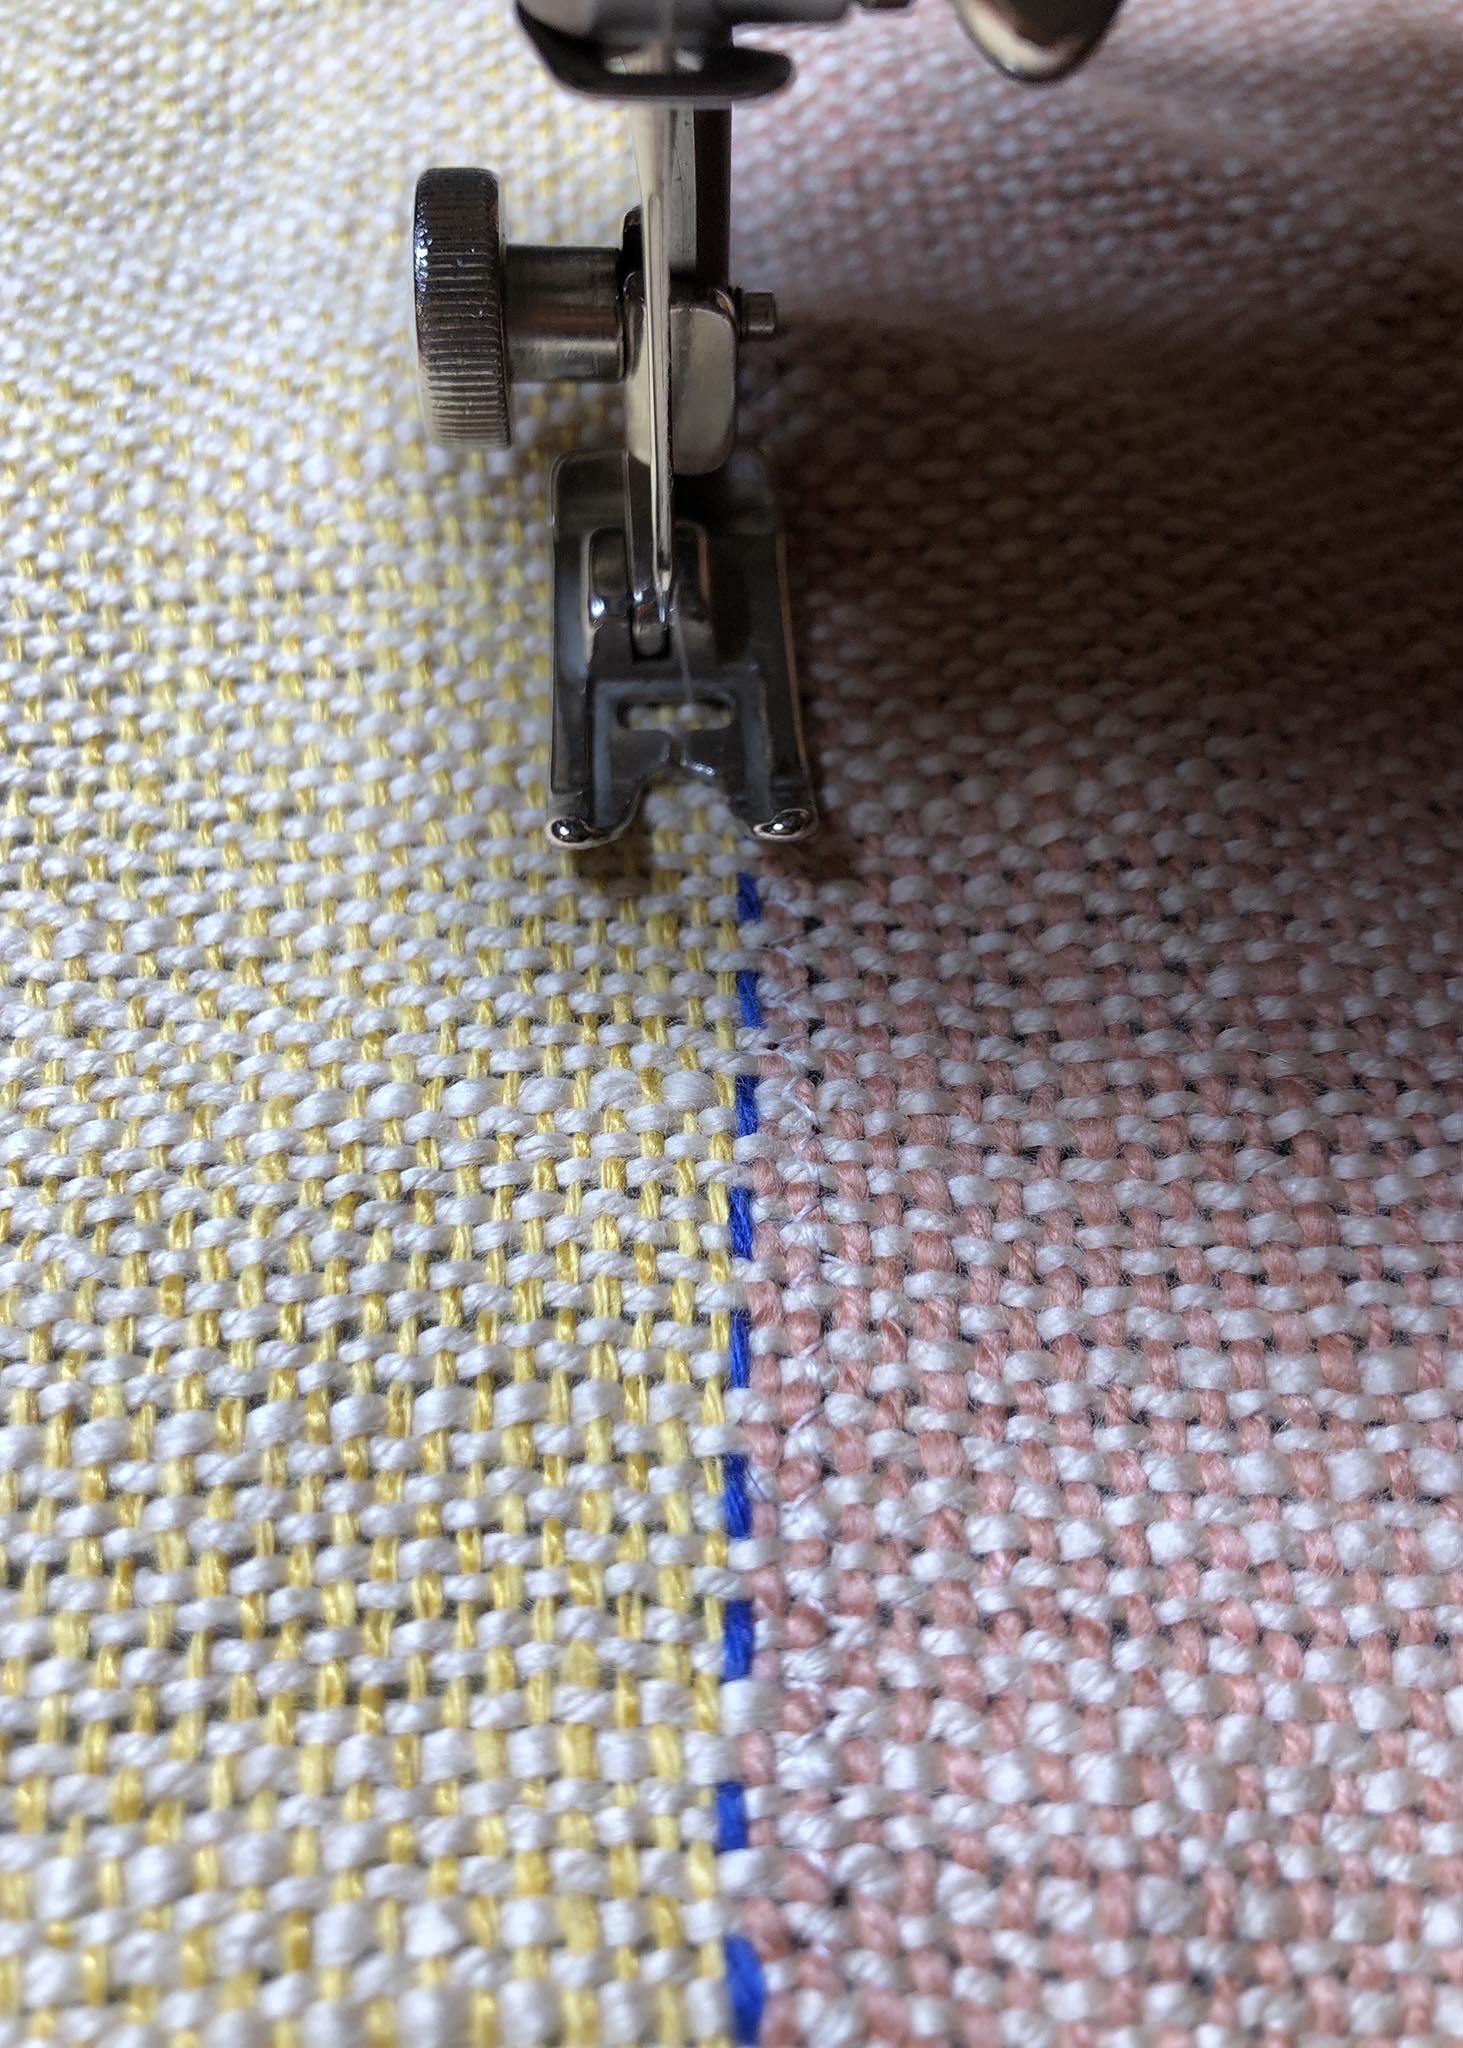
Choosing a backing fabric! This is hand-dyed linen.
I like to pull out one thread on each edge of the rectangle I'm going to cut so that I've got a nice sharp edge and it's easy to cut squarely. Don't be fooled/worried, I'm not this nit-picky about everything...but I like to sew with the backing as a guide, so I want these to be exact.
My pieces ended up being 54 x 50 cm (21.25" x 19.5") after hand washing, but I was able to stretch it gently widthwise to get a piece that was 52 x 51cm (20.5" x 20"). I've found that it's okay if the pillowcase is slightly smaller than 20" x 20", it's not really noticeable.
In the photo on the right you can see that I've started hemming the back pieces.

Here you can see that the pillow front is slightly longer than necessary. You can zig zag and cut it off or (like me) let it be!
It might not be very clear here but remember to put the "top" backing piece down first, since we will be turning this inside out when finished.

Pro tip (that you should really look up on the internet or ask your favorite sewist): sew maybe 1 cm (5/8") or so in at the corner to avoid those super pointy corners once you've put the case on the pillow. It seems so counterintuitive but it really works!
As you can see, I went a little overboard, but I leaned into it and they still look great.

Here they are! Thanks for a great week, I can't wait to see what you make!
If you would like to share your photos, you can email us or use #goslingweavealong on Instagram.
