0

Shopping Cart

*continental US addresses only

Your Cart is Empty

Gradient Throw Pillows

Free Pattern to Weave and Sew these Gorgeous Pillows

Gradient Throw Pillows

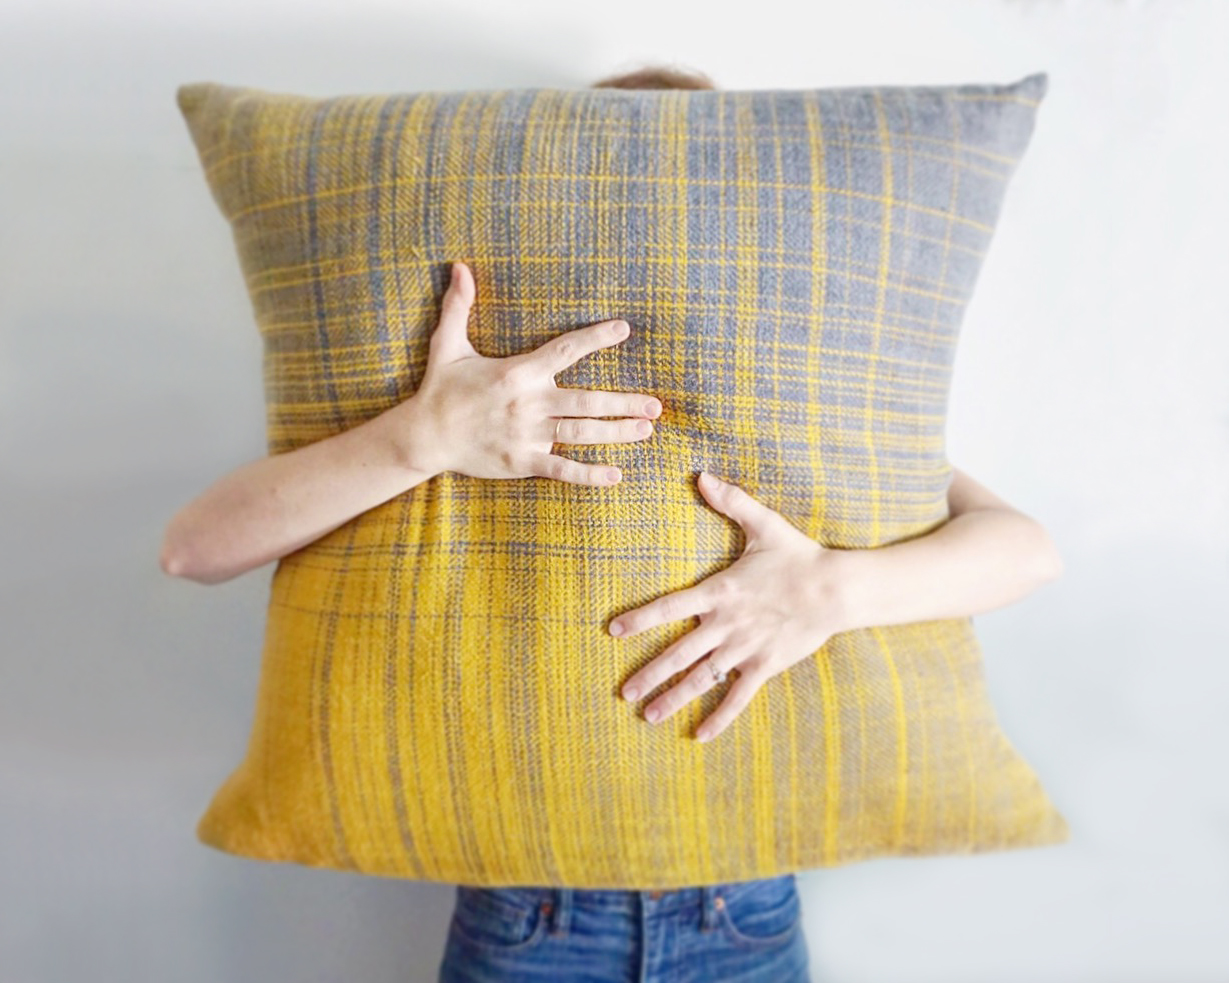
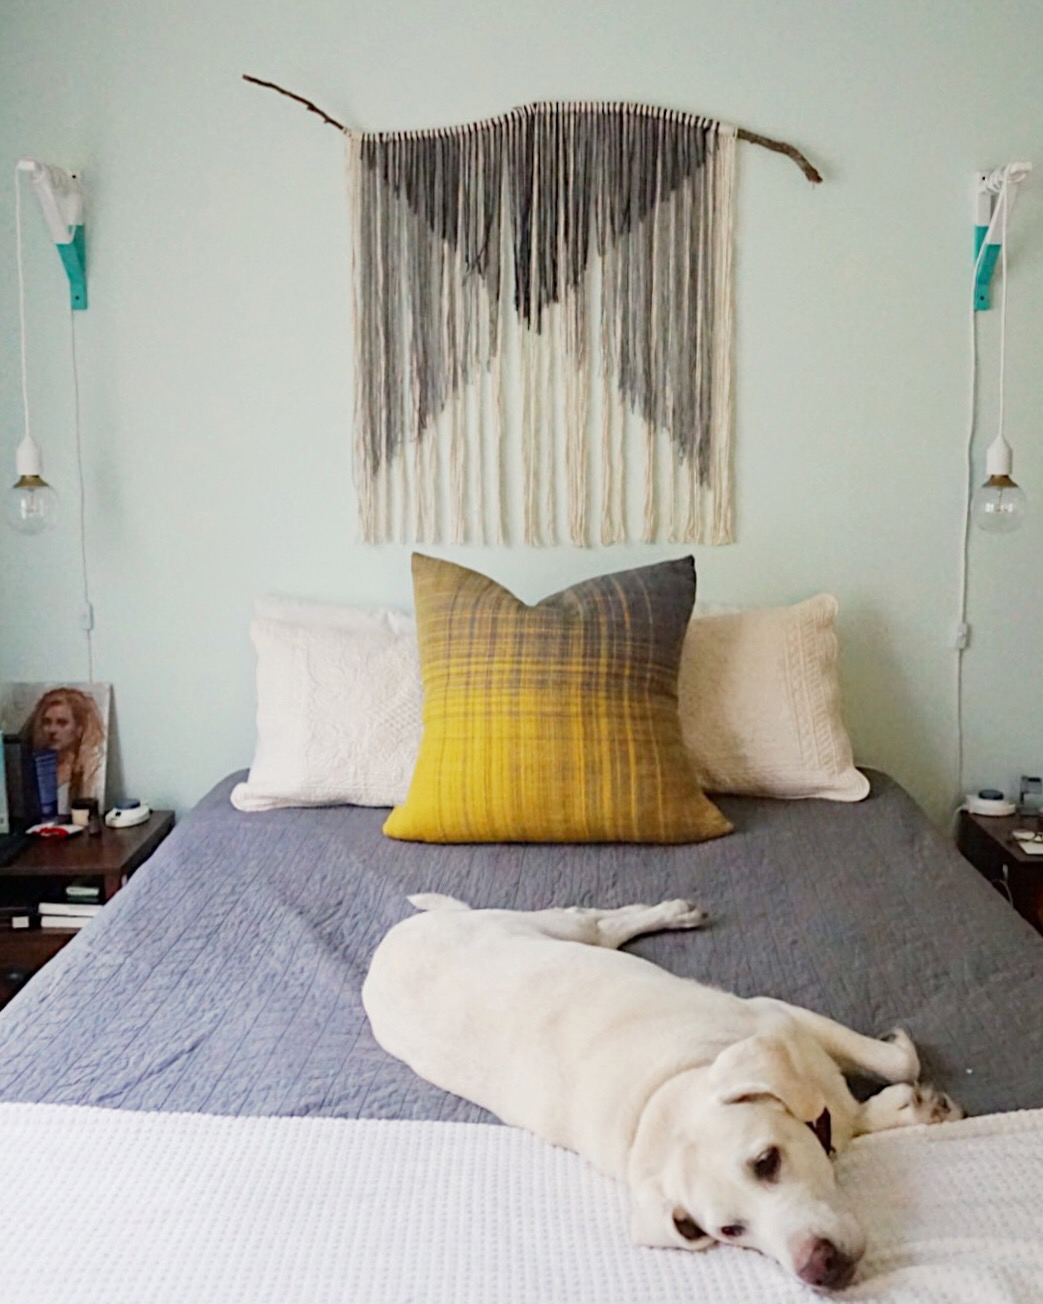
Weave and sew pair of decorative pillows by Alexandra Forby of Daughter HandwovensUsing our Italian Cotton/Linen Weaving Yarn, Alex created a gradient pattern by alternating warp and weft colors. 

Need some help getting started? Check out Resources for Beginner and Intermediate Weavers

Free Pattern to Weave and Sew these Gorgeous Pillows
               
Free Pattern to Weave and Sew these Gorgeous Pillows
                 

Materials 

Project Notes

  • Tools required: 4 shaft table or floor loom, 18 dent reed, or a 12 dent reed threaded 1,2,1,2, shuttle & bobbins
  • EPI: 18 
  • Width at reed: 30" 
  • Warp ends: 540 
  • Warp length: 4.5 yards 
  • Warping order: The gradient is created by gradually mixing the two colors in the warp and weft. Read Alex's advice on creating this effect below.  
  • Length measured under tension at loom: ~130"  
  • Finished woven fabric off loom should measure approximately 28" x 124" to be cut into two 28" x 62" pieces. If it's a little bigger or a little smaller, that's fine - the great thing about making pillows is that they are so forgiving!
  • Finished size of each pillow: 27" x 27"  
Free Pattern to Weave and Sew these Gorgeous Pillows
                
Free Pattern to Weave and Sew these Gorgeous Pillows
                 

Pattern

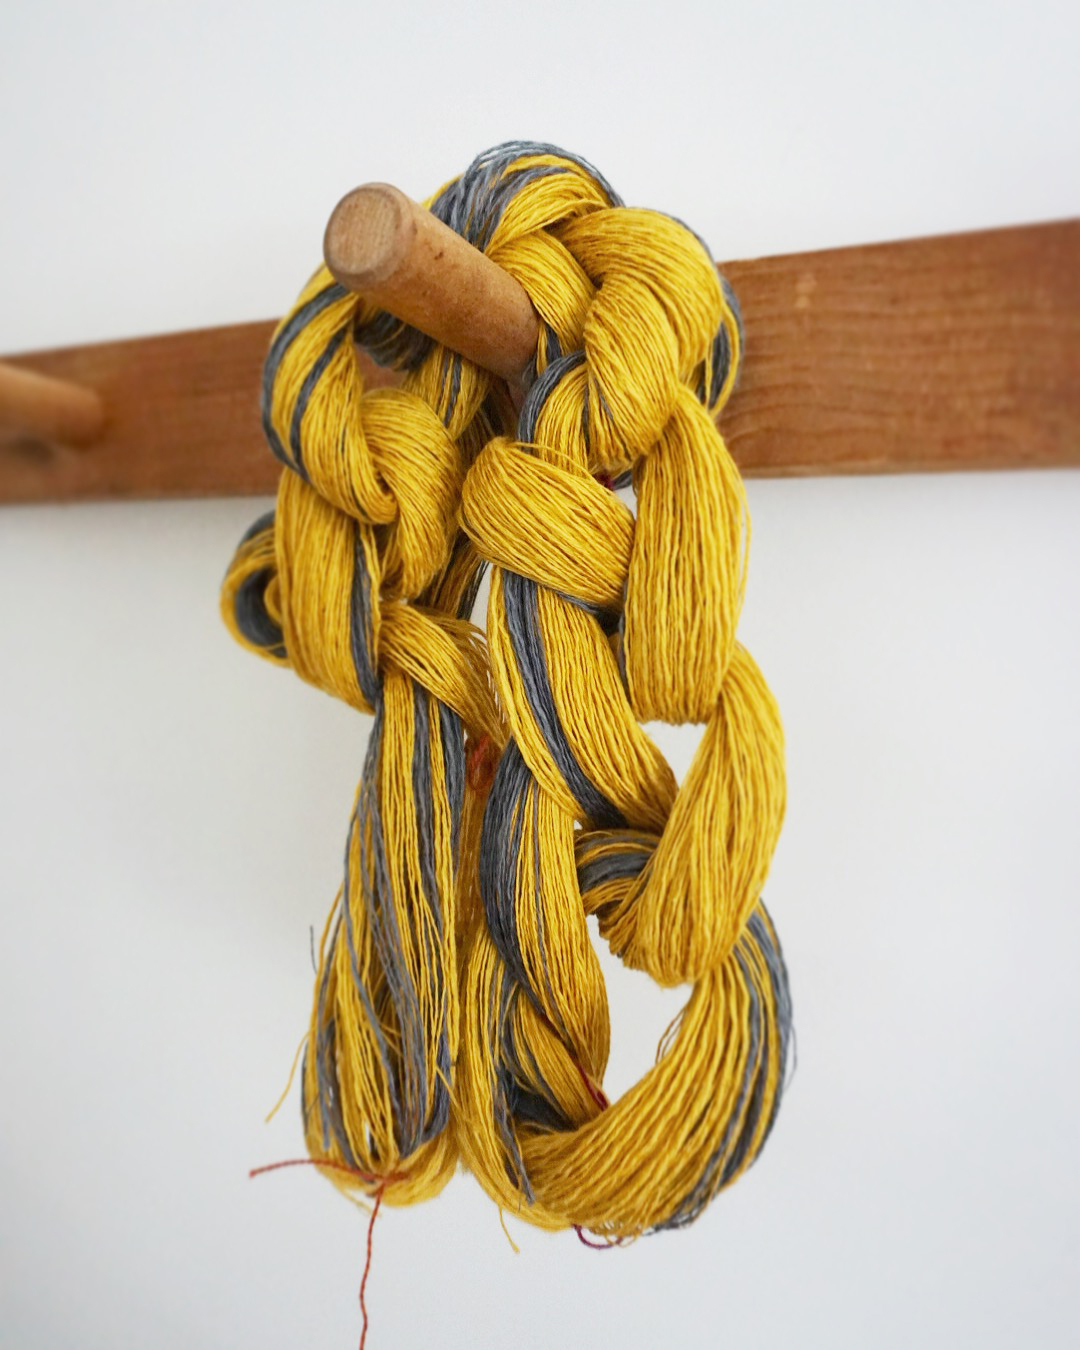
Alex writes, "For the warping order, I started with about 60 strands of the yellow linen (or color A) and then intermittently started blending in the grey threads (or color B) until at the opposite end I had about 60 strands of the grey thread. Once on the loom I tweaked this a bit further and moved some strands around until I felt it looked like a fluid gradient between the two colors. Then, my weft picks essentially mirrored the warp. I started with about 20" of yellow (color A) so the backside of the pillow would be two solid panels of grey and yellow. Then I began to pick until I matched the warp threads, making perfect squares as I worked up and across the warp threads. Finally, I finished with another 20" of grey to complete the other backside panel." 

  • This pattern uses a twill structure that is mirrored at the center of the warp (15"), and then again when you reach the middle of your weaving length (about 65" under tension) 
  • Threading: (<<1,2,3,4, 1,2,3,4, (at center, reverse) 3,2,1, 4,3,2,1>>)
  • Tie up: 1,2 / 2,3 / 3,4 / 4,1
  • Treadle: (1,2,3,4, 1,2,3,4, (at center, reverse) 3,2,1, 4,3,2,1) 

Sewing Instructions

  1. Hand wash, air dry and iron fabric 
  2. Cut fabric in half length wise so that you have two pieces that measure approximately 28" x 62"
  3. Hem the left and right edges: fold in 1/4″, iron flat, fold in 1/4″ again (a total of 1/2" on each side), iron flat, pin and sew using a simple straight stitch on your sewing machine or by hand. 
  4. After you hem the left and right sides, lay your fabric down flat and INSIDE OUT (you should be looking at the wrong side). Fold the left and right sides over to create a square and overlap them slightly in the center (see diagram). This will create the envelope opening for your pillow insert. Double check the measurements of the square to make sure that your pillow insert will fit. 
  5. Pin the folded fabric together and sew the top and bottom seams across about 1/2″ from the selvedges using straight stitch on your sewing machine or by hand. 
  6. Turn your pillow cover right side out (push corners out with a pencil if necessary) and you should have a 27″ square with an overlapping slit in the back. 
  7. Insert your pillow form and repeat steps 1-6 for the second pillow!
Free Pattern to Weave and Sew these Gorgeous Pillows