
Shopping Cart
*continental US addresses only

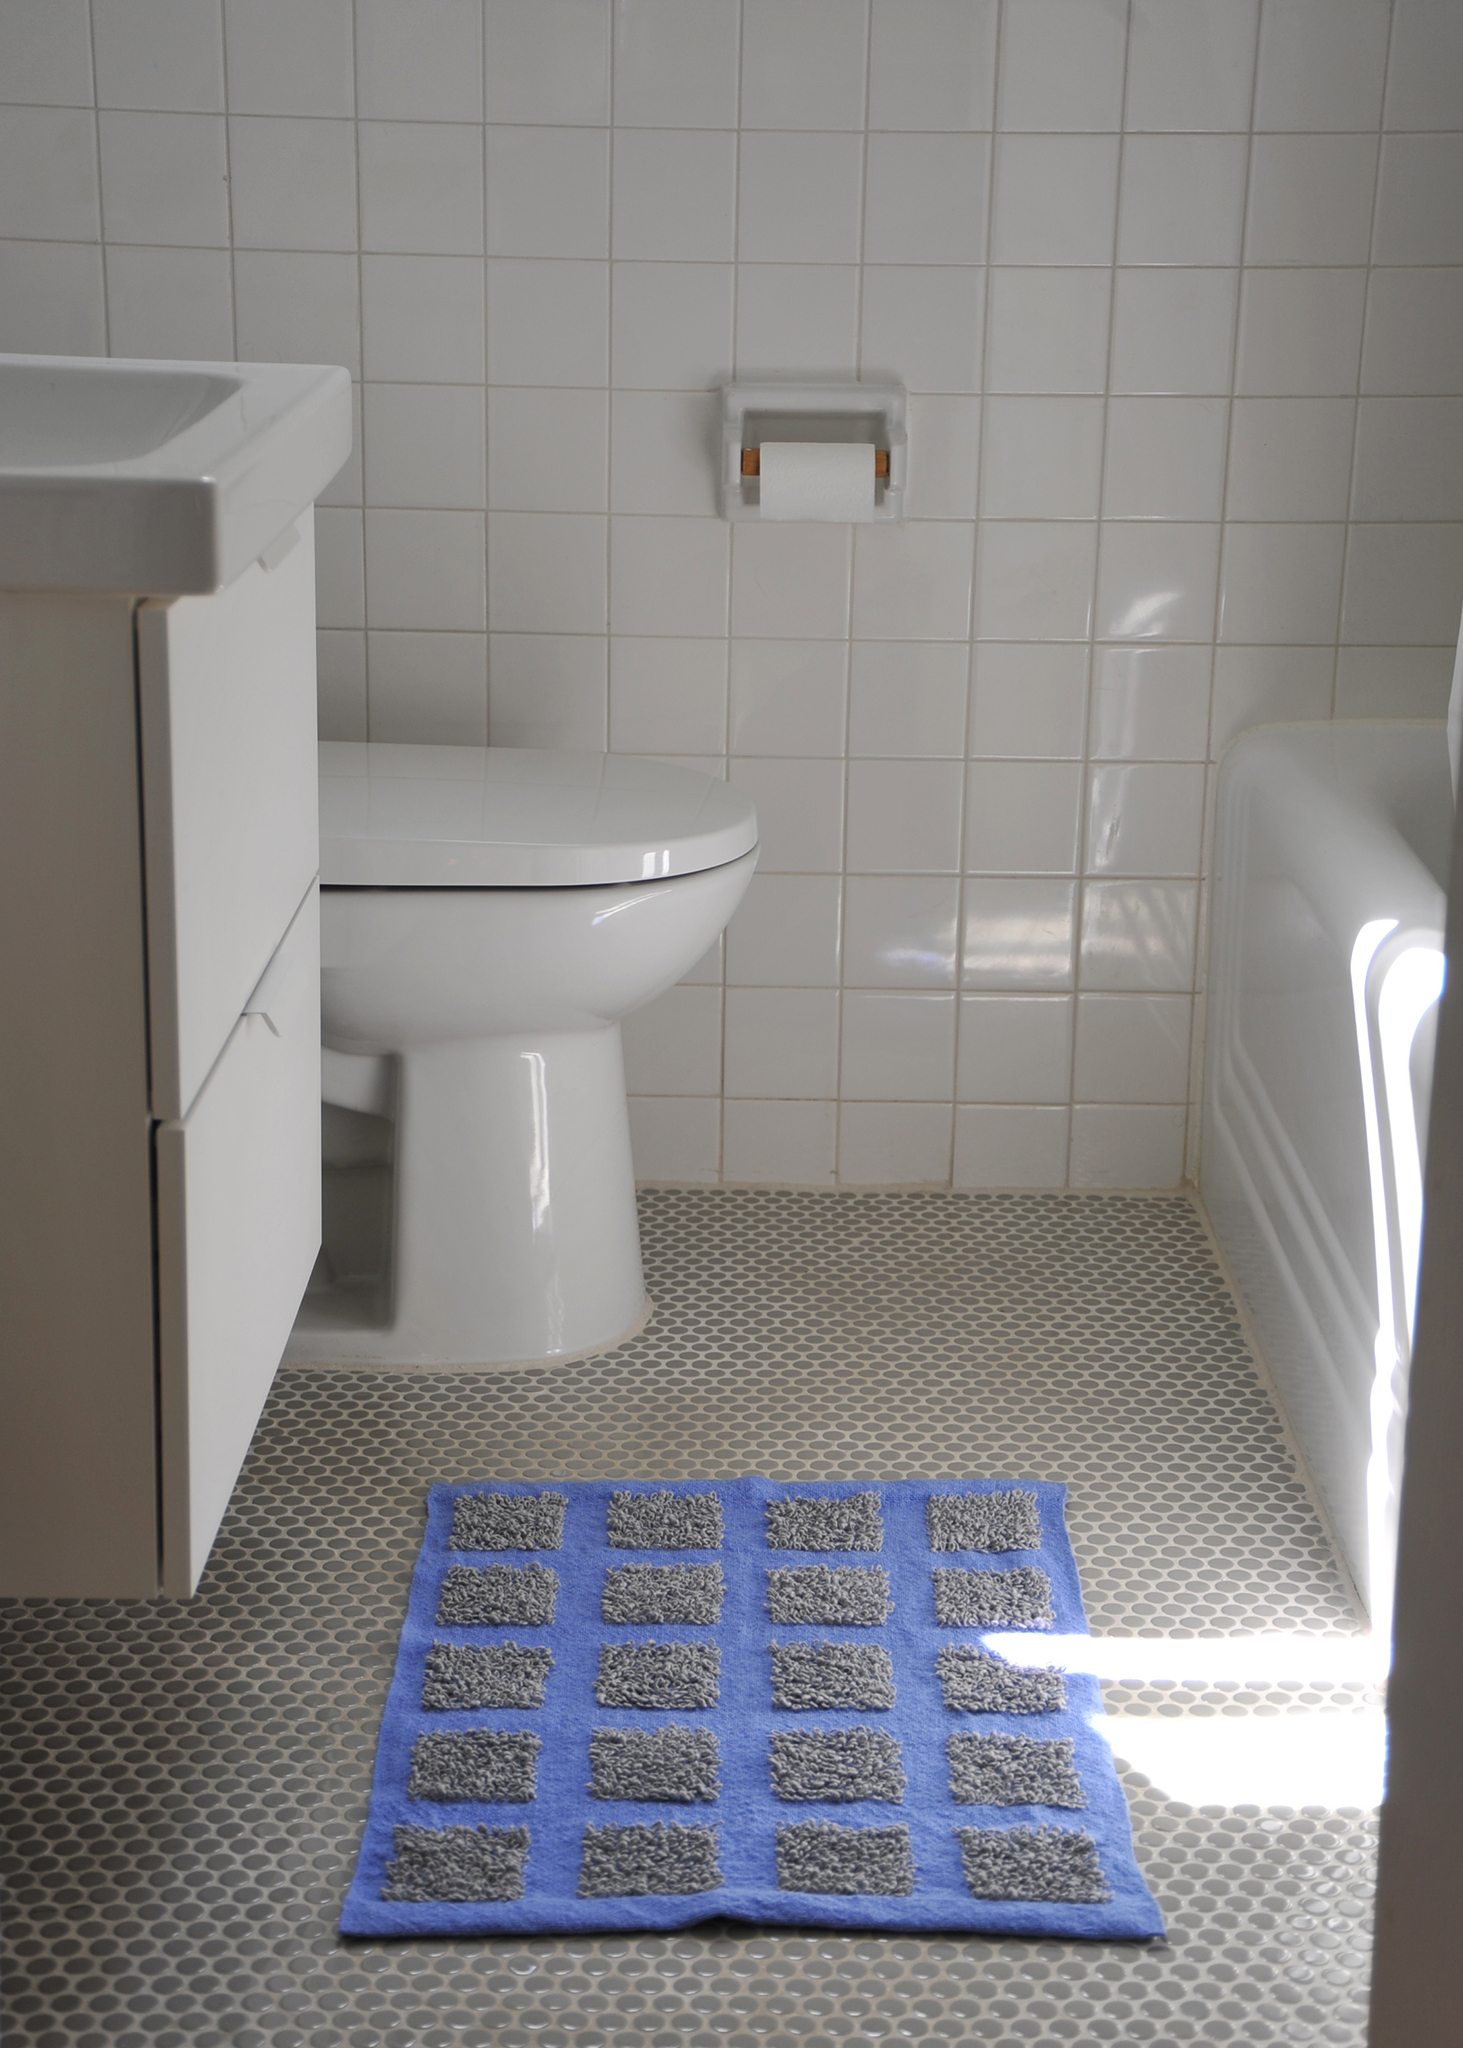
I teach beginner rigid heddle weaving at my local yarn store, and students are always very eager to go beyond plain weave and learn ways to create texture and shape on their looms. The Squarish Rug is one of the methods I’ve sampled to show students how a variety of simple tools can help you create new and exciting surfaces.
I like designing projects that help people skill up, and the Squarish Rug is an easy way to pick up some new skills on your loom. These simple loops are created with knitting needles and locked into place with a tabby base, and makes the best of two of GIST’s in-house yarns, Duet and Mallo. Duet keeps this rug light and Mallo gives each square a fluffy, variable texture.
I love the idea of ‘floating squares’ - single squares in a woven cloth that are unconnected to warp or weft colours, making them float on the surface your cloth. However you achieve them, they’re a completely analog process, and something only a patient handweaver can make.
You can download an updated version of this pattern and purchase a kit here.
Designed byAmanda Rataj for GIST: Yarn & Fiber.
Need some help getting started? Check out Resources for Beginner and Intermediate Weavers.

Warp and Weft:2 cones of Duet Cotton/Linen in Chambray, 1 cone of Mallo Cotton Slub in Steel

1. Warp the loom with Duet using your preferred method (direct or indirect) for a total of 316 ends, 2 yards (72”) long. Center for a weaving width of 21” and sley 1 end per hole and slot in a 15 dent rigid heddle. If you want to use a multi-shaft loom, thread for plain weave and sley 1-2 ends in a 10 dent reed for 15 EPI (this rug is flexible, 16 EPI will work too if that’s easier).
2. This warp is overly long - I’ve left space for testing at the beginning, or for adding a 6th row of squares. My warp was 54” (1.5 yds) which was a bit shorter than I’d have liked! Begin and end your rug by hemstitching - you’re going to fold over those ends but it’s nice to have the rug ready to go off the loom. I hemstitched in groups of 6 threads.
3. Weave 3.5” of plain tabby in Duet - on the the next row you’ll start making your loops. Loops are created by opening your shed and passing a butterfly of Mallo under 26 raised warp ends (see detailed instructions below). Squares are 13 loops across and 18 rows of loops/plain weave. In between loop squares, weave 24 rows of plain weave (approx. 1.5”). Weave 5 rows of squares, and finish with 3.5” of tabby in Duet. Each looped square uses approximately 8 yds of Mallo - you need an approximate total of 160 yds to weave the looped sections on the rug.
4. Wash your rug by hand or machine on delicate cycle. Air dry is best - I tossed my rug in the dryer for about 10 minutes when it was almost dry just to fluff things up.
5. Turn your hem over by 1/4”, then turn it again by 1”. Sew this down by hand or machine for a neat hem.
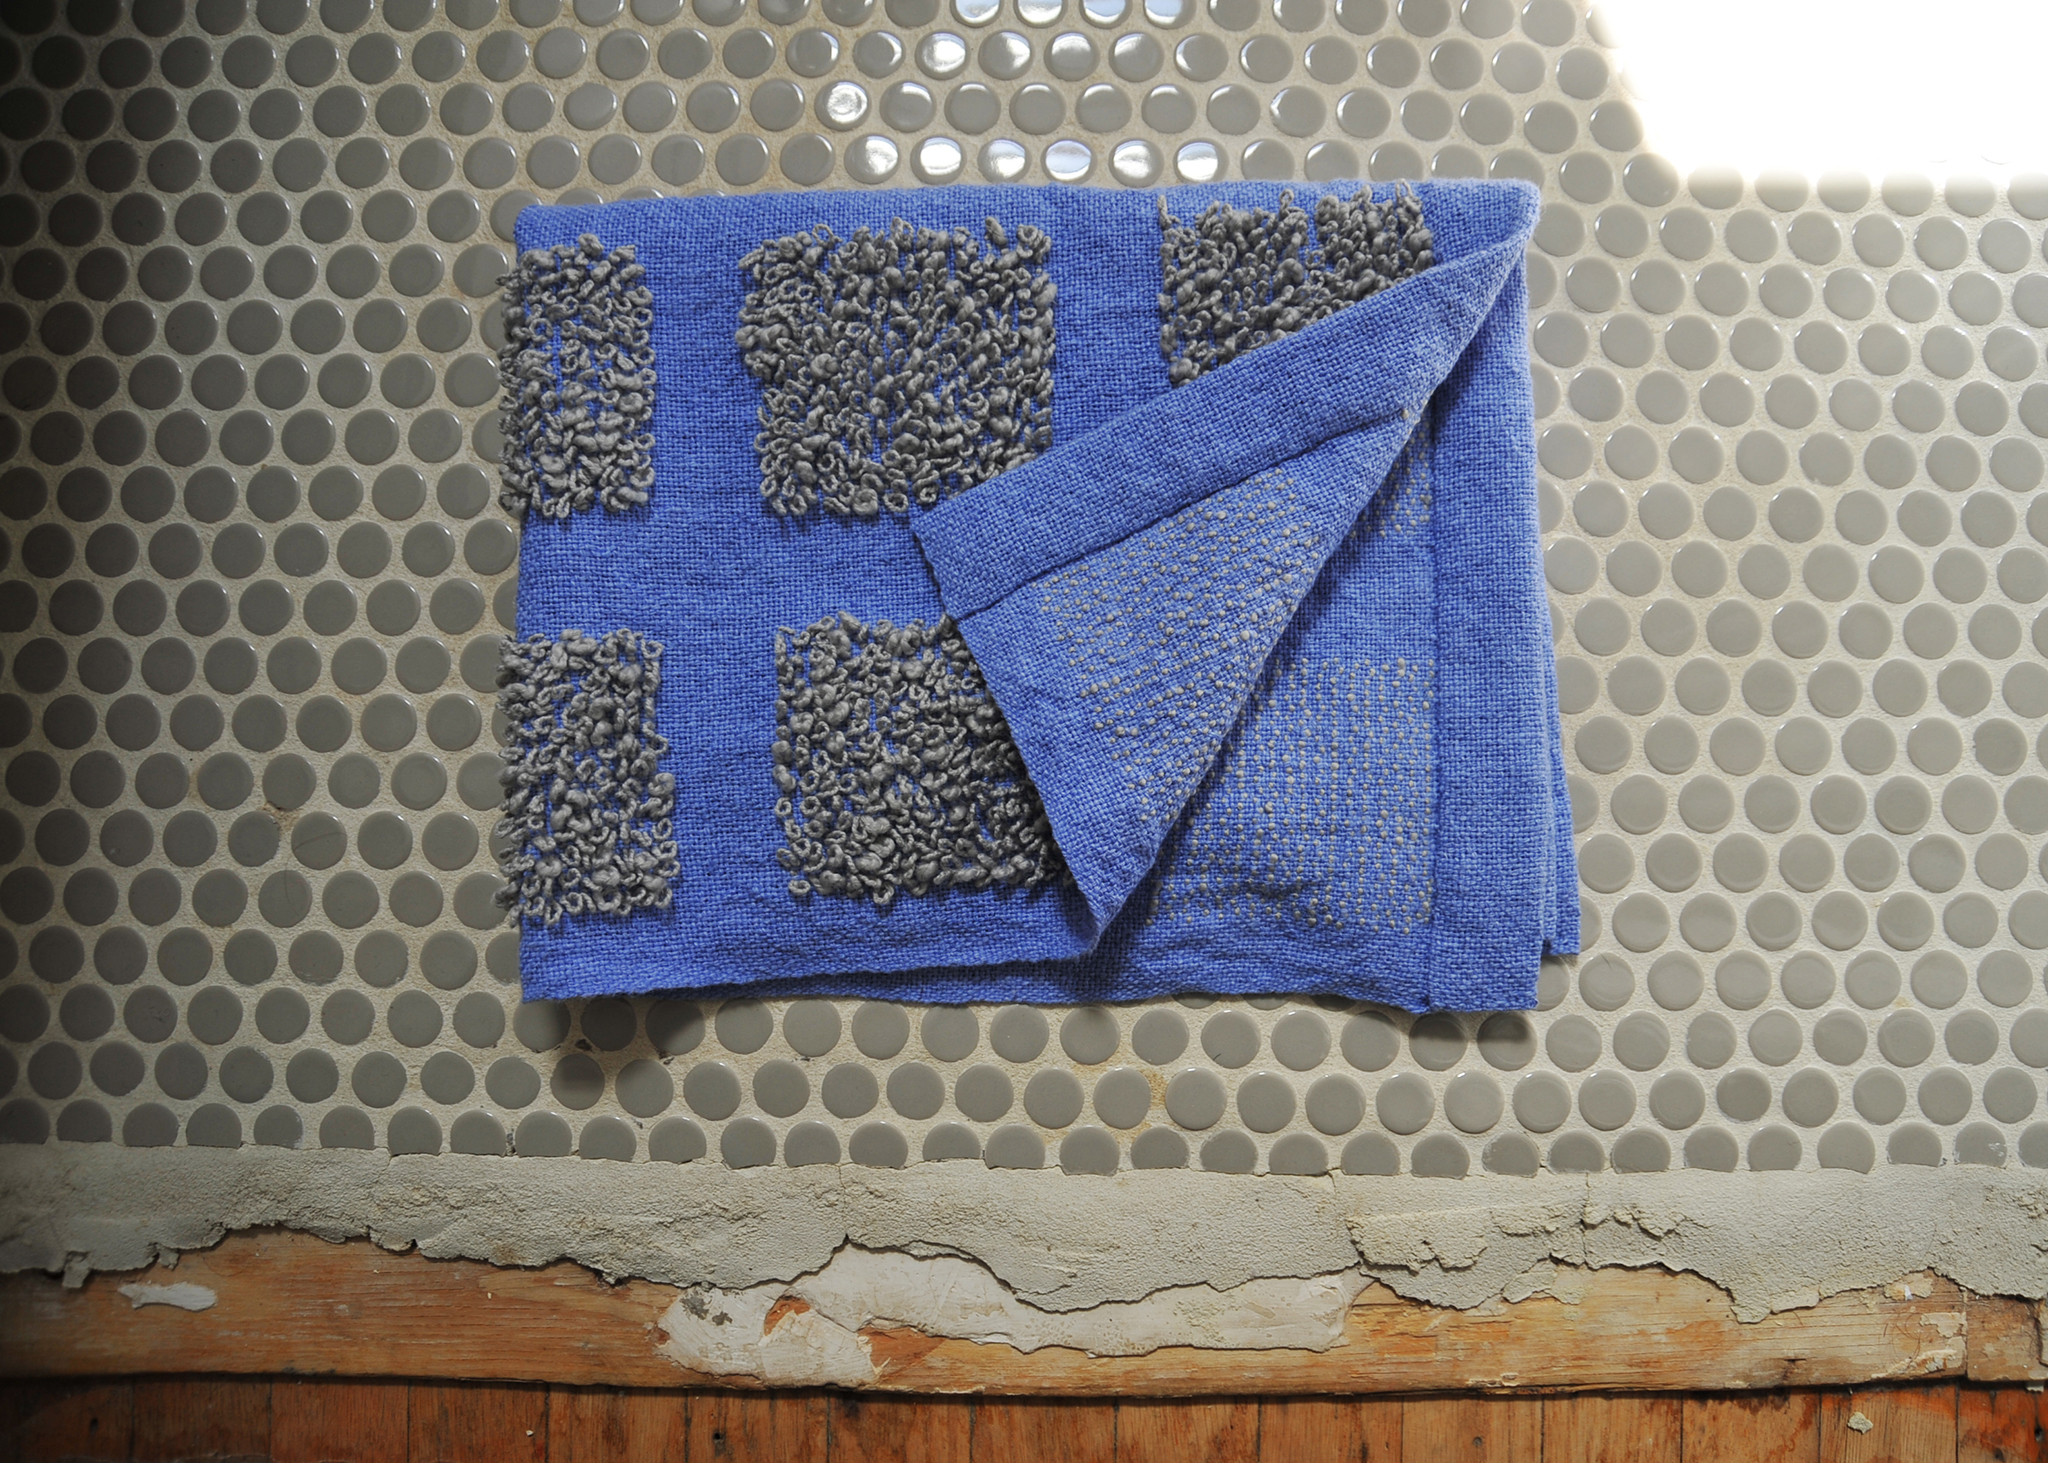
The loops in this rug are made with Mallo and are created by using a your fingers/crochet hook and knitting needle. The basic action is simple: Mallo is passed into your shed from the face of your weave, under a number of warp ends, and then back up to the front of your weave. The crochet hook is then used to lift loops of Mallo onto a knitting needle. Once the loops have been created, they are secured by 3 plain weave picks of Duet, your main warp and weft thread.
To prepare, measure 4 butterflies of Mallo that are each 8 yards long - if you have a warping board, use that to speed up your measuring. After you throw the final pick of your hem (3.5”), change your shed. Insert one of the Mallo butterflies into your shed 9 raised warp ends from your selvedge and pass it under 26 raised warp ends, then bring your butterfly out of the selvedge and to the front of your work. You’ll be inserting and removing your butterfly from the face of your weaving and not the selvedge end. Fold the tail over a warp end and tuck it towards the back of your weaving.
Grab your crochet hook and knitting needle and use the hook to pull a loop of Mallo up from inside your shed between the first and second raised warp ends. Place this loop onto your knitting needle and then pull up a second loop after 2 raised warp ends. Continue using your crochet hook to pull loops of Mallo up - you should be able to pick up a total of 13 loops . The last loop will have 1 raised warp end between it and the space your butterfly exits your shed. Pull the loops tight.

There are 12 raised warp ends between the Mallo squares - count them out and then start creating another looped square. When you’ve finished a row of loops for all four squares, throw your shuttle of Duet through the same shed - this will help lock your loops into place. Beat your weft into place and change your shed, giving another gentle beat after you remove the knitting needles (they’ll make beating a bit awkward). Throw another plain weave pick, beat, change your shed, and then throw and beat another plain weave pick (a total of 3 plain weave picks since you created the loops).
Open your next shed and start another row of loops. Because you’ve changed your shed (if you started with your heddle in the UP position, you’ve gone DOWN, UP, and now are on DOWN), the next row of loops will be offset from the first set - so don’t worry if they aren’t in the same spot as the first row. Follow the same process for creating your second row of loops.

WeaveZine has a great tutorial on making a looped pile washcloth - they have photographs on their website and a video on YouTube that might be helpful for you. Note that they use their ground weft to create their loops - the Squarish Rug project is slightly different, since it uses a secondary weft to create the loops! The Weaver’s Idea Book by Jane Patrick also has looped pile instructions and images in it.
Your squares are finished when there are 18 rows of loops - they will look rectangular on the loom, but it should square up when you wash your rug. My squares measured 3 3/8” tall by 3 2/16” wide on the loom.
When you’ve washed and finished, there should be 18 ends creating the borders, 52 ends for each square, and 24 ends between the squares. But - don’t worry too much if your numbers are a little off. You didn’t notice that mine were, did you? ;) (Hint, one selvedge is actually 20 and a space between a square is 22!) The first rows were a bit tricky, but spending a little extra time here setting them up is a big help later on - when my first square was complete, it was very easy to follow the edge of the square up the weave to figure out where my next square should start.
While I was making this rug I had a great amount of fun thinking about ways I could do it differently, and I thought GIST readers might like some ideas of how they could change things up - not all cooks like following a recipe exactly, after all.
I plotted out the design for this rug using graph paper - 1 square = 1 inch. Squares aren’t the only shape you can make - I tried a circle (plot it out on a grid first!), and rectangles or triangles could also work. I used double pointed knitting needles that were 6” long, but I also used 9” long straight needle, and the length of these tools limited the length of the square that I could create. I took these measurements in mind when I was designing the rug and decided I could probably create a maximum of 8” of loops before I’d have to use another straight knitting needle, or 5” for the DPNs (this could be modified if you wanted to buy more needles - I wanted to use what I had!). My rug ended up with squares that were roughly 3” with a space of 2” in between - just enough to squeeze on the 9” needle or make one square per DPN.
While we’re talking about needles, I made a sample with lots of differently sized needles before I started on the final rug. A 4mm/US 6 made short, dense loops, and using Mallo double stranded also gave me a denser pile. I encourage you to try making your loops with different sized needles - I chose 7mm/US 10.75 because I liked the loose squashy loops it created (all the better to show off Mallo’s thick and thin texture!). There are always loads of knitting needles at my local thrift store, so check one out if you don’t have any at home. I can imagine a rug using different sizes of needles for each square adding another layer of texture to your rug.
If you have some Mallo leftover in your stash, why not make some of your squares different colours? With 7 different shades to choose from, you could make a really cool checkerboard pattern by picking two or more different colours.
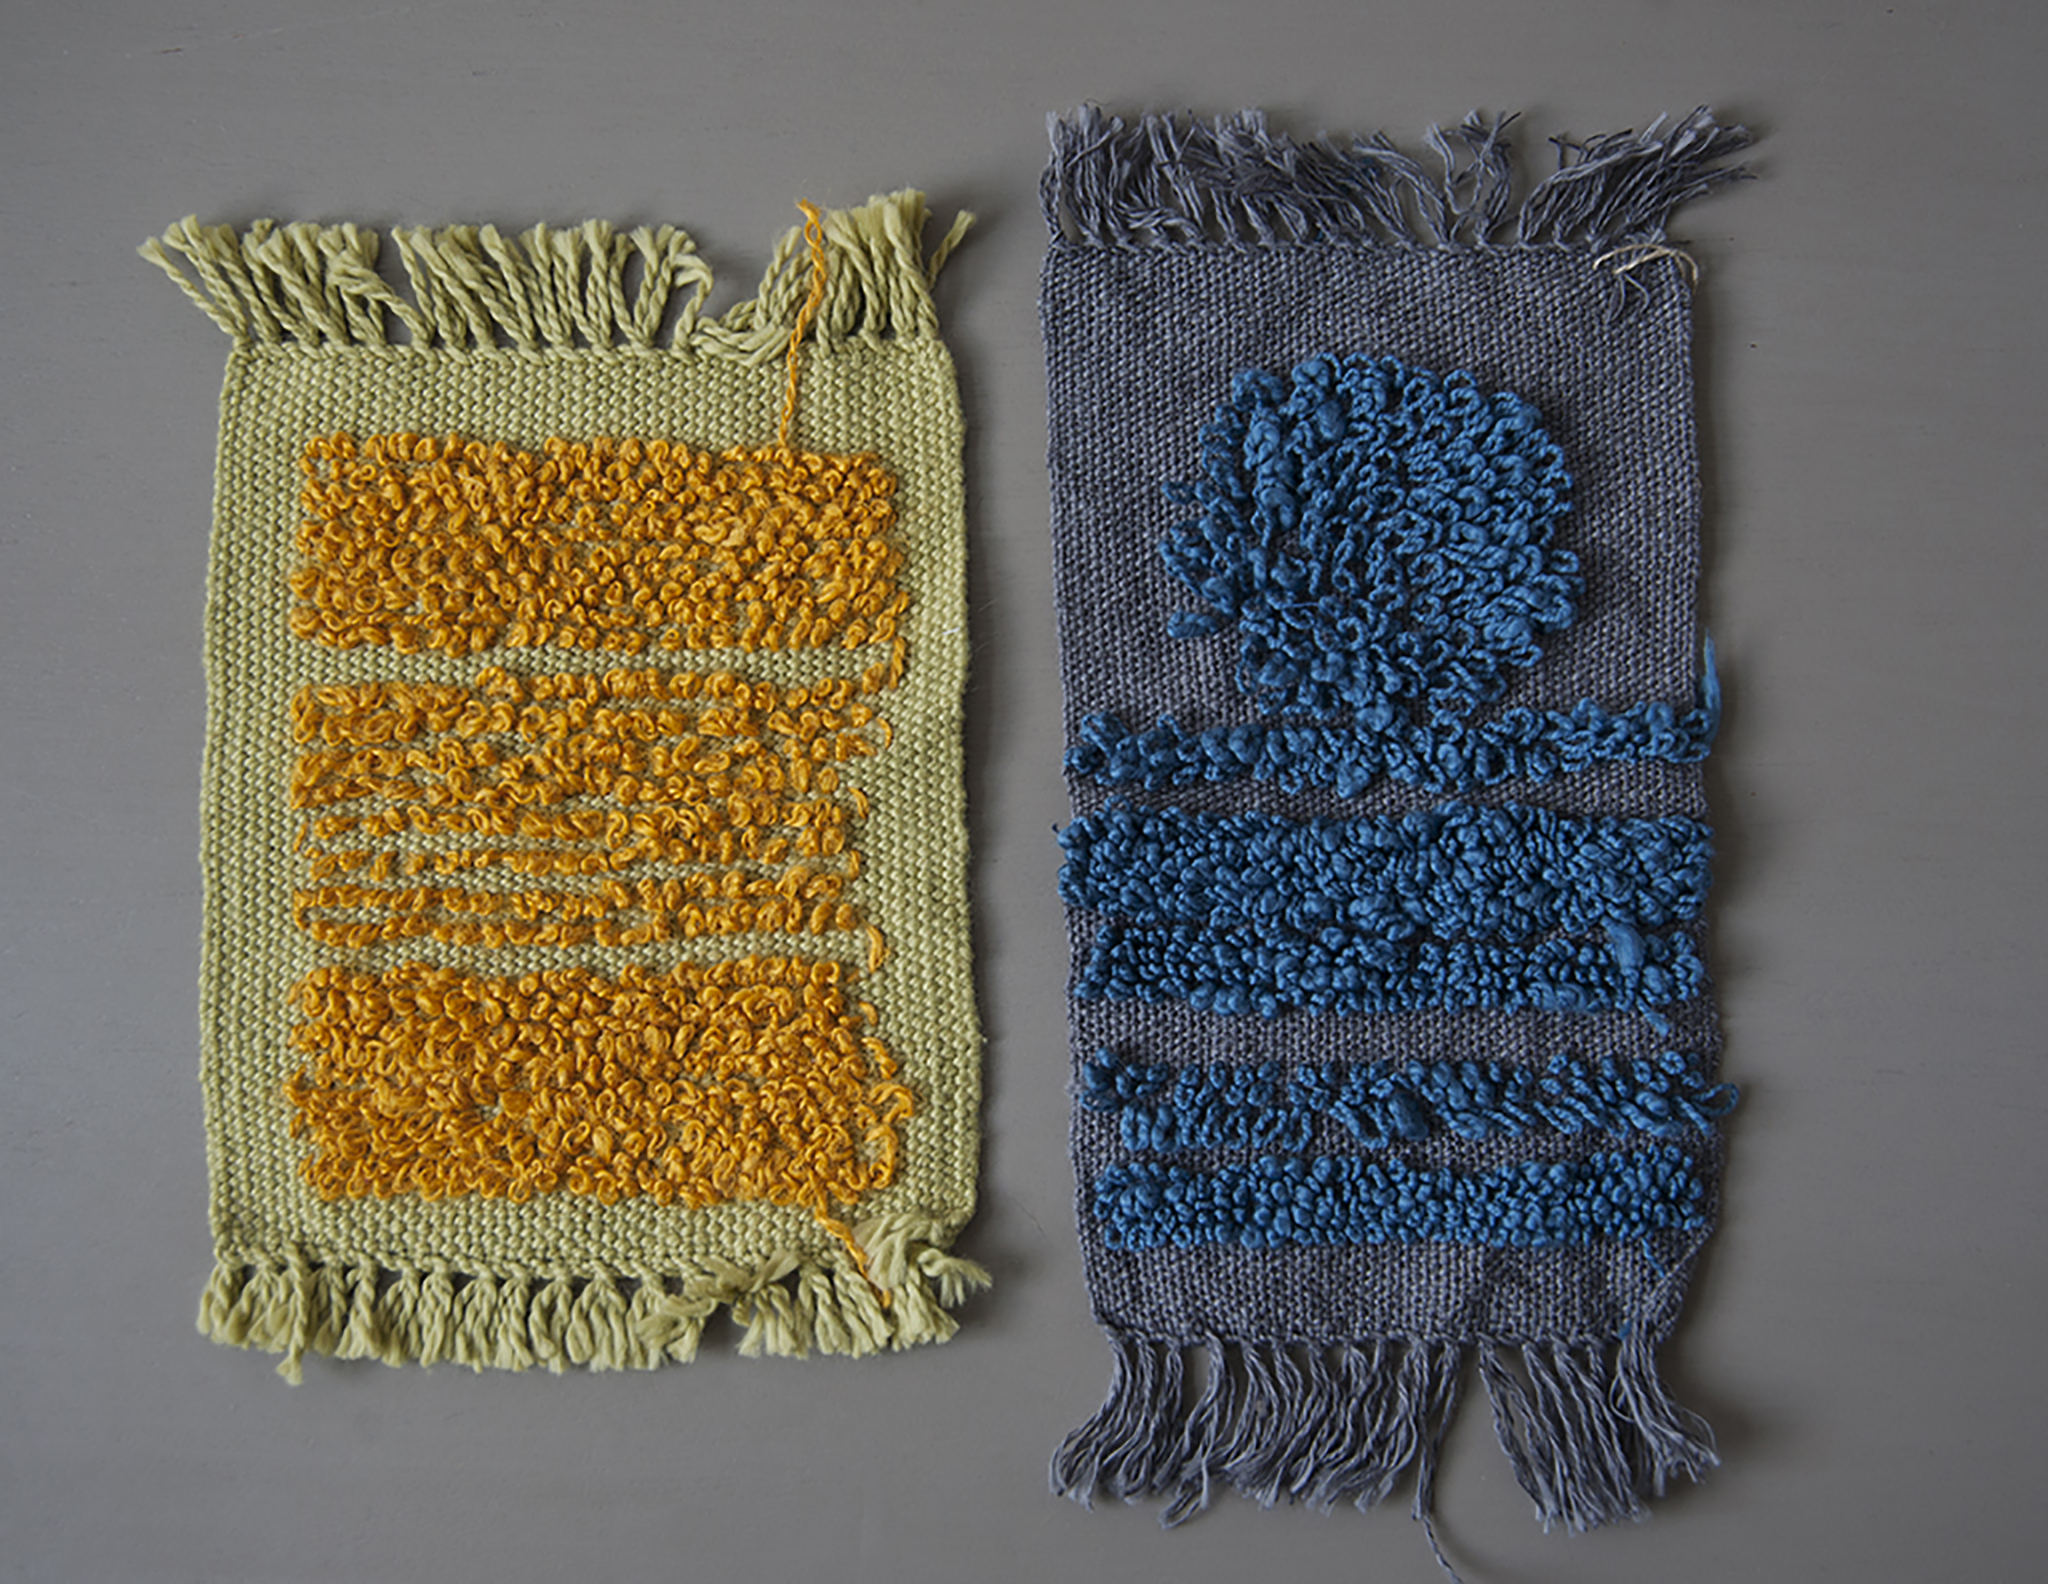
A few of Amanda's samples for the Squarish Rug.
Amanda Rataj is an artist and weaver living and working in Hamilton, Ontario. She studied at the Ontario College of Art and Design University and has developed her contemporary craft practice through research-based projects, artist residencies, professional exhibitions, and lectures. Her textile focus of the material and conceptual nature of vernacular, everyday objects used for the home and body; her work (and weaving patterns) are available at her website, and at Guildworks, or by commission.
